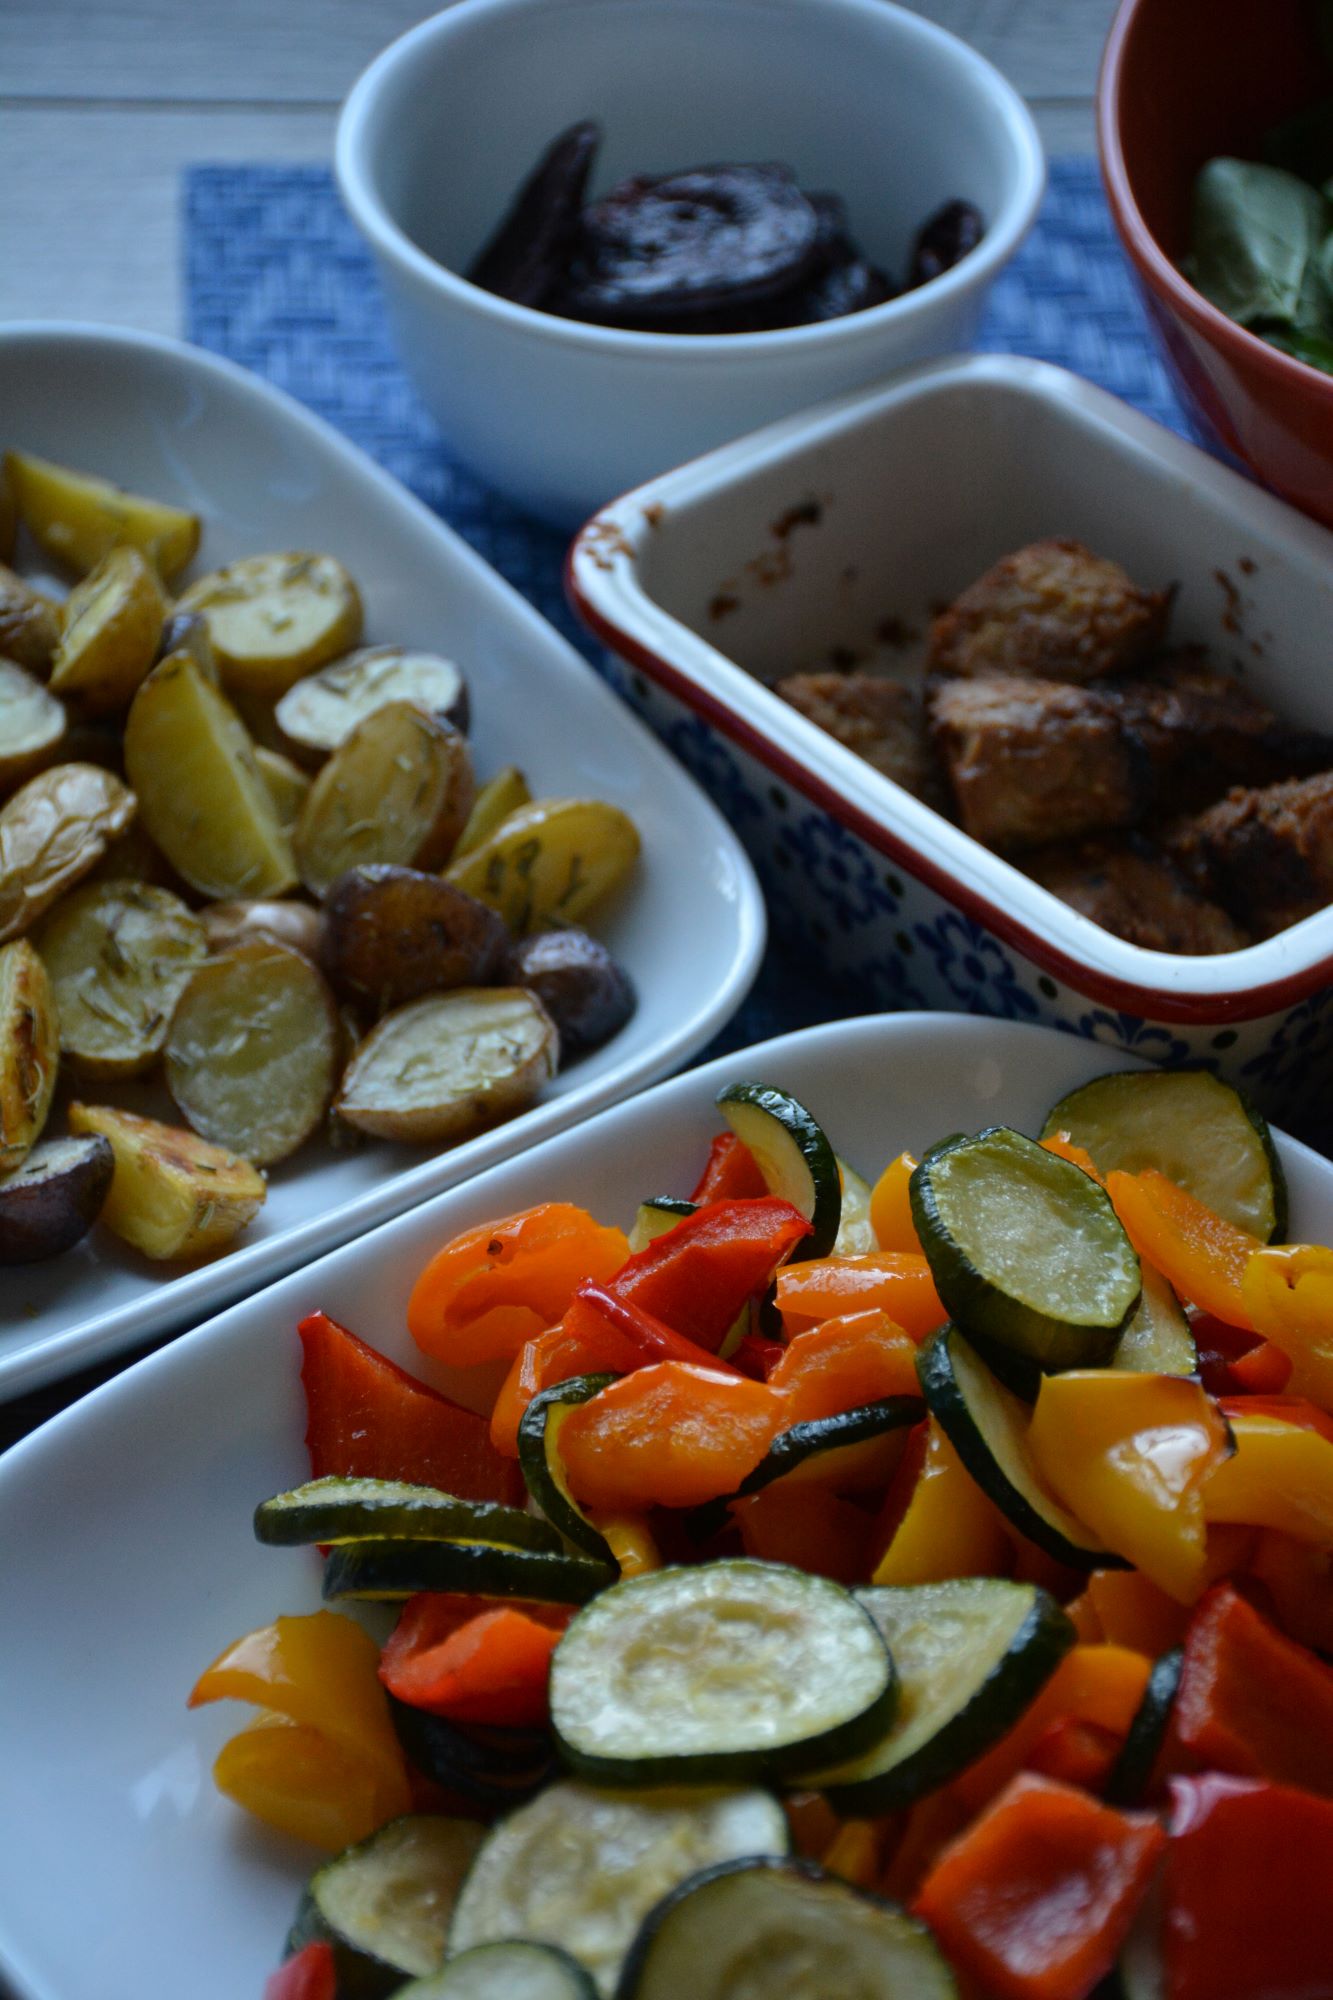
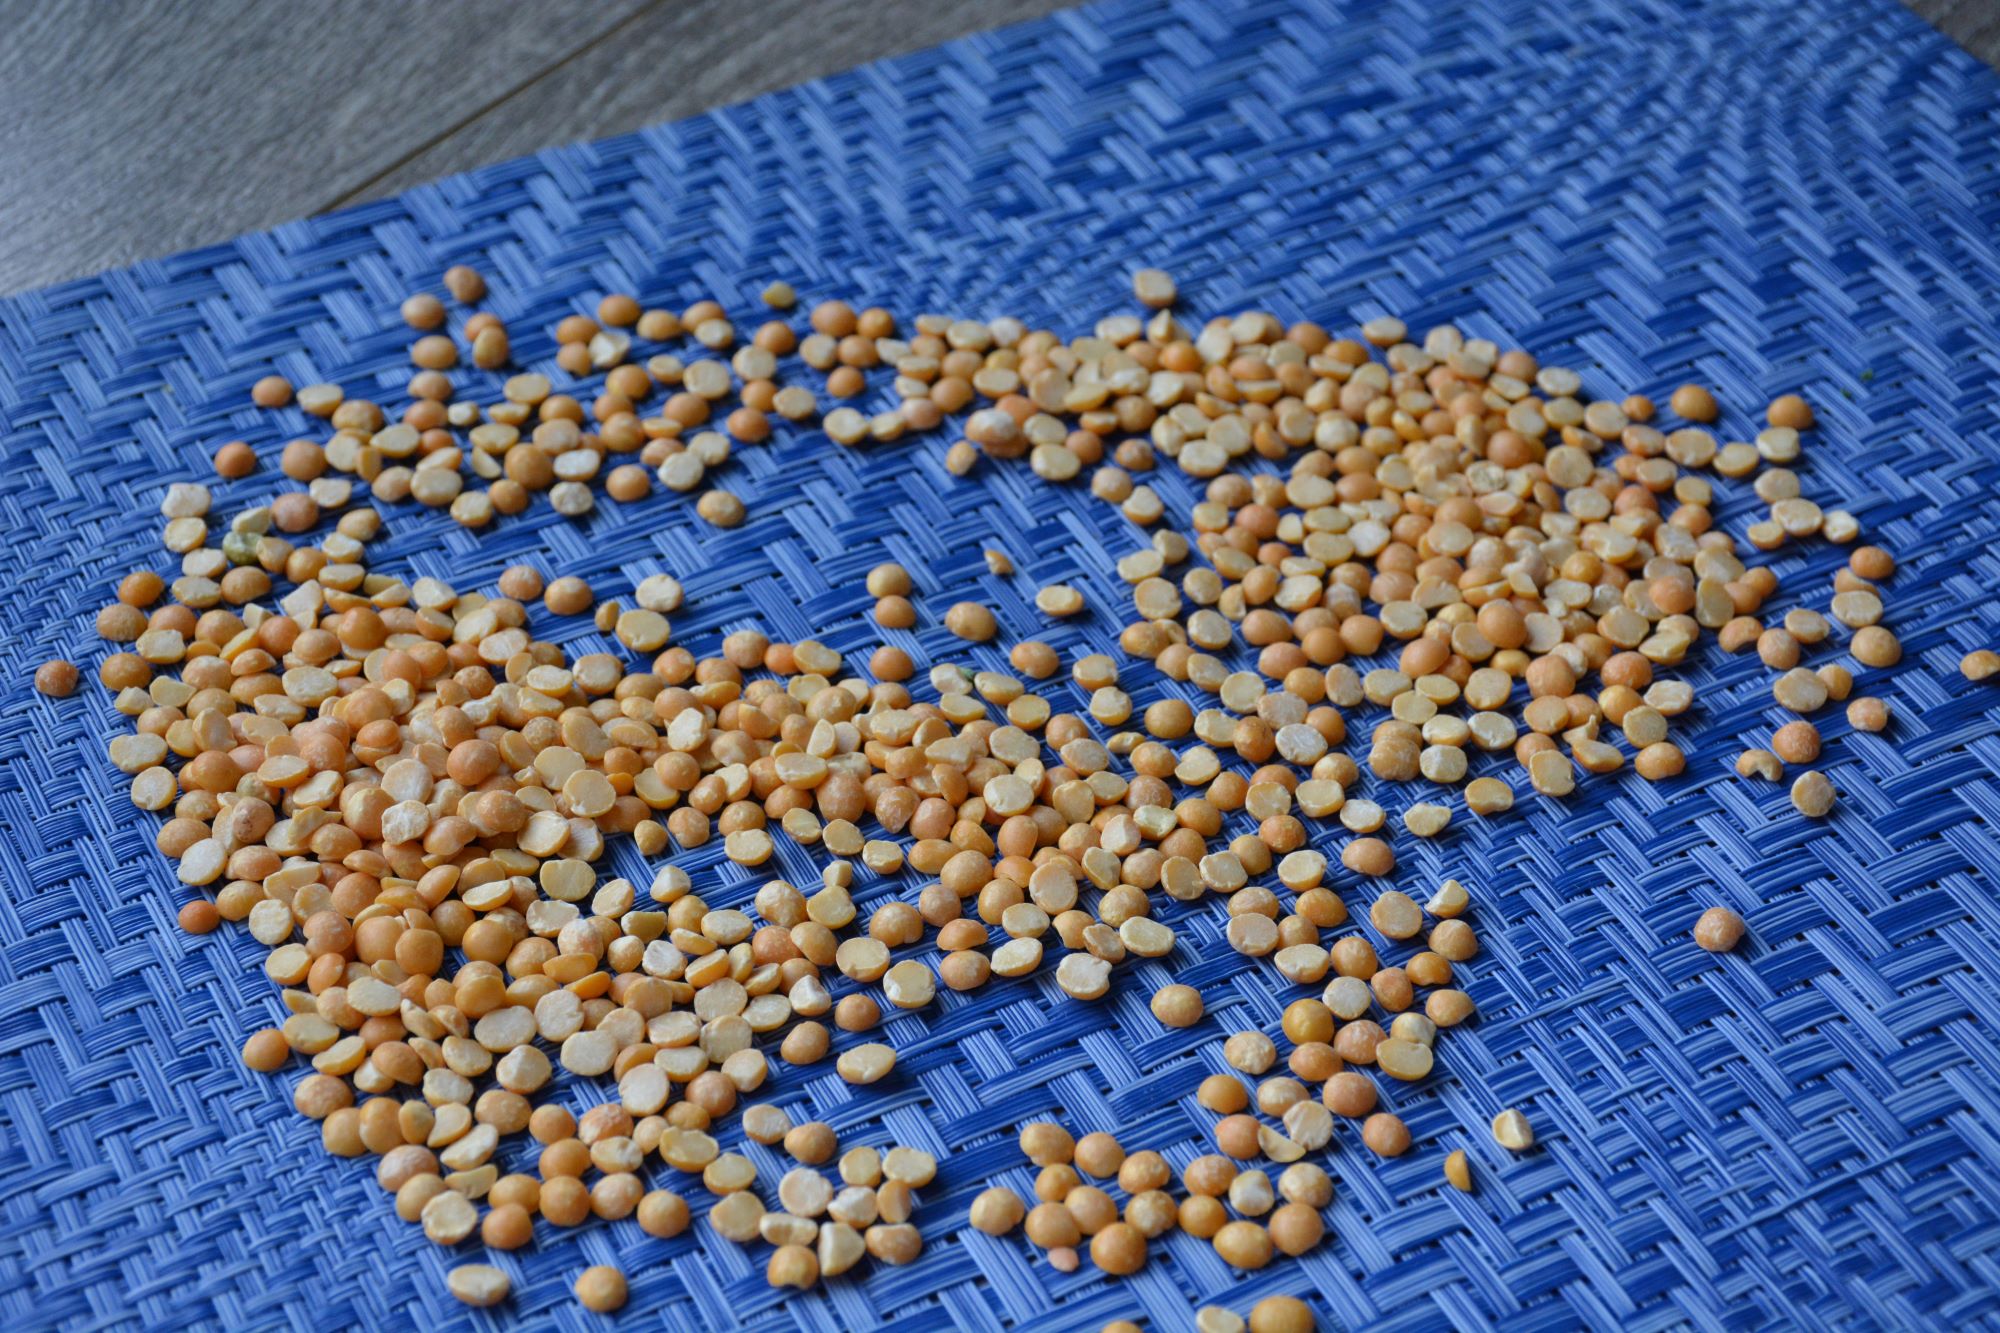
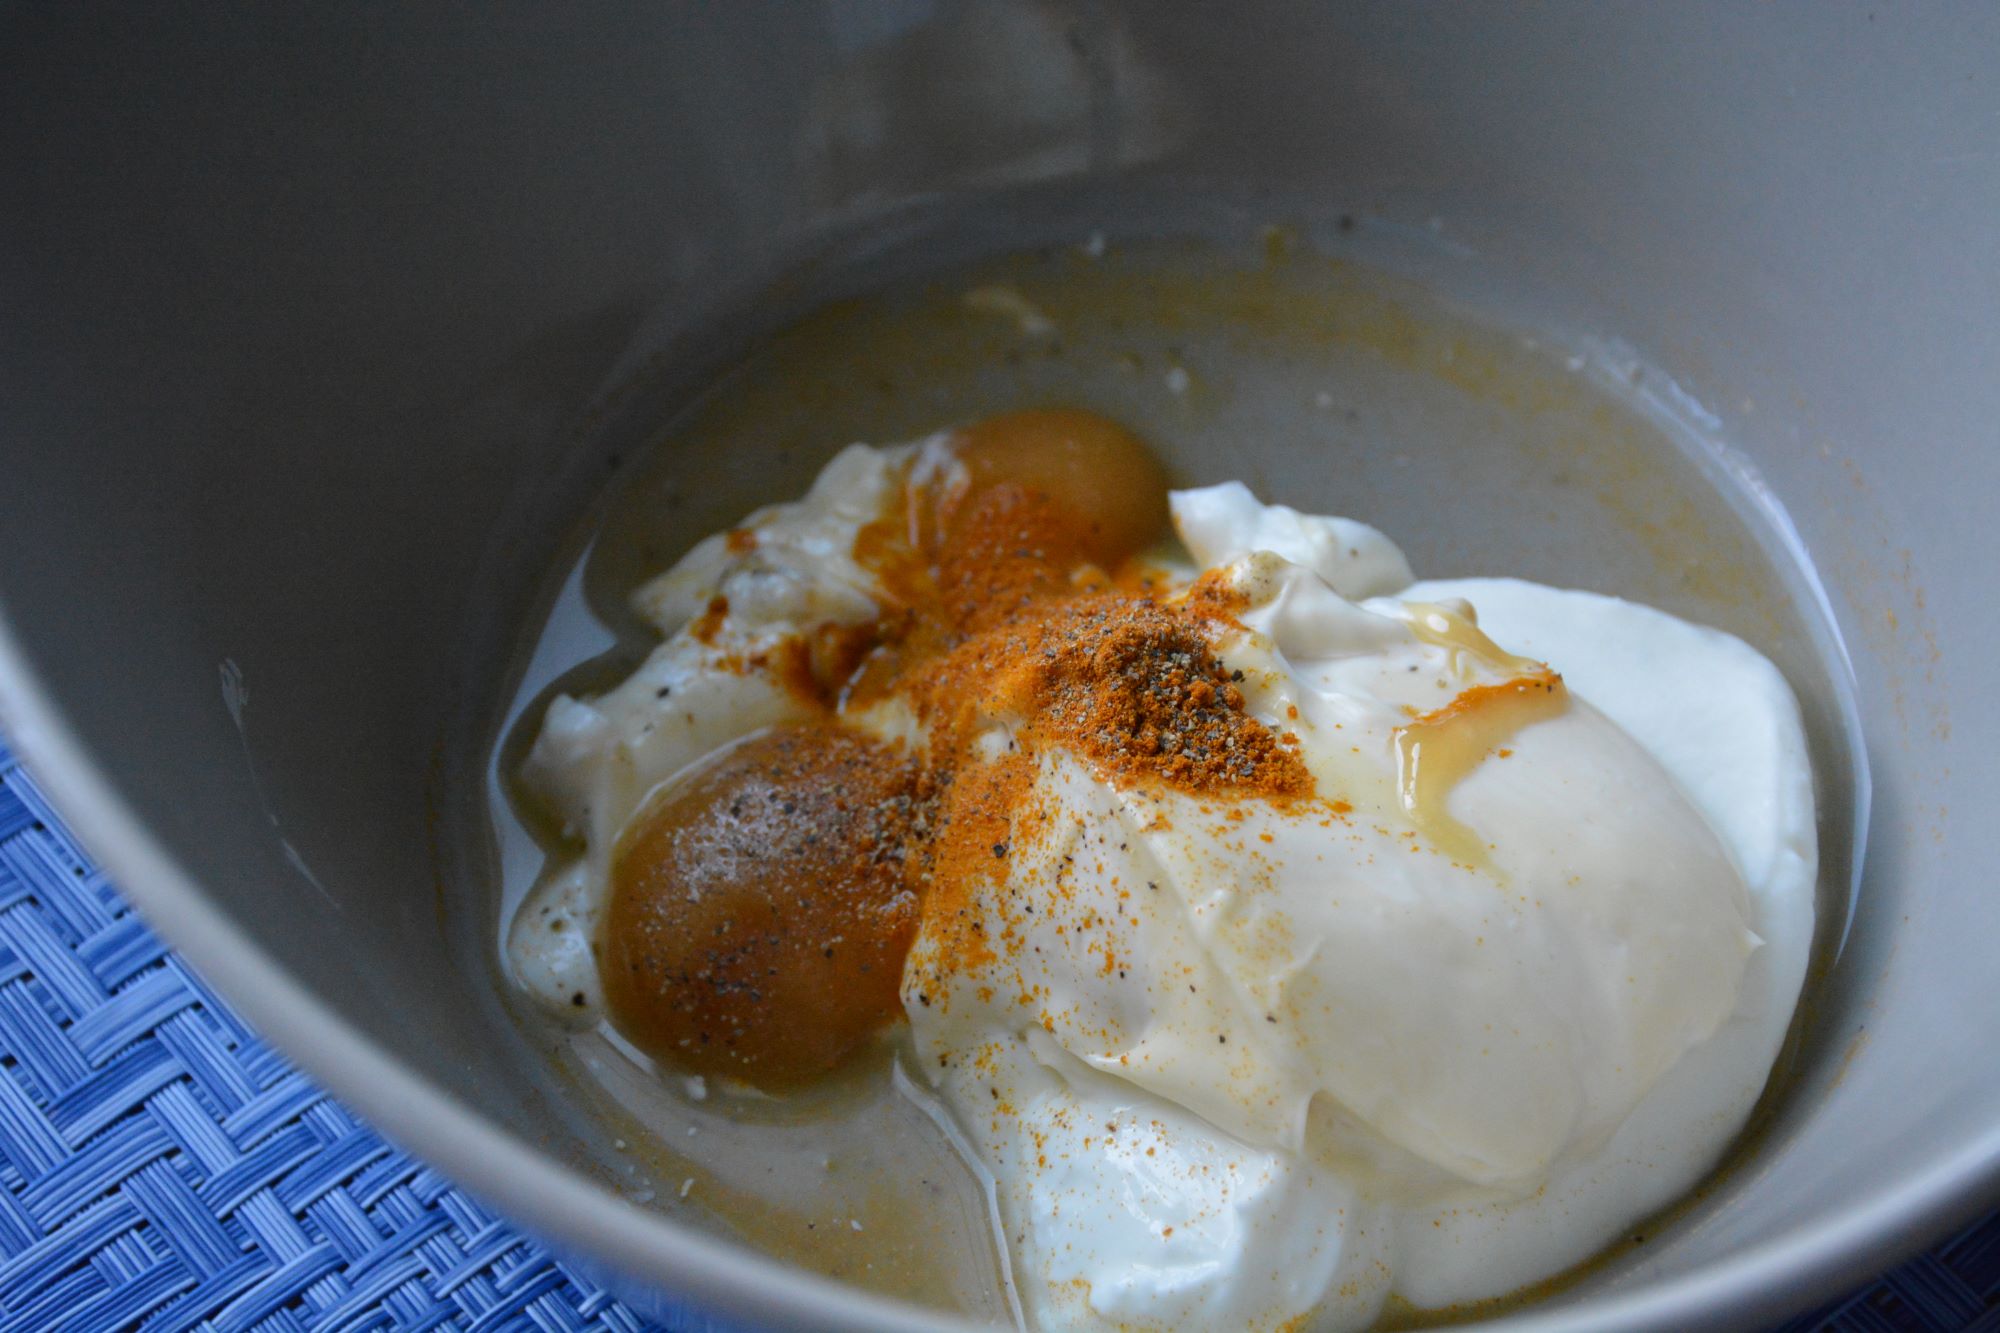
In Malaysia, Roti Canai and Dhal Curry are often eaten during breakfast. This recipe probably took me thirty minutes to make from start to finish.
Dhal curry is a very mild and nutritious curry made up mainly of lentils, tomatoes, and chilies. Sometimes potatoes are added. Very few spices are used and the heat level can be adjusted by using more or less dried chilies. This curry is very kid friendly as it can be made relatively mild.
Enjoy !
3.5.3251
This recipe is incredibly simple and so delicious. Let me know what you think.
Simple And Easy Dahl
This recipe uses very inexpensive ingredients to create a very tasty dish. It can serve with rice or whole wheat naan bread or chapatis. Great source of protein, fibre and iron.
1cupyellow lentils, rinse thoroughly in cold water and drained
1/2tspground cinnamon
3 1/3cupswater
2tbsplemon juice
1tbspchopped fresh cilantro (optional)
Instructions
Heat the oil in a saucepan, add the onion, and fry until soft.
Add the garlic and fry for another minute or two, then stir in powdered spices.
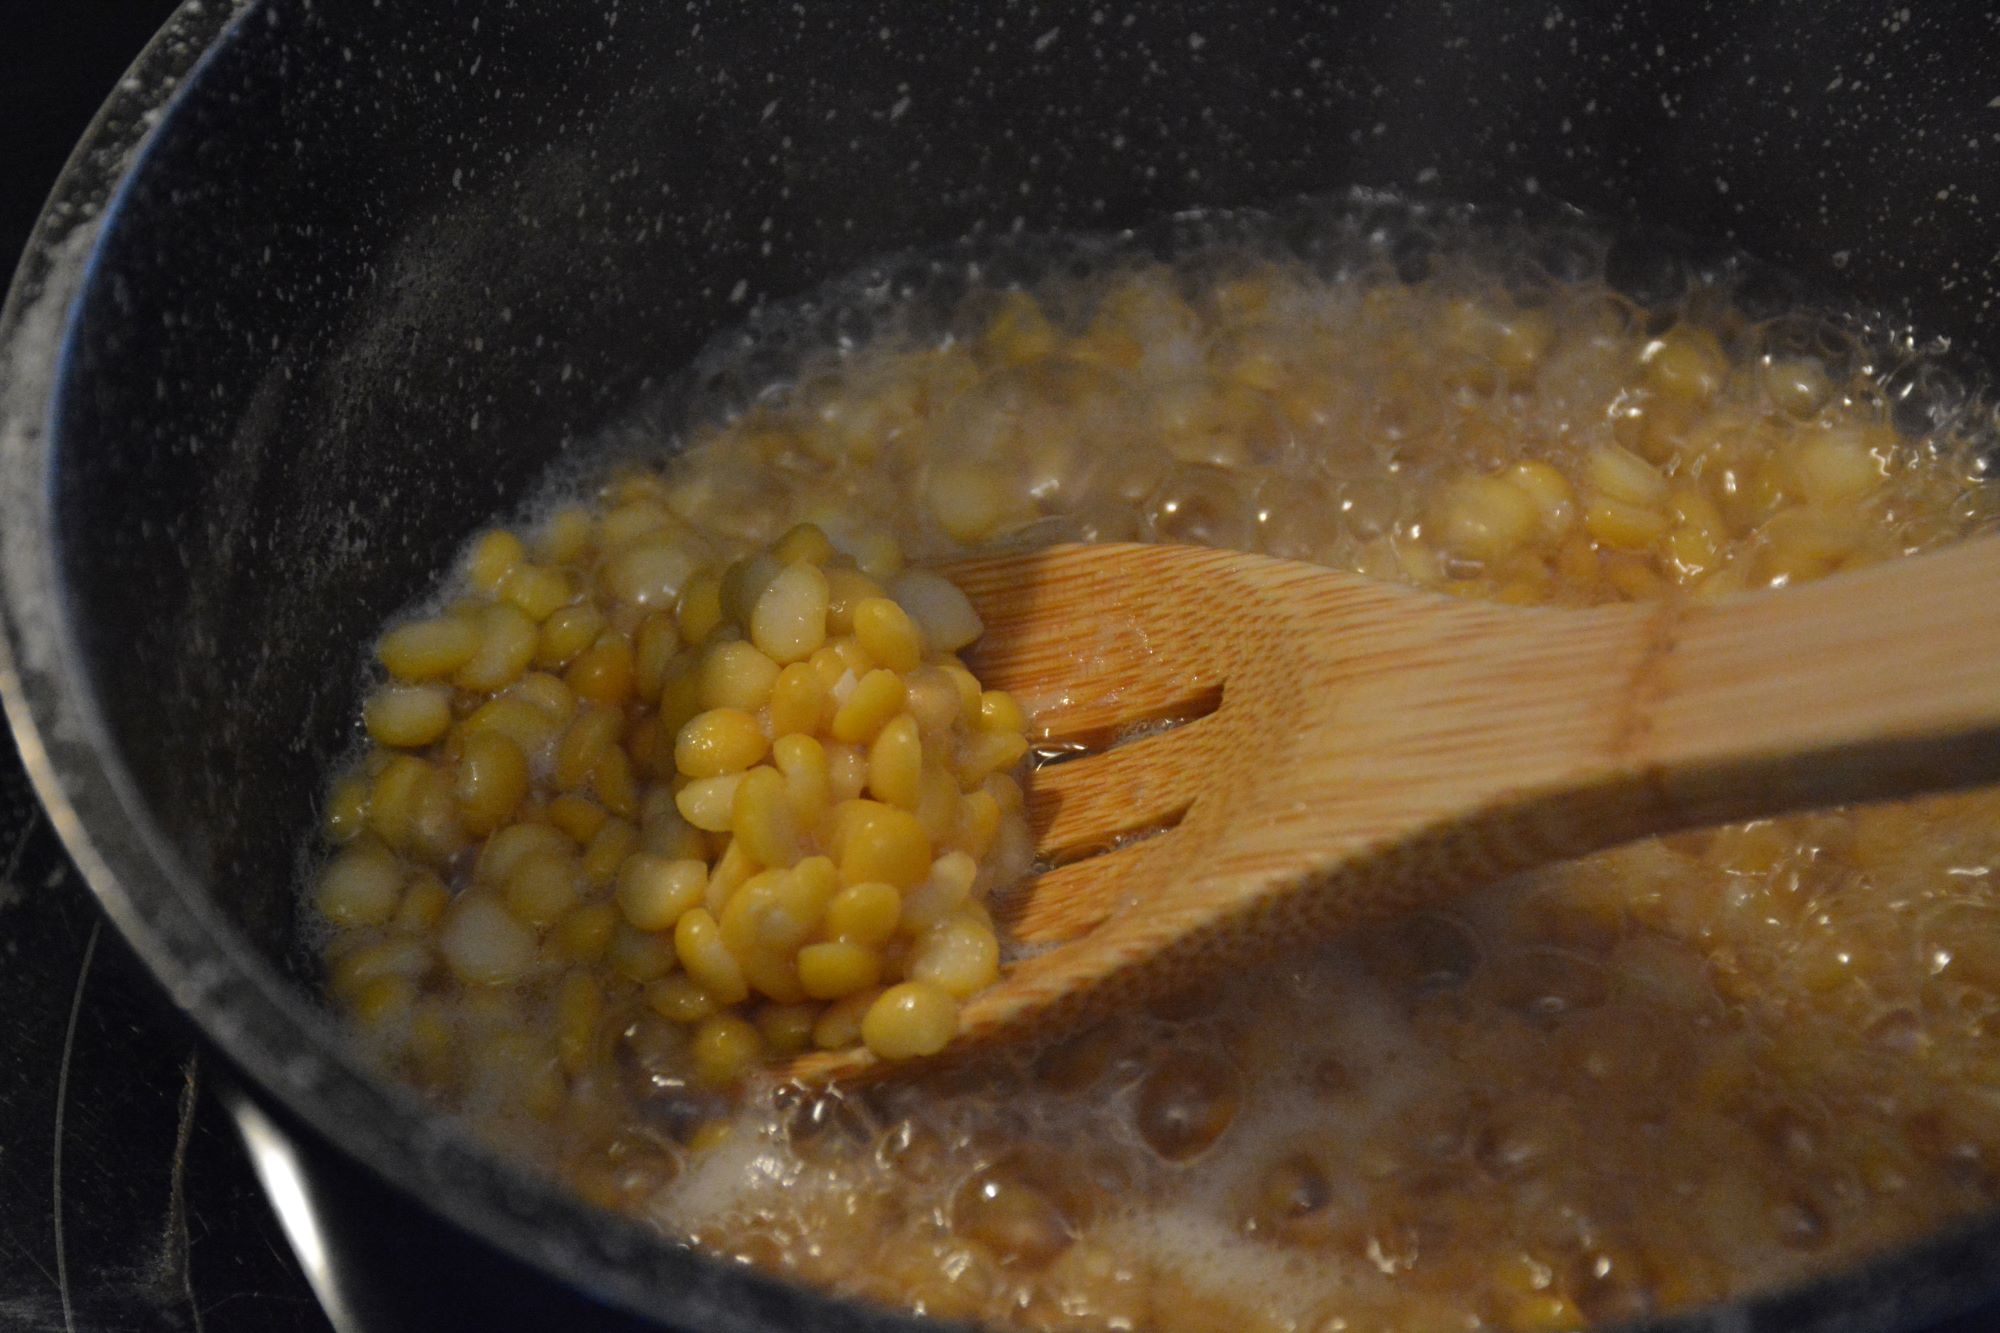
Add the lentils and cinnamon, with enough water to cover them. Bring to a boil, stirring occasionally, then turn down the heat, cover and simmer for 25-30 minutes, continuing to stir occasionally until the lentils are soft by not mushy.
Add lemon juice and stir well.
Sprinkle with the chopped cilantro and serve warm with rice, naan bread or chapatis.
For busy families, breakfast cereal seems to be the go-to choice for quick and easy breakfasts. I try to buy the BETTER cereals but they end up sitting in the cupboard, uneaten, for weeks. What kids really like are the super sweet kinds that are void of any real nutrition and full of artificial flavors and sweeteners. They can eat bowl after bowl and be hungry again less than an hour later! This is because it is often lower in fibre, high in sugar, low in protein, and high in refined starchy carbohydrates. Therefore, you will likely need more food to satisfy you soon after eating breakfast. And you will likely eat more throughout the day.
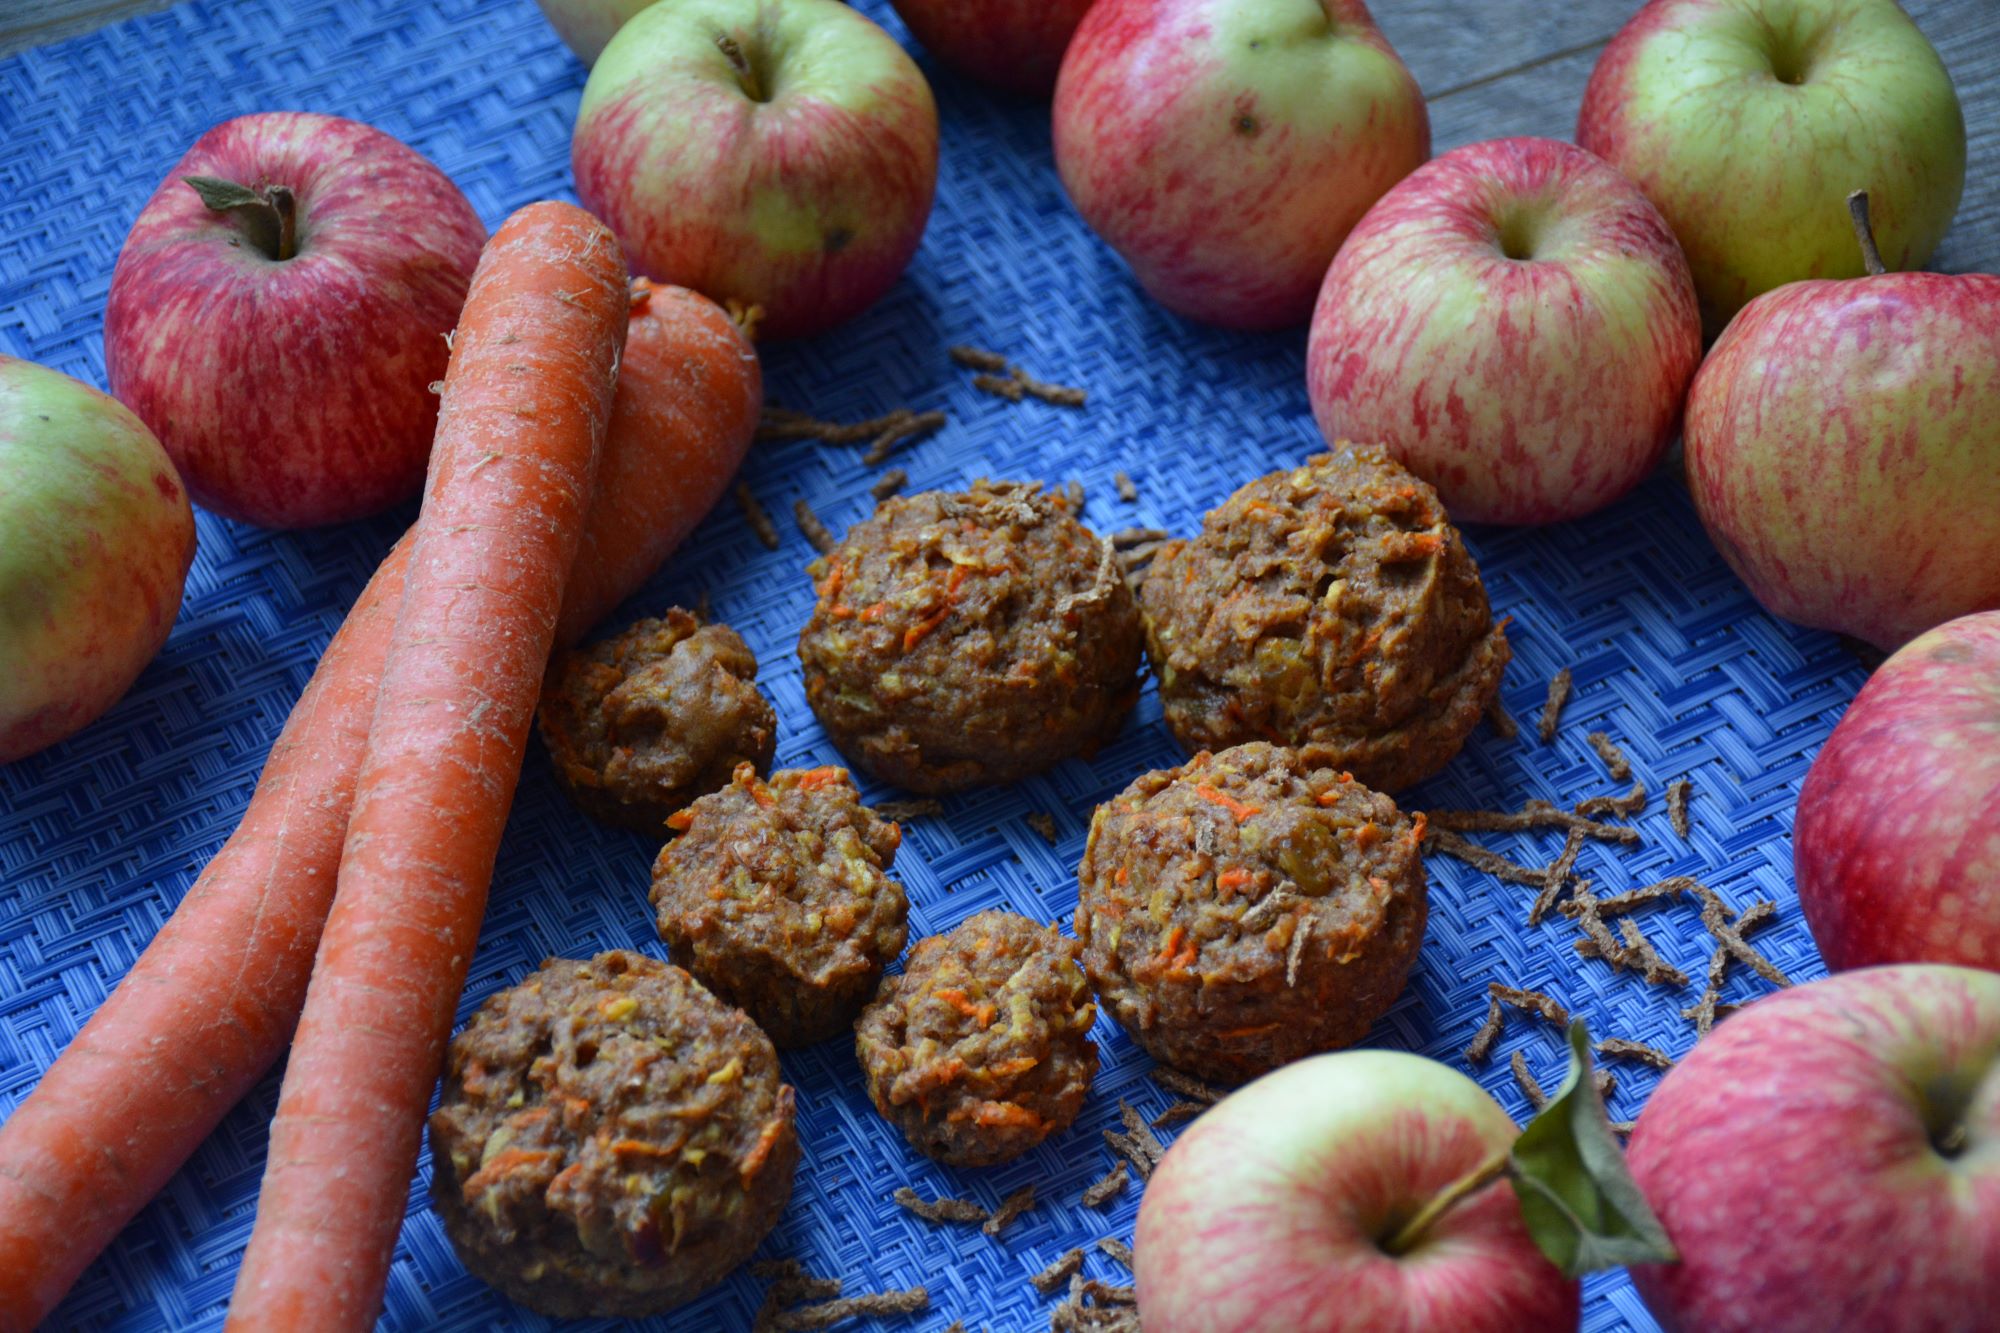
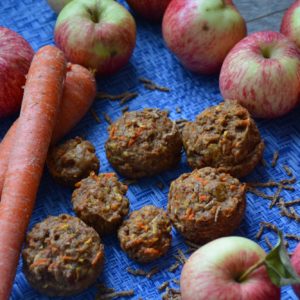
Today, I am going to share this apple and carrot muffin recipe, maybe you’re thinking, “no way can these taste good with carrot AND apple in them”, then let me set you straight. You’re dead wrong! Here’s why these Carrot Apple Bran Muffins are one of my favorite:
The carrots and apples make these muffins incredibly moist and tender.
They’re practically a mom WIN because you’re getting a vegetable AND a fruit in a breakfast muffin.
The addition of cinnamon in these muffins will have your house smelling like heaven, no joke! Seriously.
They freeze well and with a quick microwave thaw, taste like they’re fresh from the oven.
You got to use up the high fibre bran cereal in your pantry.
In a medium bowl, combine cereal and milk and let stand for 5 minutes. Stir in egg, oil and vanilla, then carrots, apples and raisins.
In a large bowl, whisk together flour, brown sugar, baking powder, cinnamon and salt. Stir cereal mixture into dry ingredients, stirring just until moistened. Spoon batter into a greased or baking paper-lined 12-cup muffin tin.
Bake in the centre of the oven for 20 to 25 minutes or until golden brown. Remove from oven. Cool in pan for 5 minutes and then turn out onto rack to cool completely.
Tempeh is a soy product that originated in Indonesia. It is made by taking whole soybeans, soaking them until softened, slightly cooking them, and then fermenting them so that they form a solid block. Unlike tofu, tempeh is minimally processed, so the soybeans are intact in the final product. The outside texture of the tempeh has a white film which is totally normal.
A 1/2 cup serving of tempeh has 160 calories, 15 grams of protein, 7 grams fiber, and 2 net grams of carbohydrate.
Tempeh has a slightly nutty flavor and crumbles easily so it makes a great substitute for ground meat in recipes. Tempeh is sold in the refrigerated section of the store near the rest of the meatless options and tofu.
To remove bitterness from the tempeh, add to a saucepan filled with 1 inch of water and bring to a low boil over medium heat. Steam tempeh for a total of 10-12 minutes, flipping once at the halfway point. Then rinse and pat dry.
Mix marinade by adding sesame oil, peanut butter, tamari, lime juice, and maple syrup. Whisk to combine.
Add the sliced tempeh to the marinade and toss to coat.
Use tempeh the same way you might use tofu or other meat alternatives in recipes like salads, casseroles, soups, etc. Tempeh holds its form well when sliced or cubed. You can also crumble it into smaller pieces and cook it up as an alternative to ground meat in dishes.
Enjoy !
3.5.3251
Are you a vegetarian or vegan? What are your favorite plant-based protein foods? Please share this recipe if you like it.
Marinated Peanut Butter Tempeh
Marinated tempeh coated with a rich and creamy peanut sauce. Serve over rice with leafy greens for a complete meal!
1 1/2tbspsesame oil (if avoiding oil, leave this out and add a bit more lime, soy sauce, and maple syrup)
2tbspunsalted peanut butter (or almond, cashew, or sunflower butter)
2tbspgluten-free tamari (or soy sauce if not GF)
2tbsplime juice
3tbspmaple syrup
Instructions
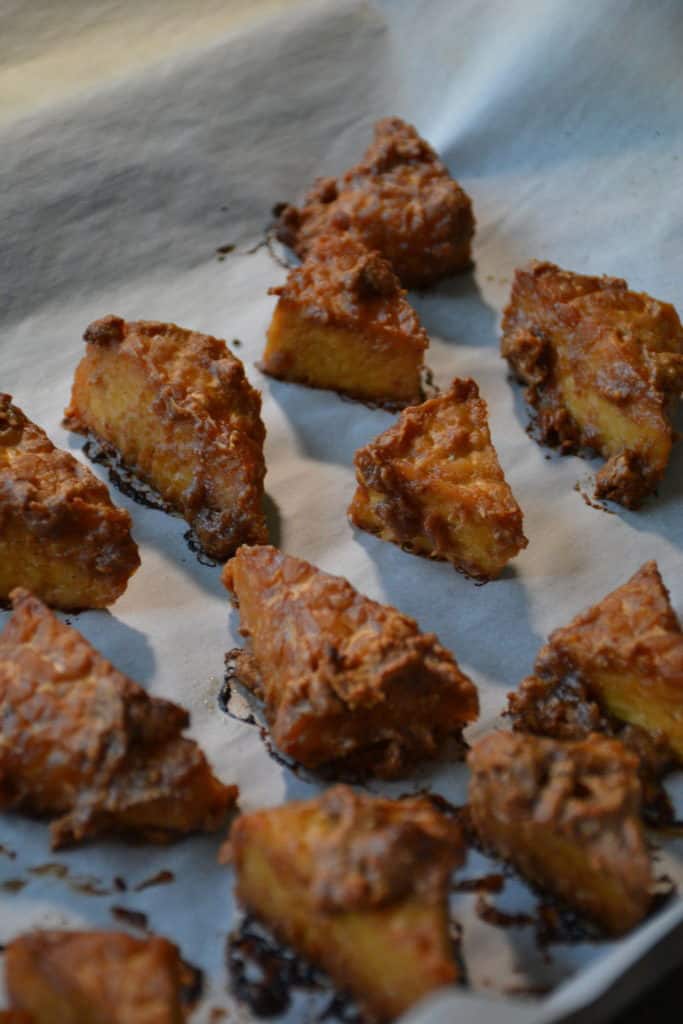
Cut into bite-size pieces. I prefer cutting into small triangles. (The smaller the pieces, the better they can soak up the marinade.)
To remove bitterness from the tempeh, add to a saucepan filled with 1 inch of water and bring to a low boil over medium heat. Steam tempeh for a total of 10-12 minutes, flipping once at the halfway point. Then rinse and pat dry. Set aside.
Mix marinade by adding sesame oil, peanut butter, tamari, lime juice, and maple syrup. Whisk to combine. Taste and adjust flavor as needed, adding more maple syrup for sweetness, lime juice for acidity, or tamari for saltiness. Don’t be shy – you want this extremely flavorful!
Add the sliced tempeh to the marinade and toss to coat. Then cover and refrigerate for at least 2 hours, preferably 24 hours. I found that 24 hours infused the most flavor! While marinating, toss/stir occasionally to ensure even coating. (Tip: Just before baking, drizzle with a bit more maple syrup and tamari for extra flavor. Optional but recommended!)
Once marinated, preheat oven to 375 degrees F (190 C) and line a baking sheet with parchment paper. Add tempeh and reserve any leftover marinade to brush/coat the tempeh once baked.
Bake for 22-30 minutes or until caramelized and deep golden brown. Remove from oven and brush/coat with any remaining marinade.
This tempeh is delicious for adding to Asian-inspired dishes like spring rolls, salads, and noodle dishes! Store leftovers covered in the refrigerator up to 3 days. Best when fresh.
As parents, we all know how important breakfast is, both for ourselves and our kids. Having breakfast within an hour of waking up gives us the energy we need to start the day, kick-starts our metabolisms, helps us focus and concentrate all morning, and can even control our appetites and cravings all day, preventing unhealthy snacking later (especially when breakfast includes enough protein). This, in turn, helps us to reach a healthier weight.
Making pancakes has become a fun morning activity that we do on weekend! The pancake recipe doesn’t require any special ingredients – just egg, flour, milk, butter and baking powder, and you top up with what you have in the house.
TIPS to MAKE PERFECT PANCAKES
To ensure fluffy, delicious pancakes I follow these tips
Mix the dry and wet ingredients separately. – Mix the dry ingredients in one bowl and the wet in another bowl. Pour the wet into the dry.
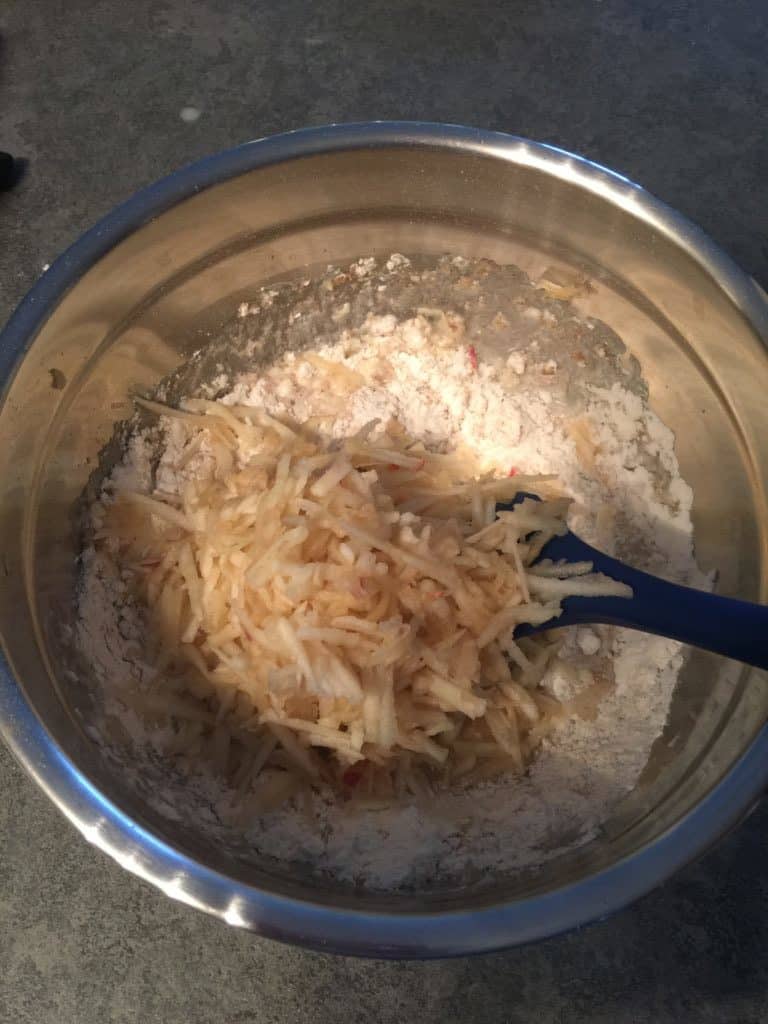
Just Barely Mix – You should still see some small and medium-sized lumps in the batter. If it is too smooth you risk your pancakes being dense. Add the apples and stir until just combined.
Get the right heat – I find a medium heat is perfect for this pancake. This will vary depending on your stove. Make a small test pancake first to check the temperature. If the outside is scorched and the inside is still raw then turn down the heat.
Wait for the bubbles – Flip the pancakes only once bubbles form on the top. The other side will cook quicker, cook until golden.
This recipe makes a dozen. There is no way that we can eat that many pancakes. No problem though! There are a couple ways to handle this.
HOW TO STORE APPLE PANCAKES
Apple pancakes are a great make-ahead food and they can be enjoyed cold or re-heated easily. Allow the pancakes to cool to room temperature before storing.
Refrigerating Apple Pancakes
Once cool, store in an airtight container and refrigerate.
Freezing Apple Pancakes
Place the pancakes on a baking tray, so they are close together but not touching. Place in the freezer until frozen, around 30 mins. Then transfer to a freezable container.
You can re-heat apple pancakes, from frozen, in the
Microwave (around 15sec for 1 pancake)
Oven ( 350F/175C), place on a tray, cover with foil and heat for 10 mins.
The best way is eat what you can, and freeze the rest. This is what I normally do, because that means we can have pancakes any time. These pancakes take just a few seconds in the microwave to defrost.
These pancakes are the perfect grab and go breakfast, lunch, or snack for a toddler. Pancakes are easy to pack up and bring with you out, and these healthy pancakes are great to eat in strollers. They don’t drop crumbs everywhere, and they don’t leave behind sticky fingers. The pancakes themselves are also easy (and clean) for baby-led weaning.
3.5.3251
Have you tried this recipe? I love to receive feedback! Please comment below or tag me on Instagram or Facebook.
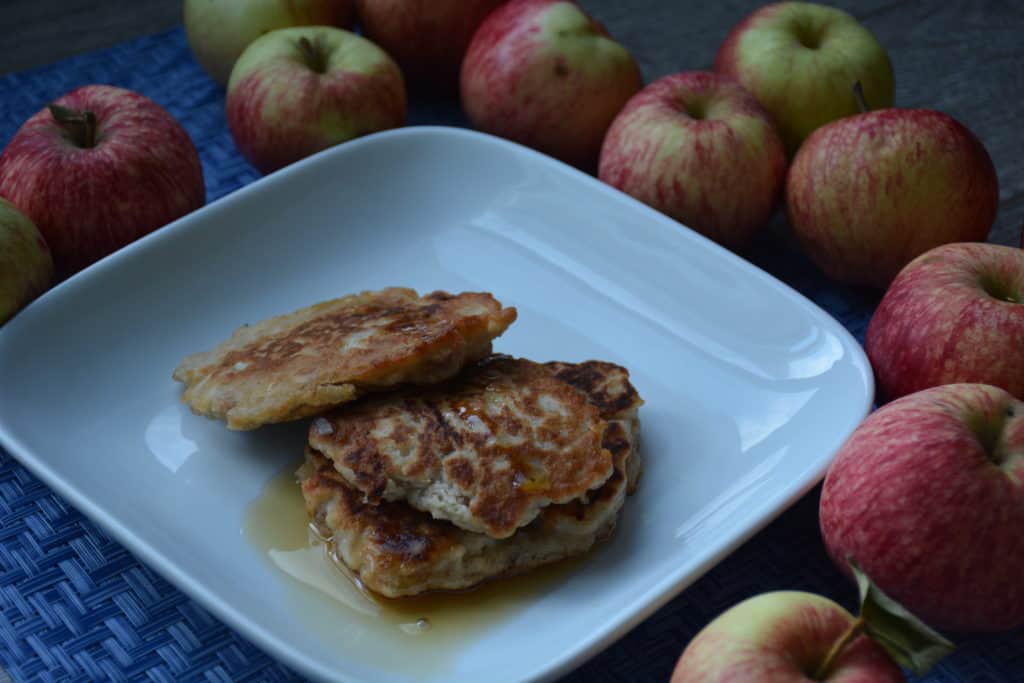
Sunday Apple Pancakes
These pancakes are so easy to make, healthy and nutritious, and freeze well.
In a large bowl, combine butter, egg, milk and apple.
In a separate bowl, sift together flour, baking powder, cinnamon and sugar.
Stir flour mixture into apple mixture, just until combined.
Heat a lightly oiled griddle or frying pan over medium high heat. Pour or scoop the batter onto the griddle, using approximately 1/4 cup for each pancake. Brown on both sides and serve hot.
This is not your normal brownie! It also happens to be nutrient-packed, chocolatey and indulgent. I’m about to show you that you can bake with beans and not taste them. Instead, you’ll just taste … brownies.
You can use food processor or blender to make those black beans into a puree. It is just easier to get every last drop of puree out of the food processor. I don’t own a food processor, so I use blender , even if you puree isn’t 100% smooth, you still won’t taste beans in the brownies. Unbelievable, right?!
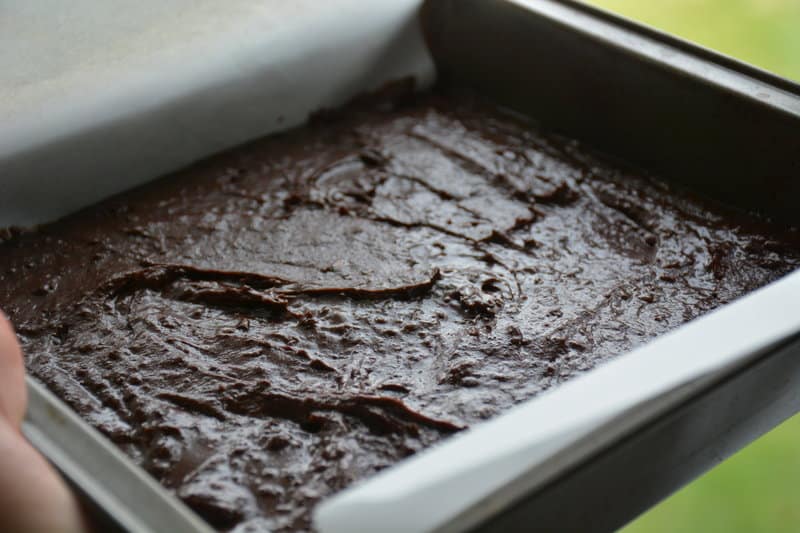
Mix the dry and wet ingredients and baked in the oven for 30 minutes. This is the best way to fill your house with a chocolatey aroma.
You’d never guess these rich, chocolatey treats contain a cup of black beans. Who would have thought black bean brownies would be so amazing?
1.5cupsugar (I cut the sugar to 1 cup – I use 1/2 cup brown sugar and 1/2 cup white sugar)
1cupcanned black beans, drained and rinsed
4eggs
1tspvanilla extract
Instructions
Preheat oven to 350’F (175’C).
Lightly oil a 8 x 8 inch pan.
Stir flour, salt, baking powder and cocoa powder together in a bowl. Set aside.
Cream the butter and sugar by using hand mixer.
In a food processor or blender, blend the black bean, eggs and vanilla extract until no bean texture left. I add the egg one at a time, so that it has liquid to blend the mixture until smooth.
Stir wet mixture into dry ingredients until moist. Pour the batter into the pan. Bake for 30 minutes. or until a knife instead in the centre comes out clean . Store these moist brownies in an airtight container in the fridge.
Notes
I use a 19 oz (540 mL) can of black beans drained & rinsed yields 2 cups (500 mL) beans. Store leftover beans in an airtight container for 3 years in the refrigerator or 6 months in the freezer.
As a mother and a dietitian, I know how challenging it can be to get your children to eat enough fruits and vegetables. We are so removed from our food supply, teaching children about how food is grown will help them appreciate what is on the table. When they involve in gardening, they learn that food comes from the ground, not from supermarket. More and more research (here, here) shows that when children help grow fruits and vegetables, they are more likely to eat more produce and try different kinds, too.
YOU CHILDREN CAN BE PART OF THE PLANTING AND GROWING PROCESS
Depending on their age, children take the gardening differently. For example, preschoolers tend to be fascinated with exploring dirt, digging holes, planting seeds and working the garden hose, while older children may be more interested in how a single seed turns into an edible plant. Ask children which fruits and vegetables they would like to grow. Teach children responsibility by assigning each child a watering, harvesting or weeding task. Allowing children to be involved in every step of the process will get them excited to taste the fruits and vegetables of their labor.
ENCOURAGE TASTE TESTING
Gardening exposes your children to a variety of fruits and vegetables so encourage taste testing straight from the ground (after a quick rinse to remove dirt) and at the dinner table. Show kids how a tomato can taste delicious from the vine or in dishes such as pasta sauce.
Children are fascinated by both very small and very large objects — including vegetables. Whether in the ground or pot, cherry tomato plants grow to the perfect height for little hands to pick right off the vine.
INDOOR HERB GARDEN
Herbs are perhaps the easiest plants to grow and can be a good place to start to interest children in gardening. Most herbs can grow in small pots on indoor windowsills. Herbs usually grow easily, so you’ll probably have more than enough. Choose a few herbs to start, such as parsley, basil, rosemary, green onion. Don’t worry if you have too much herbs in the end.
An excess of basil can be made into pesto, frozen in ice cube trays and stored in the freezer to use later. And, all herbs can be dried.
START FROM WHAT YOU EAT
Begin small by creating a garden with a dinner salad in mind. Plant salad greens, carrots, tomatoes and cucumbers — all are kid-friendly and easy to grow. Children like to see the result of their effort, so consider planting crops that grow quickly such as green beans or carrots; or those that produce heavily such as grape tomatoes.
GARDENING IN SMALL SPACES
No yard? No space? No problem! Try using large pots/containers/planters, you can placed on the balcony or porch to grow foods such as tomatoes, salad greens, peppers and even cucumbers.
MY GARDENING EXPERIENCE IN CANADA
Gardening helps our children engage their curiosity, learn to be resourceful and gain self-confidence. It also is a great way to get the entire family outside for fresh air and physical activity.
If you’re like me and you’re new to gardening, the idea of starting a garden might be a bit overwhelming. After a lot of research and some trial-by-error and tweaking, last Summer my 3-year-old son, husband and I planted our first backyard container garden.
Here is what you need to start your indoor or outdoor garden:
Pots, planters (if space is limited)
Some soil (Look for Organic soil under any brand, most nurseries have them)
Seeds (You can buy them from nurseries)
Plenty of water
Sunlight
Space (patio, balcony, backyard)
Patience
After a couple of months, the hard work will pay off with your own fresh and delicious fruits and vegetables for the whole family to enjoy.
No matter what you plant and whether your carrots look like carrots or something different, have fun. Odds are kids and parents will enjoy the time they spend together and learn a little something along the way. And remember: children are going to get dirty; that’s part of the fun!
Harvesting roots and tubers can be a treasure hunt. What’s more fun for a child than yanking a carrot out of the ground, washing it and taking a bite?
Children will be fascinated by the growing process, whether it’s indoors or out. Small children may find it exciting to watch how low-maintenance, easy-to-grow and brightly colored berries grow and expand during the season.
Unfortunately, the winter is quite long in Canada, the growing season can be very short. So, we are planning to grow more indoor herbs this year.
WHAT ABOUT MALAYSIA? MALAYSIANS CAN ENJOY A YEAR-ROUND HARVEST
Start an herb garden
Herb gardens are great for kids and it doesn’t matter the season.
Growing herbs doesn’t take much work – some soil, lots of sunlight, and water. The process, from seed to skillet, is similar to growing a garden. Let children relish in trying new flavor profiles they had a hand in growing!
Guide them in exploring and researching other decisions that go into a garden, like what fertilizer to use, pest management (go organic!), co-plantings, etc.
When gardening with groups of small children, don’t forget to make it fun and creative. Break up the “hard work” like weeding, seedling, watering, etc.
Don’t forget to hang out in the garden and enjoy the space!
TRY: lettuce, long bean, kale, sweet peppers, chili, kangkung, choy sum, cucumbers, tomatoes, spinach, cabbage, okra.
BOTTOM LINE
It’s a great way to teach children where their food comes from and to help them gain the satisfaction of growing something themselves.
Children who grow food and prepare it are more likely to try it.
Did you know that I offer personalized one-on-one nutrition counselling for children and families? If this is something you’s like to learn more about, check out my service.
Bananas alone are nutritional powerhouses, loaded with potassium and other important nutrients. They are routinely on my grocery list – between using in smoothies, eating with peanut butter and toast for breakfast, or just plain, we go through bunches each week! When they get overly ripe, I toss them in my freezer for future baking – usually some kind of muffin or loaf.
This recipe would be perfect as a healthy lunchbox snack for the kids, enjoyed mid-morning at work for the adults, or even simply warmed up as a delicious after dinner treat!
Baked goods do not have to be a guilty pleasure! When the right ingredients are selected, you can turn sweets into a delicious and nutritious snack option.
Baking Tips for Making The Best Banana Bread
The riper the bananas the better your banana bread is going to be. The bananas are going to be the major sweetness in the bread and the sweeter they are the better the banana flavour is. The banana flavour is going to be stronger and richer if you use really ripe bananas.
Don’t over-bake the banana bread. You want it to be moist and tender crumbed, not dry and tough.
Simple ingredients that you can find from your pantry – ripe bananas, butter, sugar, egg, vanilla, baking soda, nuts, and flour. What is important to know though, is that if you replace these ingredients with nutritious alternatives, banana bread can actually be a healthful and filling snack that could be consumed anytime of day.
Chocolate chips or no chocolate chips, the choice is up to you!
Enjoy !
3.5.3251
How do you make your banana bread? Is your recipe similar to this one? For more delicious, kid-tested recipes, check out my Facebook Page and Instagram Feed.
The Best Banana Nut Bread
The recipe for moist and delicious banana bread is super easy. It’s truly the best!
Preheat oven to 350°F (180°C), and butter a 9 x 5-inch loaf pan.
In a bowl, combine all-purpose flour, whole wheat flour, baking powder, baking soda and salt.
In a large bowl, using an electric mixer on high speed, beat sugar and butter until light and fluffy. Beat in egg and vanilla. Stir in bananas and yogurt until well blended. Add flour mixture and beat on low speed until just combined. Stir in dried cranberries and almonds.
Pour batter into prepared pan. Bake in preheated oven for 45 to 55 minutes or until a tester inserted in the center comes out clean. Let cool in pan on a wire rack for 10 minutes, then transfer to rack to cool until just warm or let cool completely.
Kabobs is super easy to make. mix and match pieces of summer squash and cherry tomatoes on bamboo skewers to create colourful seasonal kabobs.
Colorful veggies are much more fun and appealing to eat.
Toss the vegetables in olive oil, seasonings, salt and pepper.
Skewer the vegetables in whatever pattern you like. Ask your child to help you in the kitchen.
These kabobs are easy to whip up and they’re sure to give you your daily serving of veggies. Feel free to serve them as a light lunch or as a side dish to any meal.
Preheat the oven to 400 degrees F. Line a baking sheet with parchment paper.
In a large bowl, whisk the olive oil, lemon juice, garlic, and seasonings.
Slice the zucchini and summer squash into 1/2″ circles. Rinse the cherry tomatoes.
Add the vegetables to the olive oil mixture. Mix until all of the veggies are coated.
Prepare the skewers by sliding a few cherry tomatoes and zucchini and squash circles onto each stick. You can choose to put them together in whatever pattern you would like. The recipe should yield about 10 skewers but might produce slightly more or less.
Add the skewers to the lined baking sheet. bake for 15-20 minutes or until the tomatoes start to blister.
I love Bibimbap, a super popular Korean dish. It’s made of a bowl of rice, sautéed and seasoned vegetables, gochujang sauce and seasoned meat.
Bibim (비빔) translates as “mixed,” and bap (밥) means “cooked rice,” so bibimbap literally means “mixed rice.” Before eating it you’re supposed to mix everything all together.
In Korean, this dish is traditionally served in a stone bowl that was previously heated. This makes the rice and fillings sizzle when they are placed in the bowl. In this recipe, I’ve just used pasta bowls here and only use 5 topping (spinach, cucumber, carrots, mushroom, and ground turkey), please feel free to mix it up or use as many toppings as you like (other common toppings: kimchi, shiitake mushrooms, soy bean sprouts, Gosari (fern brake), bell flower roots (doraji).
The most authentic version of bibimbap is served with a raw egg yolk and gochugang (Korean Chili Paste). You can buy the Gochugang Sauce in any korean market. But I made my own, check out my recipe here.
Prepare and cook the ingredients for bibimbap. Even though we mix up bibimbap before we eat it, each ingredient needs to be prepared with care and individuality, bringing out their unique flavors, textures and colors so they come together beautifully in the bowl and deliciously in your mouth.
Heat up the pan over medium high heat. Add a few drops of cooking oil to the pan and sauté the carrot for 3-5 minutes. Clean the pan with wet paper towel or wash it.
Heat a few drops of cooking oil in the pan and squeeze out excess water from the cucumber (or zucchini). Sauté the cucumber (zucchini) for 3-5 minutes. Clean the pan again.
Heat up the pan. Add a few drops of cooking oil and sauté the mushroom for 3-5 minutes.
All vegetables are prepared and ready to use.
Place a serving of rice in a big bowl. Nicely arrange a small amount of each prepared vegetables and meat over the rice. Drizzle a little sesame oil over. Top with an egg. Serve with Bibimbap sauce.
Gently but firmly mix everything together in the bowl with your spoon.
1cupspinach, blanched and squeezed out excess water, seasoned
1large carrots
1large cucumber (or zucchini)
1cupmushroom, cooked
1cuprice, cooked
4eggs
Instructions
Rice: Cook the rice in a rice cooker or following package directions, using a little less water than called for. The rice for bibimbap should be a little drier than usual for best results.
Meat: Mix the meat with the meat sauce. Marinate the meat for about 30 minutes while you are working on other ingredients to enhance the flavour. Add some cooking oil into the pan and cook the meat on medium high to high heat. It takes about 5 mins to thoroughly cook it.
Sauce: Mix the Bibimbap sauce in a bowl.
Spinach: Blanch the spinach in salted boiling water only until wilted, 30-40 seconds. Drain quickly and shock in cold water. Squeeze out excess water. Cut into 3-inch lengths. Toss with 1/2 tsp minced garlic, 1 tsp roasted sesame seeds, 1 tbsp sesame oil and salt and pepper to taste.
Carrots: Cut the carrots into matchsticks. Add some cooking oil in the pan. Sauté the carrots for 3 to 5 minutes over medium high to high heat, sprinkling salt and pepper to taste.
Cucumbers: Cut the cucumbers into matchsticks. Add some cooking oil in a pan. Sauté the cucumbers for 3 to 5 minutes over medium high to high heat, sprinkling salt and pepper to taste.
Mushroom: Add some cooking oil in a wok. Sauté the mushroom to 5 minutes over medium high to high heat, sprinkling salt and pepper to taste.
Eggs: Make fried eggs.
Assemble: Place a serving of rice in a big bowl. Nicely arrange a small amount of each prepared vegetables and meat over the rice. Drizzle a little sesame oil over. Top with an egg. Serve with Bibimbap sauce.
Mix all the ingredients well in the bowl and enjoy.
Notes
Other common toppings for bibimbap include shiitake mushrooms (slices and sautéed), soy bean sprouts, Gosari (fern brake), Kimchi, bell flower roots (doraji – soaked and sautéed).