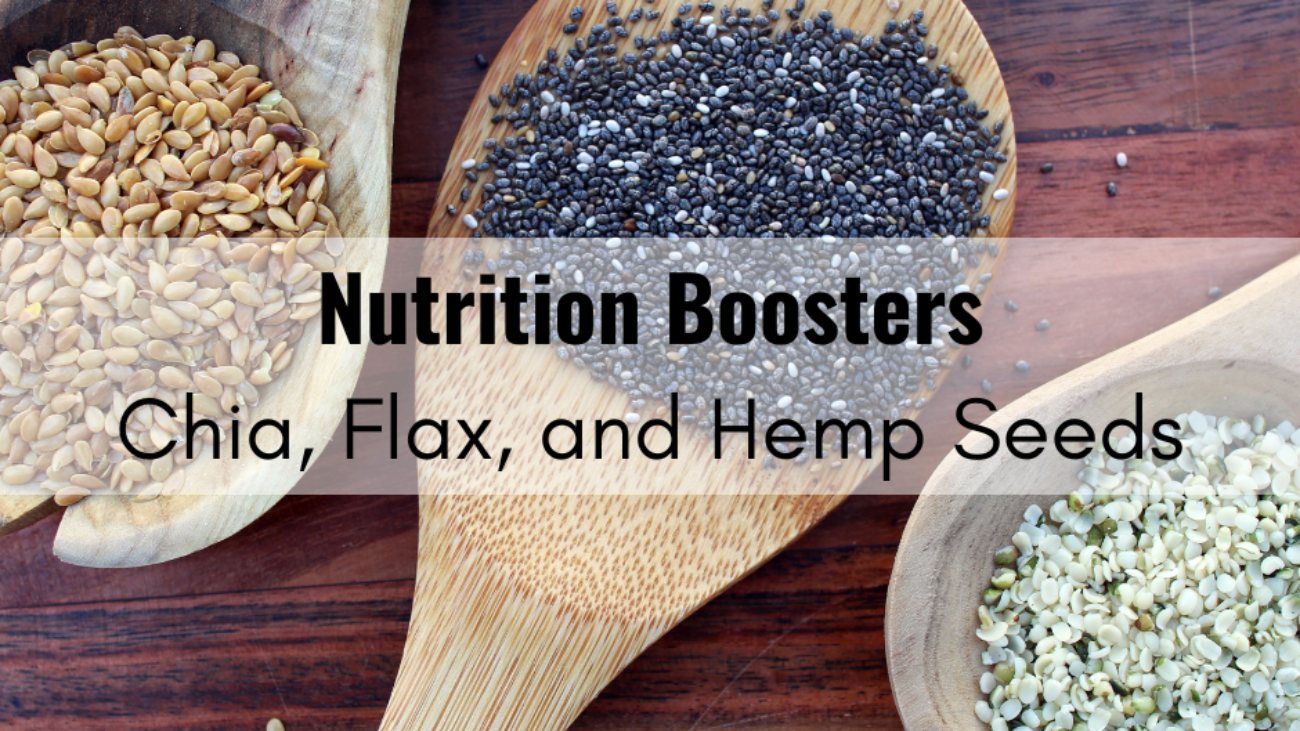
Looking for an easy way to add a nutrition boost? Chia, flax and hemp seeds are all in healthy fats and super versatile. Read more about their nutrition benefits, tips of buying and storing, and ways to enjoy.
WHAT ARE SUPER SEEDS?
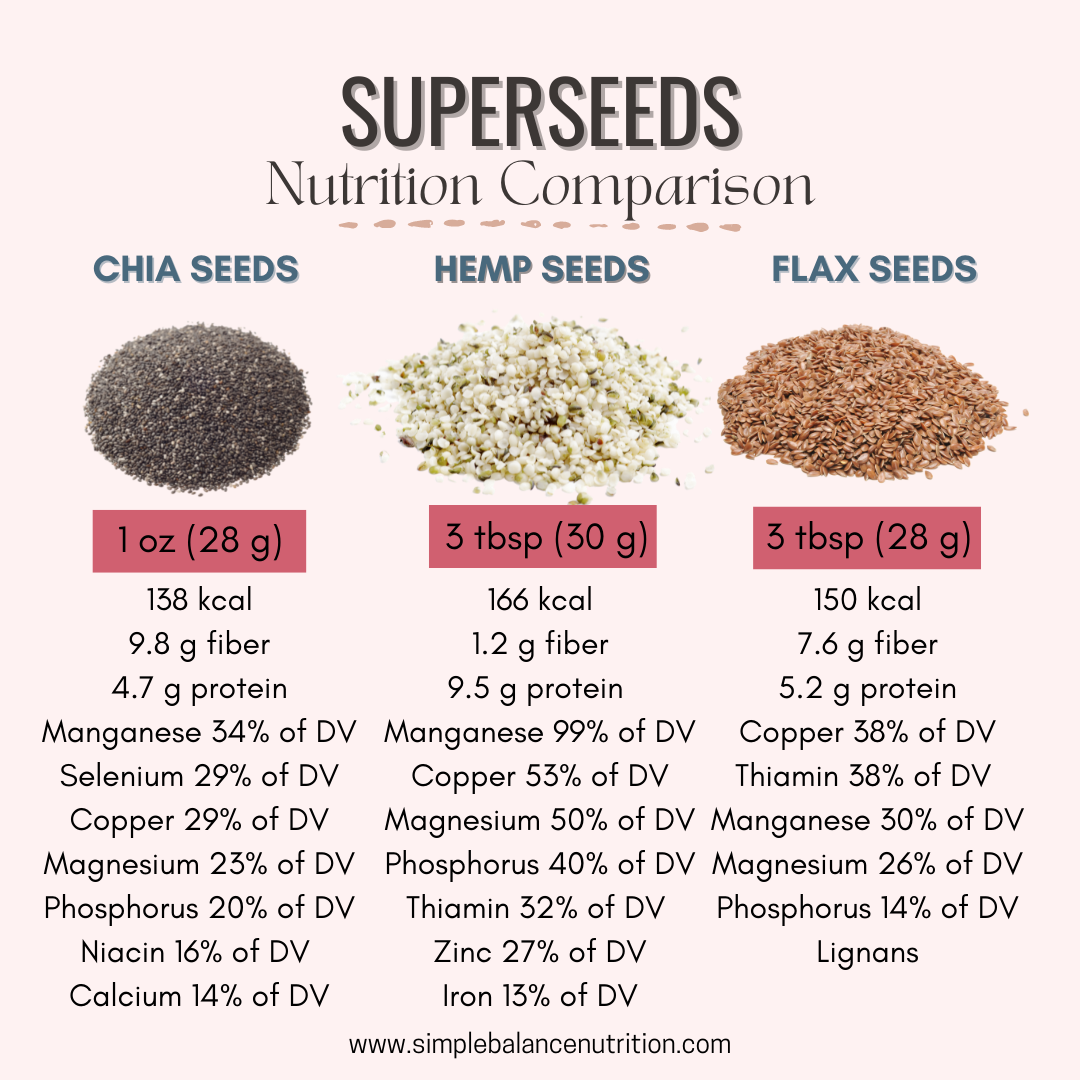
Frequently called super seeds or super foods – chia, flax, and hemp seeds are super tiny yet packed with nutrition.
CHIA SEEDS
Small, round, and white or black in color, similar looking to poppy seeds, with a neutral flavour. They were a staple food for the Aztecs and Mayans as they were prized as an energy booster, which is actually how they got their name as “chia” is the Mayan word for “strength.”
HEMP SEEDS
It can be called hemp hearts, which have a mild nutty flavour. These seeds come from the Cannabis sativa plant. Before you start worrying about THC (the active ingredient in marijuana) and getting high, hemp seeds contain only trace amounts of THC (0.3%) and is very unlikely to cause any psychoactive side effects or even show up in a drug test. In fact, hulled hemp seeds have GRAS (Generally Recognized as Safe) status by the FDA.
FLAX SEEDS
Flax seeds are thought to be one of the world’s oldest crops. These nutrient-dense seeds and their oil have been used for medicinal purposes for thousands of years. Nutty and grassy flavor, these brown or golden seeds can be purchased whole or pre-ground.
NUTRITION & HEALTH BENEFITS
Despite their small size, these super seeds are loaded with nutrients and linked to numerous health benefits.
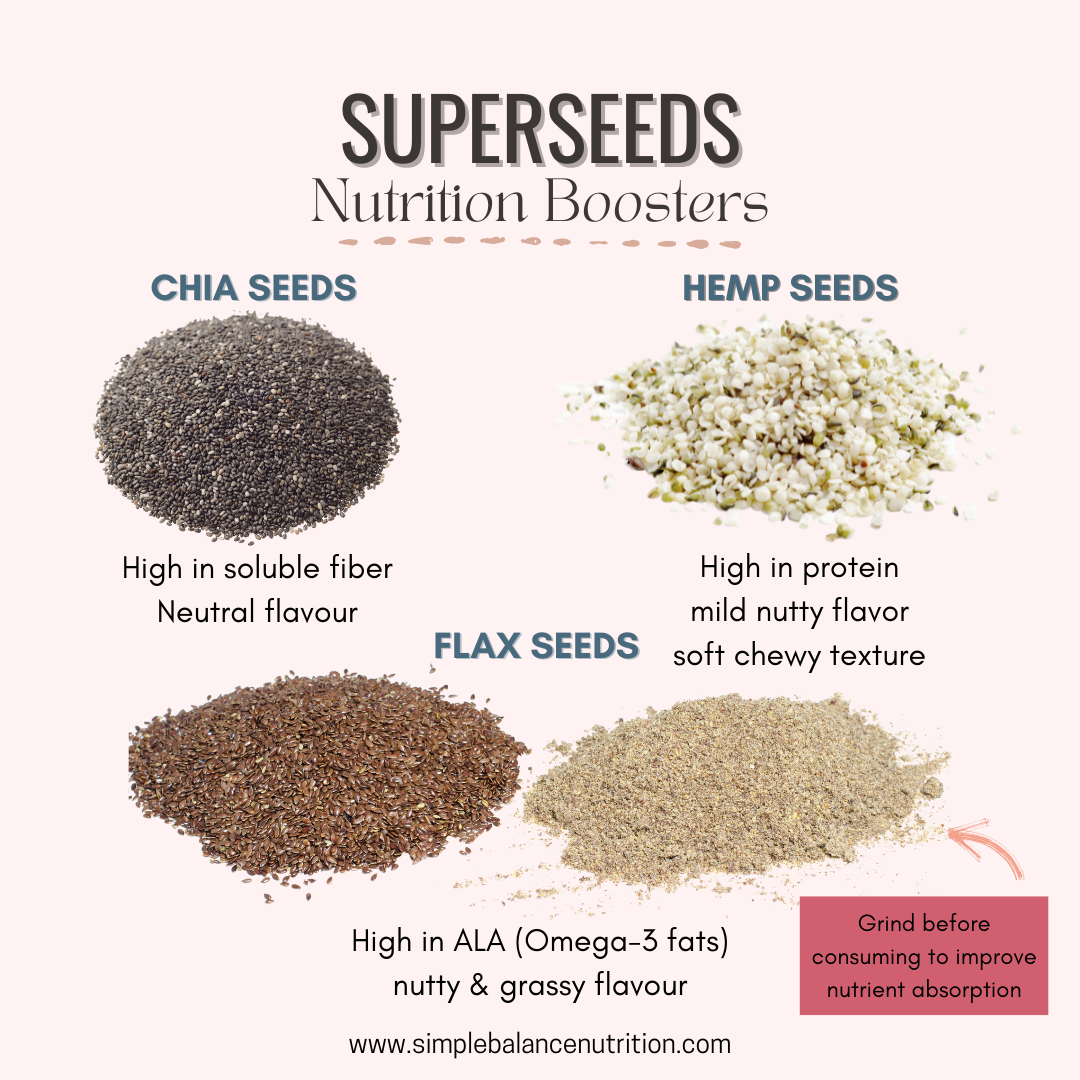
Chia seeds are a great source of fiber, 2 tbsp contain 8 grams of mostly soluble fiber. Chia seeds are high in calcium, magnesium, phosphorus, and ALA. All of these nutrients have been linked to improved bone mineral density.
HEMP SEEDS
Hemp seeds contain all the essential amino acids, making them a complete protein source. However, hulled hemp seeds (hemp hearts) contain very little fiber because the fiber-rich shell has been removed. Hemp seeds are also a great source of vitamin E and minerals, such as phosphorus, potassium, sodium, magnesium, sulfur, calcium, iron and zinc. Hemp seeds contain 3X more omega-6 fatty acids than omega-3 fatty acids, which may benefit skin disease and provide relief from eczema and improve dry or itchy skin.
FLAX SEEDS
Flax seeds are one of the best sources of an antioxidant called lignans, which may protect against cancer. Flax seeds are an excellent source of alpha-linolenic acid (ALA), a type of omega-3 fatty acid that our body doesn’t produce. Flaxseed is particularly high in thiamine, a B vitamin that plays a key role in energy metabolism as well as cell function. It’s also a great source of copper, which is involved in brain development, immune health, and iron metabolism.
Overall, thanks to their high fiber content, healthy fats, and antioxidant content, all three seeds have been associated with a reduced risk of chronic diseases, including heart disease, certain types of cancer, and type 2 diabetes.
HOW AND WHERE TO BUY THEM
All three super seeds can be found in health food stores or at larger supermarkets. Of course, you can also buy these seeds online.
For flax seeds, you have the option to buy them whole or pre-ground. Ground flax seed is much easier to digest than whole flax seed. Due to the outer shell of a flaxseed contains insoluble fiber, which does not dissolve in water, so whole flax seeds may pass through your intestine undigested. Therefore, crushing, milling or grinding the whole flax seeds before consuming can increase the absorption of the nutrients.
You can still buy whole flax seed, grind it in a coffee grinder, and store the ground flax seed in an airtight container for easy use.
For hemp seeds, look for “hemp hearts” or “hulled hemp seeds”, which are just the soft inner seeds with the inedible outer shell removed. Also be aware of where the seeds are from as different countries have varying levels of hemp regulation.
HOW TO STORE THEM
Thanks to their high fat content, these super seeds will last longer when stored in the fridge or freezer, but that doesn’t mean you have to store them that way. The most important thing is to store these seeds in airtight containers.
- CHIA SEEDS: last 2 years in the pantry and 4 years or more in the fridge.
- HEMP SEEDS: 3-4 months in the pantry, 1-2 years in the fridge, and at least 4 years in the freezer.
- WHOLE FLAX SEEDS: 6-12 months in the pantry and 1 year in the fridge.
- GROUND FLAX SEEDS: 1 week in the pantry and 1-2 months in the fridge and 6 months in the freezer. If your ground flax seed tastes at all bitter, then throw it away – bitterness is a sign of rancidity!
USING SEEDS IN YOUR DIET
Flax and hemp hearts both have a mild, nutty flavor, while chia seeds have more of an earthiness to them. All three can be easily added to many different foods, such as smoothies, yogurt, overnight oats, salads or baked goods.
Moderation is important. You don’t need to eat a lot of seeds to reap their health benefits. All seeds are high in fat, which makes them high in calories. A serving size of 1 to 2 tablespoons each day is a great addition to a healthy diet and lifestyle.
Here are some ways to incorporate these nutrient-rich seeds into your meals and snacks.
CHIA SEEDS
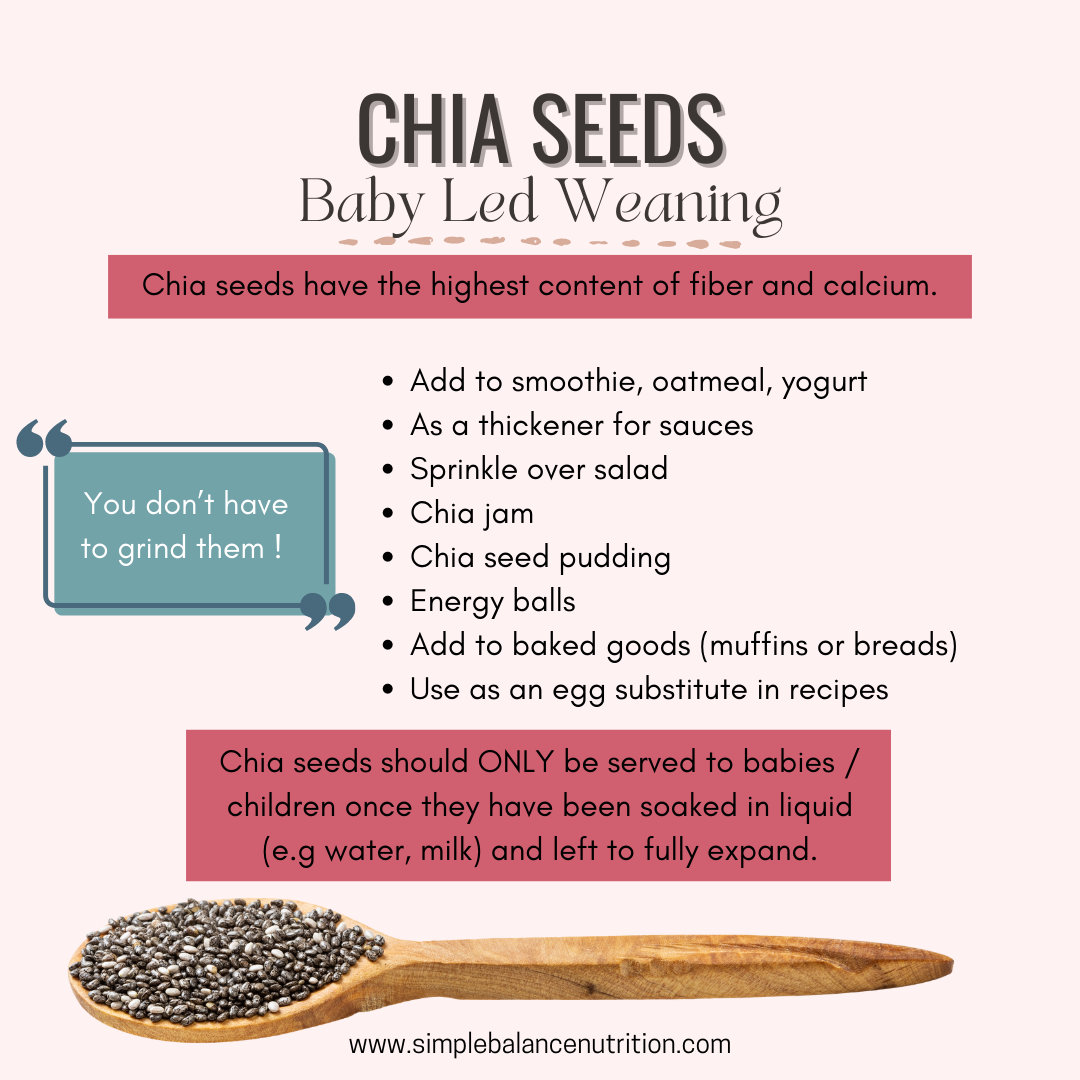
You don’t need to grind or cook the chia seeds. What makes chia seeds unique is that they form a gel-like texture when submerged in a liquid. As a result, you can use them to thicken sauces and as an vegan egg substitute, such as adding to puddings, smoothies, jams, or baked goods.
For 1 medium egg = 1 tbsp chia seeds + 3 tbsp water
You can also sprinkle dry chia seeds on top of cereals, salads, granola, and yogurt.
HEMP SEEDS
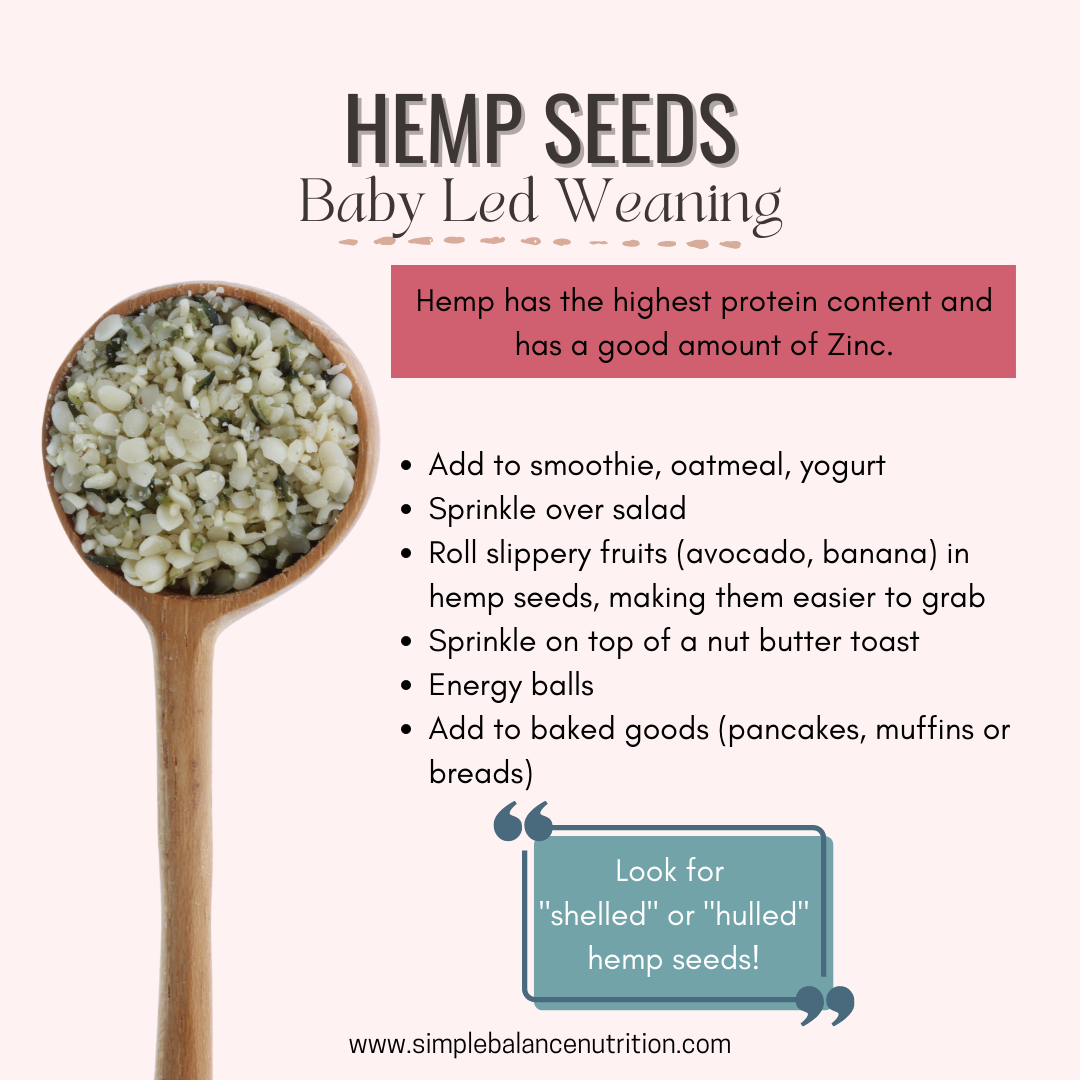
In addition to sprinkling over foods, hemp hearts can be used to make hemp milk and also make for a protein-rich coating for “slippery” foods like avocado, banana, mango.
To really bring out their nutty flavor, you can roast hemp hearts prior to using (they also make for a great nut substitute!).
FLAX SEEDS
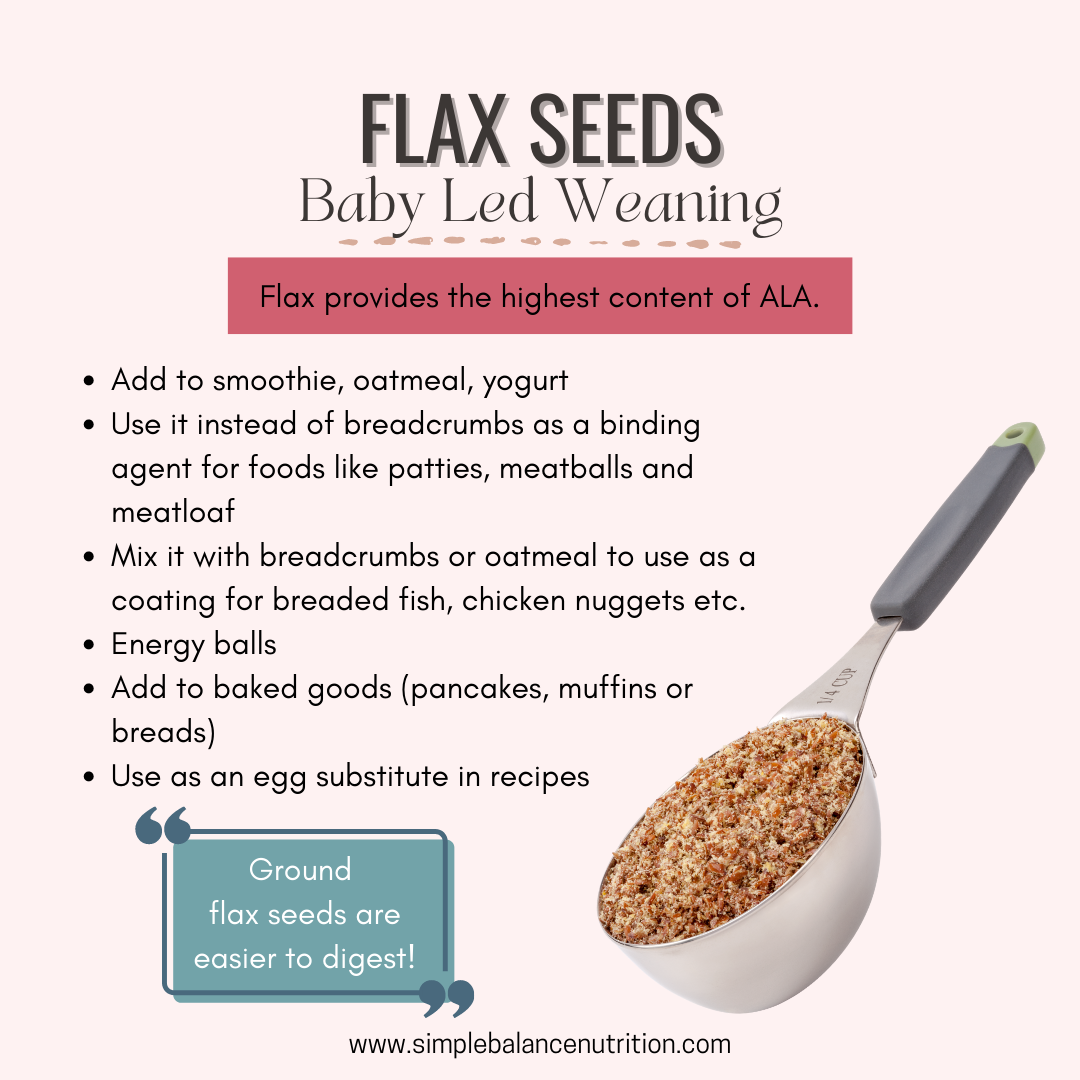
As I mentioned earlier, ground flax seed is much easier to digest than whole flax seed, so you want to grind them before eating/using in cooking. You can also buy pre-ground flax seeds, which are often labeled as flaxseed meal.
Ground flax seeds can be added to baked goods, yogurt, oatmeal, pancakes, and smoothies. Like chia seeds, they can be used as an egg substitute in baking recipes – a great trick if your family is vegan or your child has an egg allergy!
For 1 medium egg = 1 tbsp ground flax seeds + 3 tbsp water
BOTTOM LINE
Hemp, flax and chia seeds each have a unique nutrition profile, so there’s no reason to stick to eating only one. They’re an excellent source of plant-based protein, fiber, omega-3 fatty acids, antioxidants, and a number of minerals. If you’re looking for a nutrition boost, mix them up, include one to two tablespoons of one or more types of seeds in your diet each day.