We all want our children to learn about nutrition in a fun, creative, and entertaining way. Combine story time with educating children about nutrition, and you have a recipe for success.
It is important to remember that just reading to your children is success itself. Don’t let technicalities or worrying about “doing it the right way”, get in the way of doing it at all. Children love to listen to stories and learn. They love a good character and a fun adventure.
WHAT TO LOOK FOR IN A BOOK:
- Humor
- An interesting story
- Interesting illustrations
- How to overcome challenges
- The opportunity for ongoing conversation (ex: what would you do?)
- A message about nutrition
QUICK TIPS TO MAKE STORY TIME A SUCCESS:
- Repetition is key! You may get tired of the same books every night, but repetition helps children learn.
- Be dramatic! Change your voice to reflect emotion and emphasize different points of the story.
- Let your children repeat back to you. Mimicking is a powerful tool for learning.
- Point to the pictures as you identify and say what they are (point to an apple, when you say the word, Apple). This is great for stories that are mostly pictures, like Eating the Alphabet. Don’t just say “banana”, point to it as well!
- Don’t rush through it! I know it’s tempting to skip pages and rush through bedtime stories, but get to bed 10-15 minutes earlier than normal and enjoy the time together. Remember, they are only little once, and they won’t be as attentive to story time when they are teens!
- Discuss the story after you read it. Talk about what they learned, and what changes they can make to their diet to reflect the lessons they learned.
I’ve put together a reading list for kids including 52 children’s books (26 English and 26 Chinese books) about nutrition to help you entertain and educate at the same time.
These children books include information about healthy eating, where food comes from, how to prepare it, how foods digest in our body, and more.
ENGLISH CHILDREN BOOKS
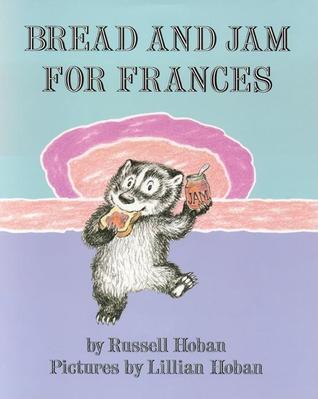
- Bread and Jam for Frances by Russell Hoban
Frances is a fussy eater. In fact, the only thing she likes is bread and jam. She won’t touch her squishy soft-boiled egg. She trades away her chicken-salad sandwich at lunch. She turns up her nose at boring veal cutlets. Unless Mother can come up with a plan, Frances just might go on eating bread and jam forever! It is great for kids ages 0-5 years old.
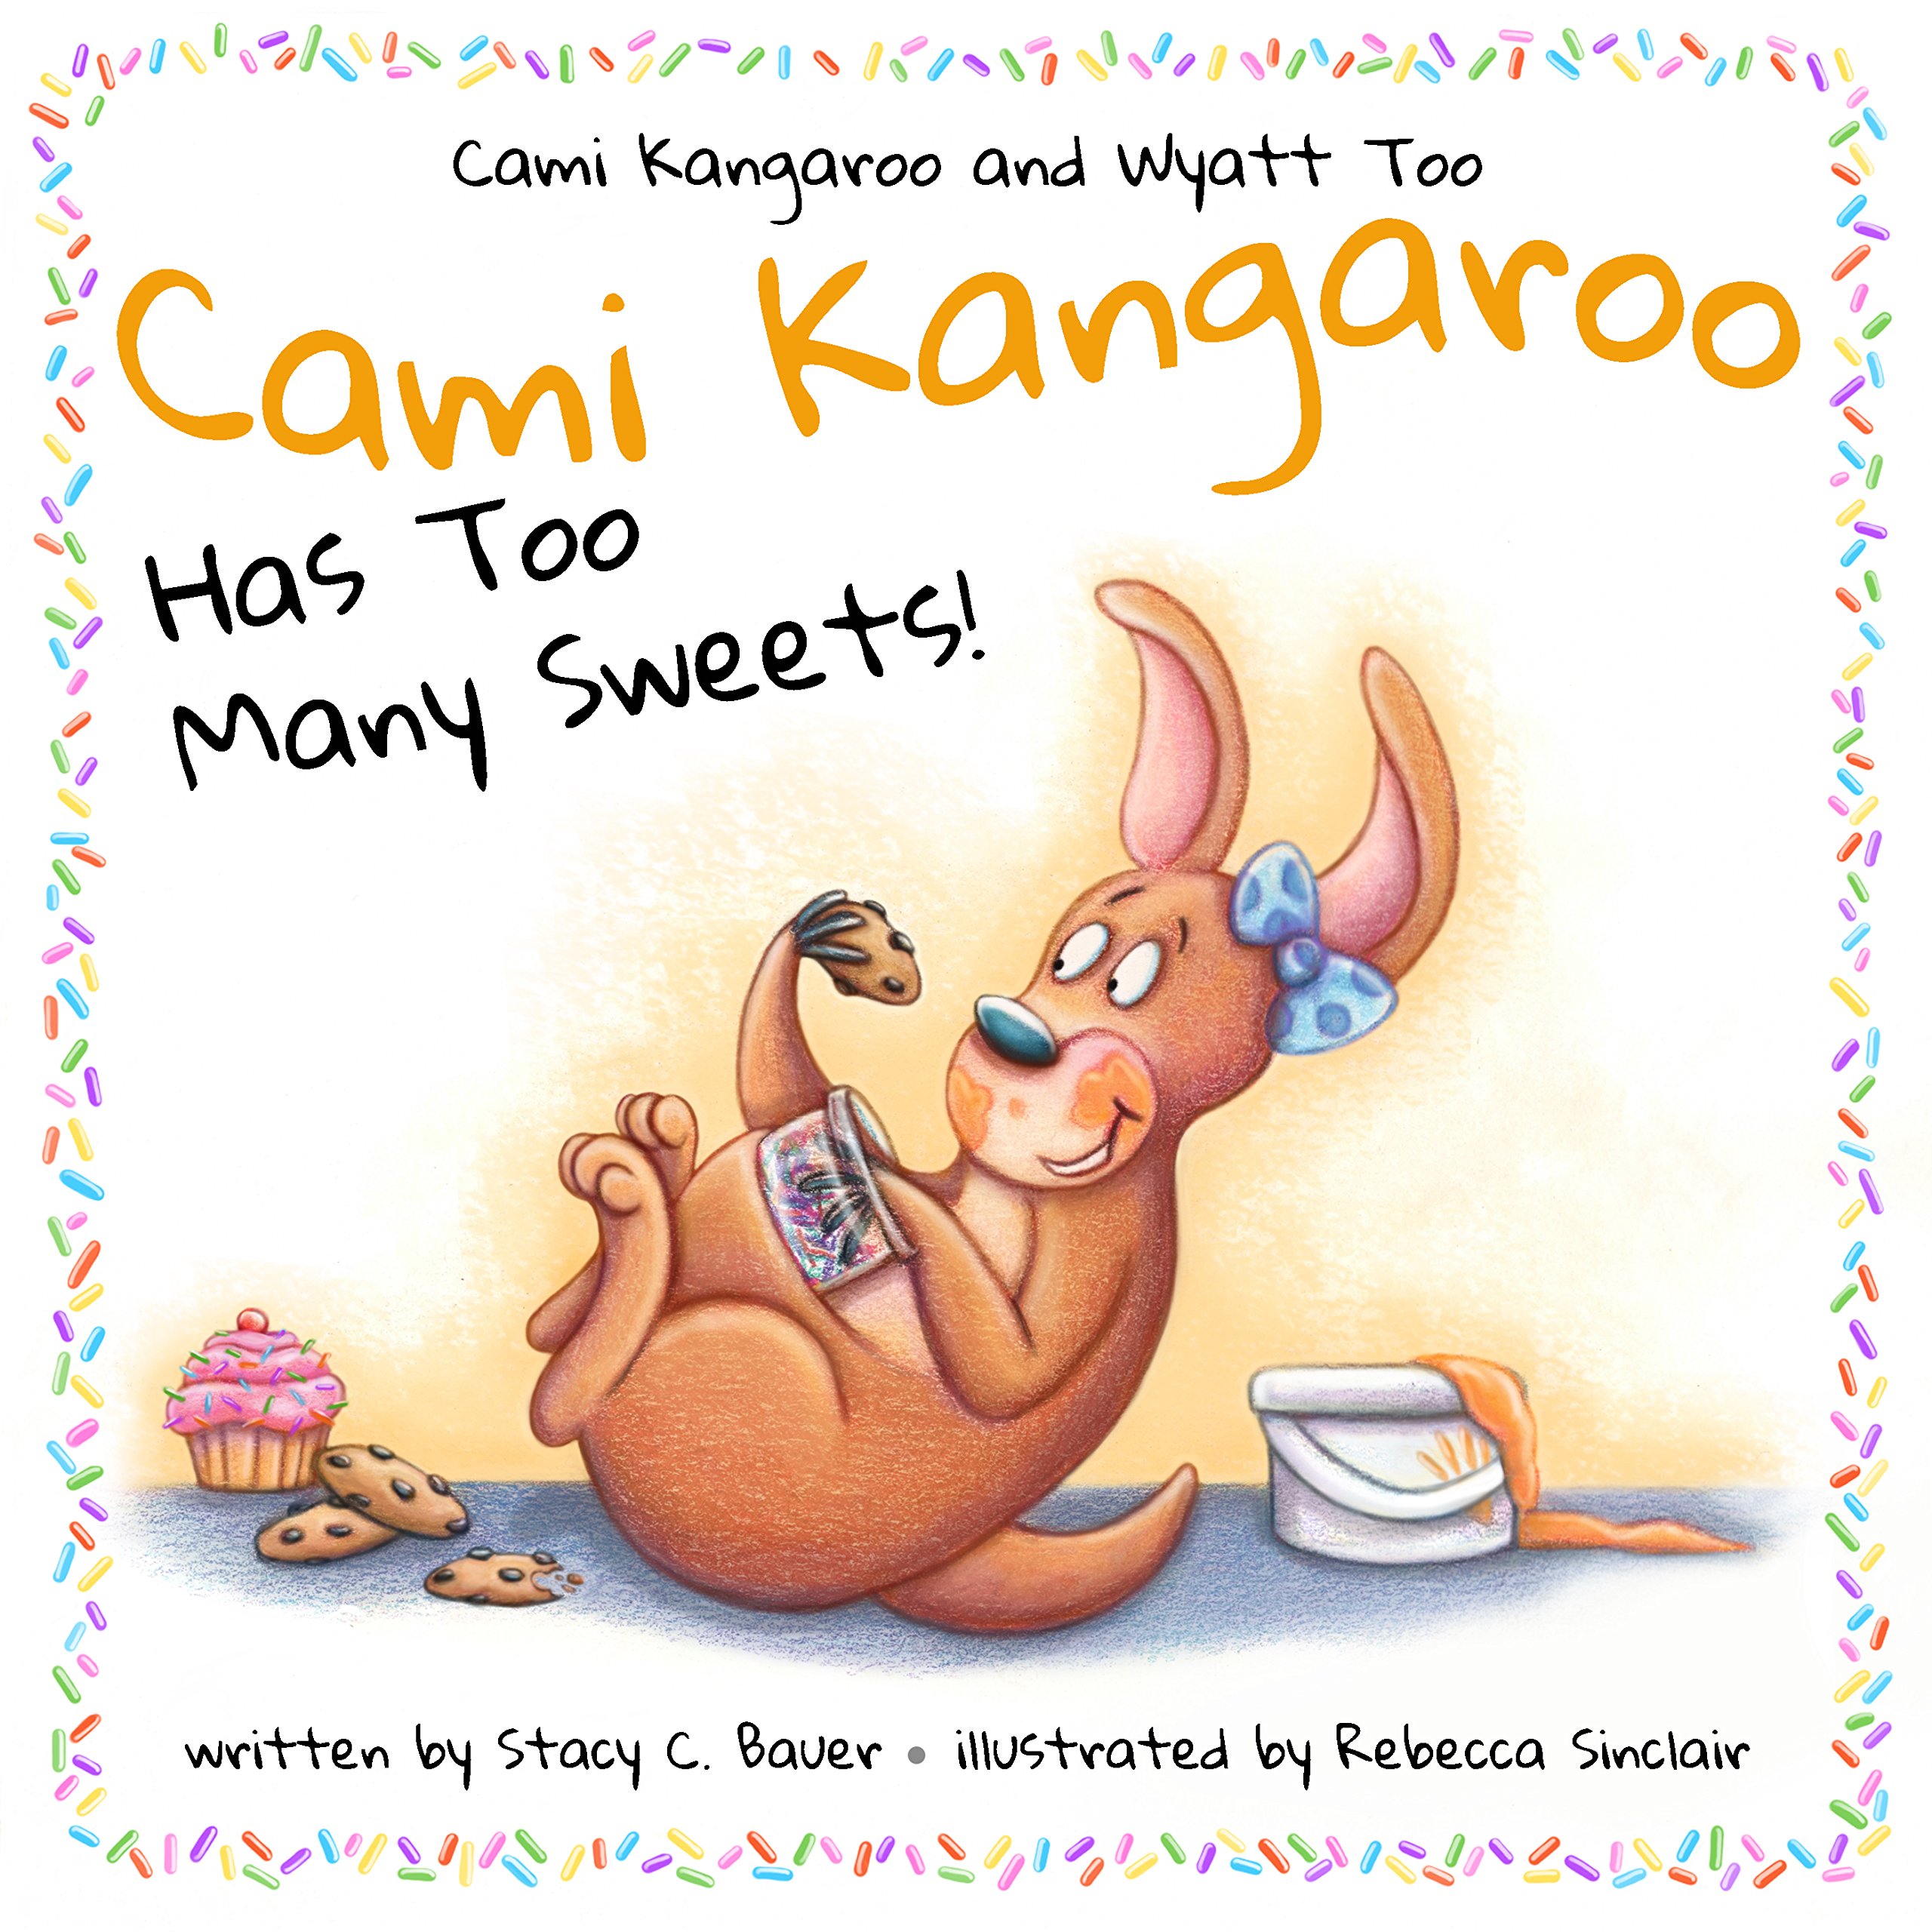
- Cami Kangaroo Has Too Many Sweets! by Stacy C. Bauer
Cami Kangaroo loves sweets. In fact, she can’t stop thinking about them. She loves them sooo much, that even after Mommy catches her eating from a bucket of ice cream, she still finds ways to sneak them. Will Cami ever be able to follow the rules about junk food? It is great for kids ages 0-5 years old.
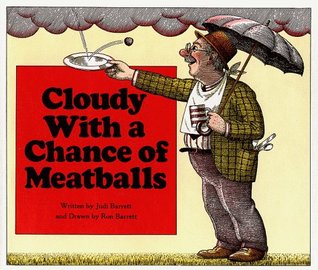
- Cloudy with a Chance of Meatballs by Judi Barrett
The tiny town of Chewandswallow was very much like any other tiny town except for its weather which came three times a day, at breakfast, lunch and dinner. But it never rained rain and it never snowed snow and it never blew just wind. It rained things like soup and juice. It snowed things like mashed potatoes. And sometimes the wind blew in storms of hamburgers. Life for the townspeople was delicious until the weather took a turn for the worse. The food got larger and larger and so did the portions. Chewandswallow was plagued by damaging floods and storms of huge food. The town was a mess and the people feared for their lives. Something had to be done, and in a hurry. It is great for kids ages 0-5 years old.
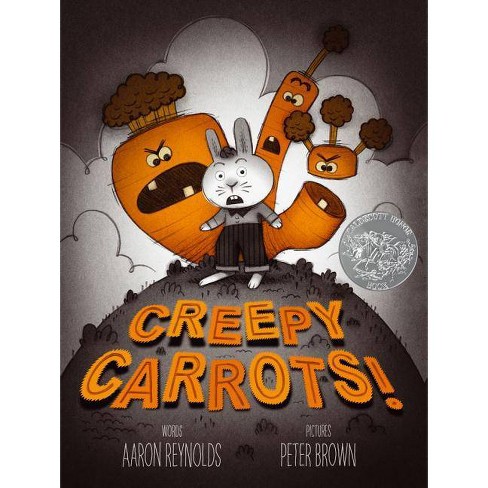
- Creepy Carrots! by Aaron Reynolds
Jasper Rabbit loves carrots—especially Crackenhopper Field carrots. He eats them on the way to school. He eats them going to Little League. He eats them walking home. Until the day the carrots start following him…or are they? It is great for kids ages 0-5 years old.
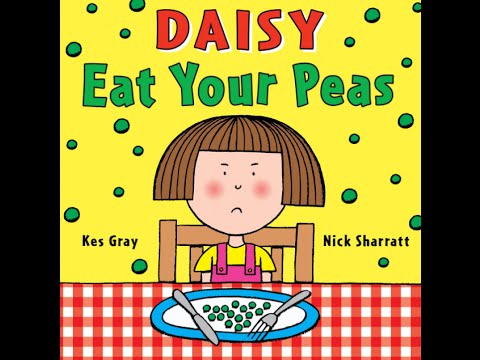
- Daisy Eat Your Peas by Kes Gray 吃掉你的豌豆
Daisy doesn’t like peas. And there is nothing that will get her to eat them. Mum says she can have an extra pudding, a chocolate factory or a space rocket with double retro laser blammers – but it just won’t work! Can quick-thinking Daisy save her tea time and come up with a cunning plan to turn the tables on Mum? This wickedly funny story will appeal to cheeky children everywhere (especially fussy eaters!). It is great for kids ages 0-5 years old.
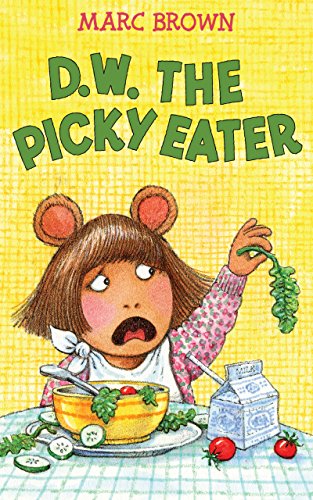
- D.W. The Picky Eater by Marc Brown
D.W. is very picky about what she eats. She doesn’t seem to like anything. Her dining out days with her family are cut short when she refuses to eat her salad and flings it to the floor. Will her table manners improve in time for her Grandma Thora’s special dinner out? It is great for kids ages 0-5 years old.
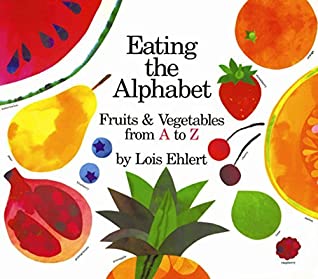
- Eating the Alphabet by Lois Ehlert
This is a more of a picture book, but kids enjoy reading and seeing all the foods that are associated with each letter. A glossary at the end provides interesting facts about each food. It is great for kids ages 2-3 years old.
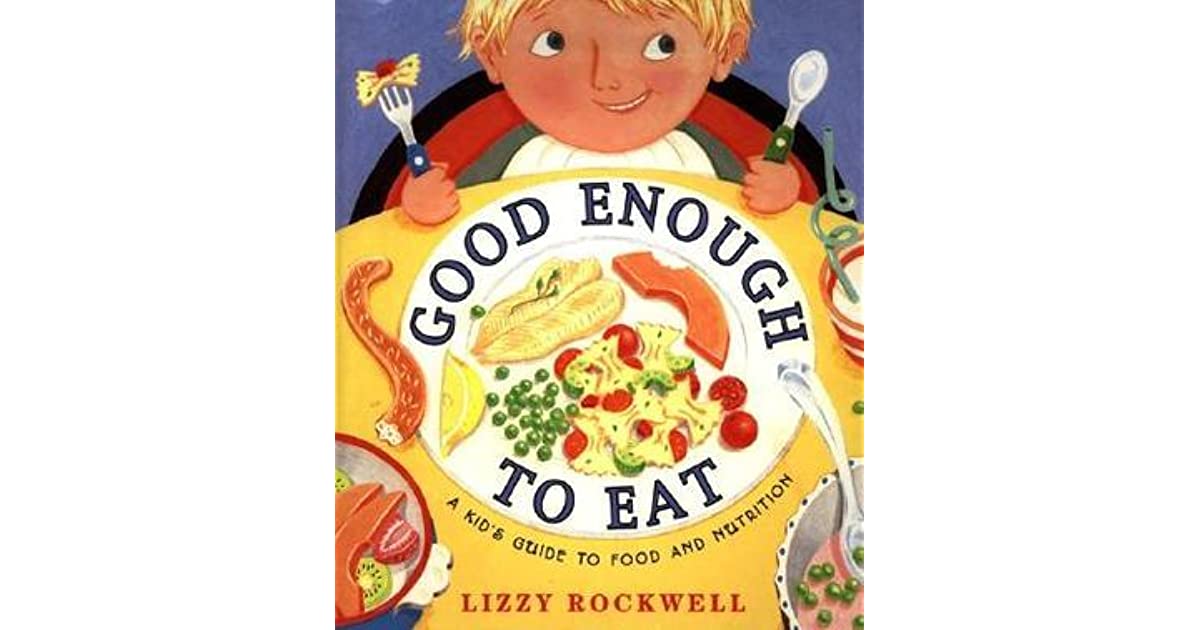
- Good Enough to Eat by Lizzy Rockwell
A practical, hands-on tool for families who want to eat a healthy diet, this book explains nutrition from carrots to cookies. This book is good for ages 4-8 years.
我觉得这简直是一本给小朋友看的营养学教材,用绘本和讲故事的方式,简单介绍了我们吃的食物都有什么营养,包括碳水化合物,蛋白质,脂肪,水,维生素和矿物质的概念,每种营养素的功能,哪些食物含有哪些营养素,每个孩子每天需要多少营养素,我们的身体如何消化食物,以及卡路里的知识,营养很重要,如果宝宝从小就对此有所了解,对他们以后的人生和健康也非常有帮助。
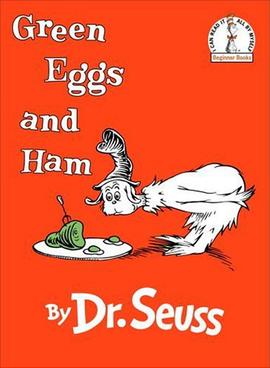
- Green Eggs and Ham by Dr. Seuss
Have you ever tried green eggs and ham? Sam-I-Am suggests all kinds of ways to try green eggs and ham. This classic Dr. Seuss book is a staple for beginner and emergent readers. This book is good for ages 4-8 years.
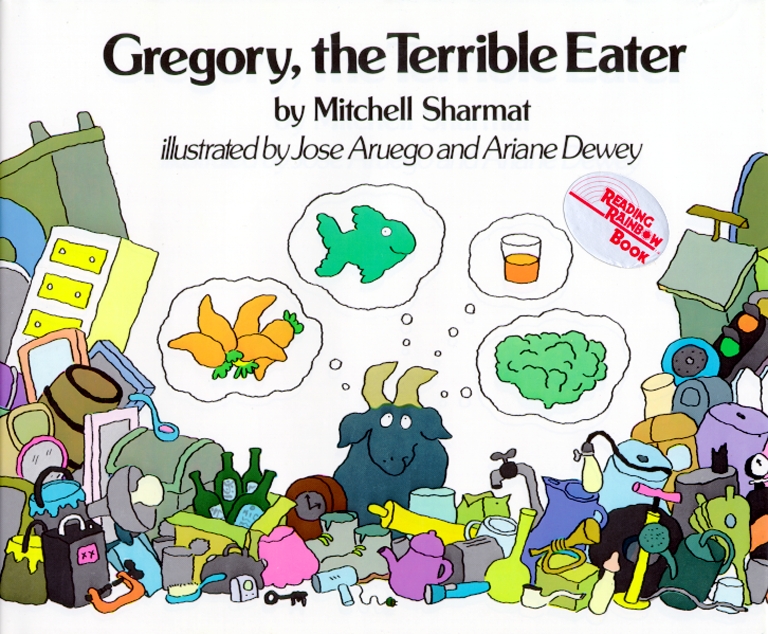
- Gregory, the Terrible Eater by Mitchell Sharmat
Gregory isn’t like most goats. Instead of indulging in delicacies like old shoes, boxes, and bottle caps, he prefers to eat fruits, vegetables, eggs, and fish. Mother Goat and Father Goat are disgusted, and after several attempts to get Gregory to eat like a proper goat, they finally take him to see Dr. Ram. But when Gregory finally develops a taste for flat tires and broken violins, he’s not just eating like a goat—he’s eating like a pig! Will Gregory be able to find a healthy balance before he eats everything in the house? It is great for kids ages 0-5 years old.
这本书堪称对付挑食小朋友的经典之作,第一版出版于1980年,很多当年看过这本书的挑食小朋友现在已经变成了挑食小朋友的爸妈。Gregory是个小山羊,他喜欢吃水果、蔬菜、鸡蛋和鱼,但是山羊们眼中的健康食物与垃圾食物跟我们刚好相反,在它的爸爸妈妈看来,这些都是不健康的食物,它们希望Gregory多吃些旧鞋、罐头、瓶盖、衣服、报纸等它们眼中的“美味佳肴”。后来爸爸妈妈带Gregory去看医生,终于勾起了它对破轮胎和坏了的小提琴的食欲,Gregory胃口大开吃了很多,最后它肚子疼了……这本书也让我们开始反省,我们希望宝宝吃的东西就一定是健康的吗?宝宝吃的很多很饱就是好的吗?无论如何,医生给Gregory爸爸妈妈的建议中有一条是正确的:如果宝宝挑食,应该每次只给他吃一种它不喜欢的食物,而且把这个食物放在他喜欢的食物中,像Gregory的爸爸妈妈,就是把鞋带掺在意面里给他吃。
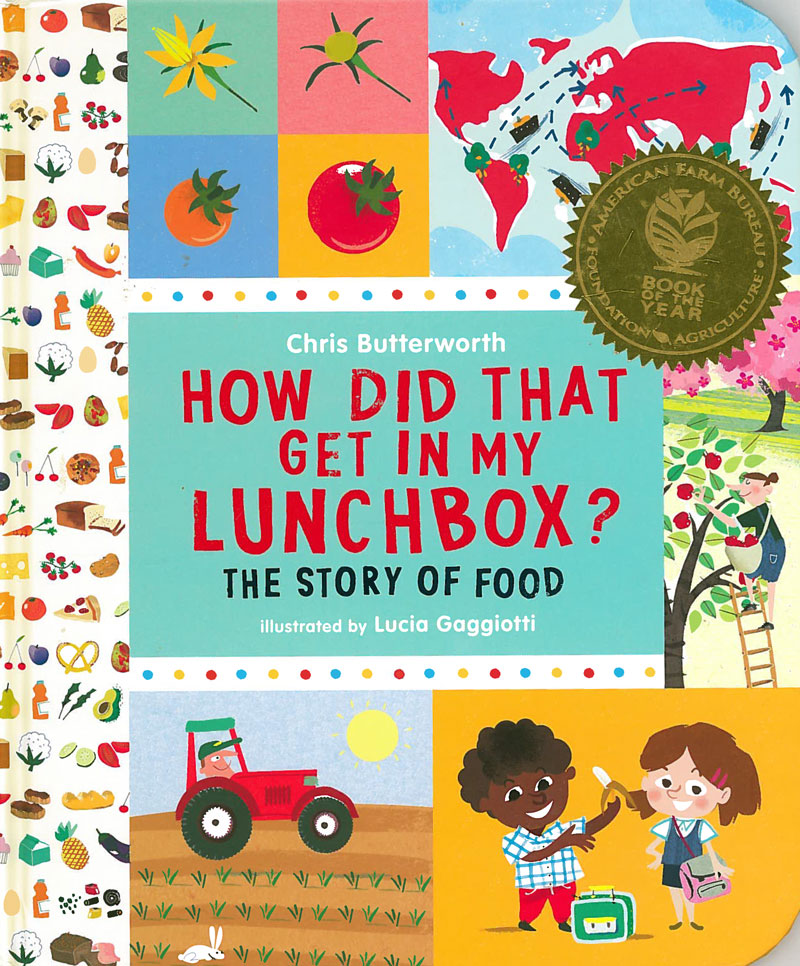
- How Did that Get in My Lunchbox? by Chris Butterworth 餐盒里食物的故事
One of the best parts of a young child’s day is opening a lunchbox and diving in. But how did that delicious food get there? From planting wheat to mixing dough, climbing trees to machine-squeezing fruit, picking cocoa pods to stirring a vat of melted bliss, here is a clear, engaging look at the steps involved in producing some common foods. Health tips and a peek at basic food groups complete the menu. This book is good for ages 4-8 years.
上了学的小朋友们每天最开心的就是午餐时刻,打开lunchbox,看看妈妈又给准备了什么好吃的。这本书通过食物介绍了营养的有关概念,比如蛋白质、碳水化合物等,但是也有不同的地方,就是利用小朋友的好奇心,说明了午餐盒中的食物都是怎么制作出来的,比如面包、苹果汁等,它们虽然是在超市里买的,但是可不是在超市里长出来的,这个制作过程可以让宝宝对食物多了一层了解,也许会更亲近。

- How to Feed Your Parents by Ryan Miller
Who’s the picky eater? Not Matilda! A little girl with adventurous tastes turns the tables on her food-fussy parents and teaches them that dinner can be more than chicken nuggets. Matilda Macaroni loves to try new foods, whether it’s her grandma’s jambalaya or sushi at a sleepover. But, in this fun, twisted picture book, it’s finicky mom and dad–not the child–who eat only pizza with pepperoni (delivered), burgers from a bag, or noodles from a box. Eager to experience new flavors, Matilda secretly sets out to learn how to cook, satisfy her hunger for something more . . . and expand her parents’ palates, too. There’s also a Macaroni family recipe for quiche that young cooks can try!

- If You Give a Cat a Cupcake by Laura Numeroff
If you give a cat a cupcake, he’ll ask for some sprinkles to go with it. When you give him the sprinkles, he might spill some on the floor. Cleaning up will make him hot, so you’ll give him a bathing suit . . .It is great for kids ages 0-5 years old.
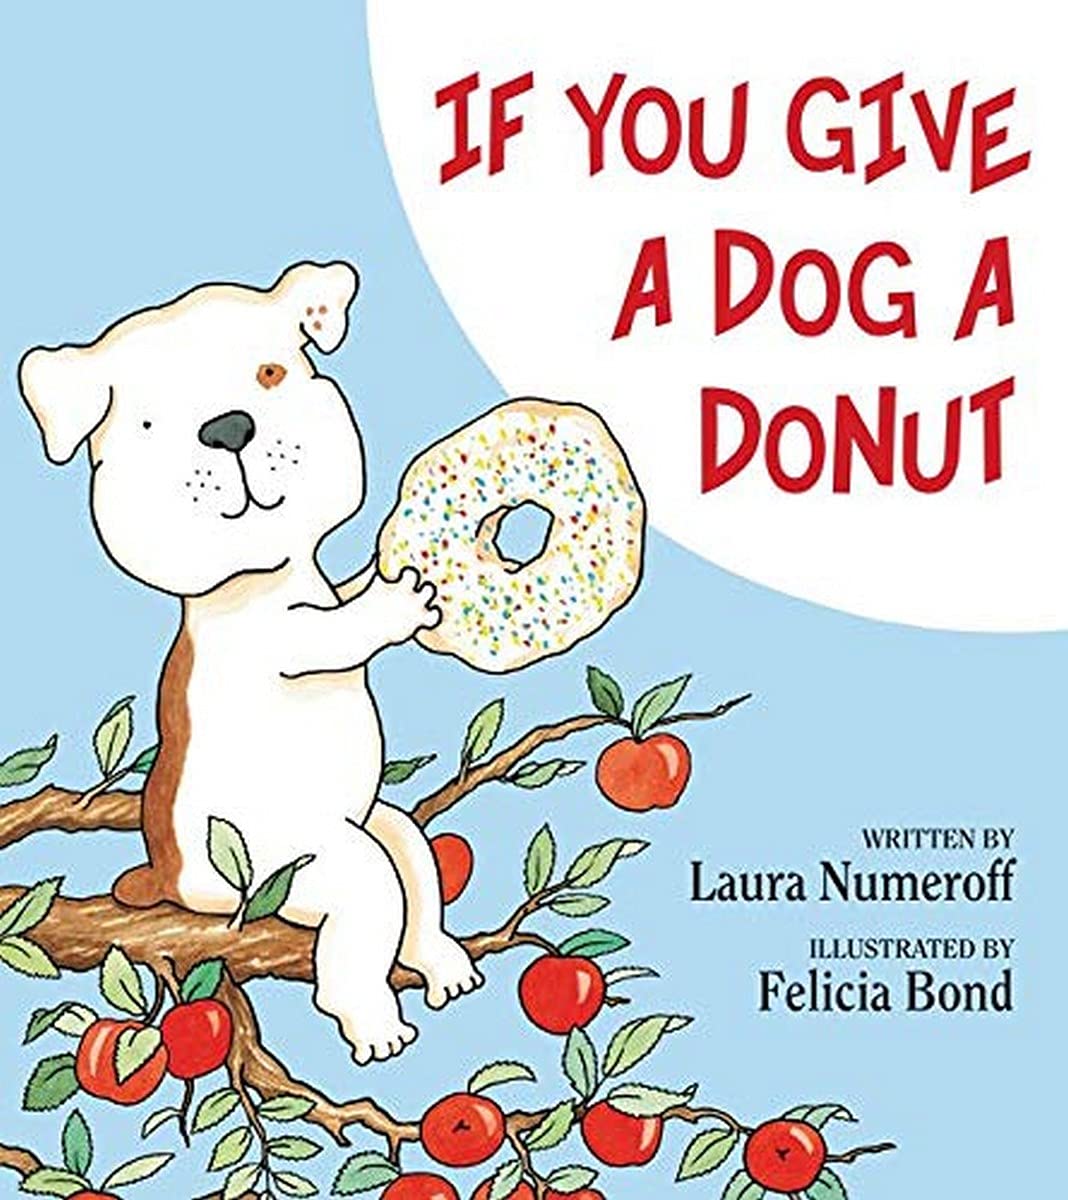
- If You Give a Dog a Donut by Laura Numeroff
If you give a dog a donut, he’ll ask for some apple juice to go with it. When you give him the juice, he’ll drink it all up. Then, before you can say “Woof” . . . Dog is off on a backyard adventure! It is great for kids ages 0-5 years old.
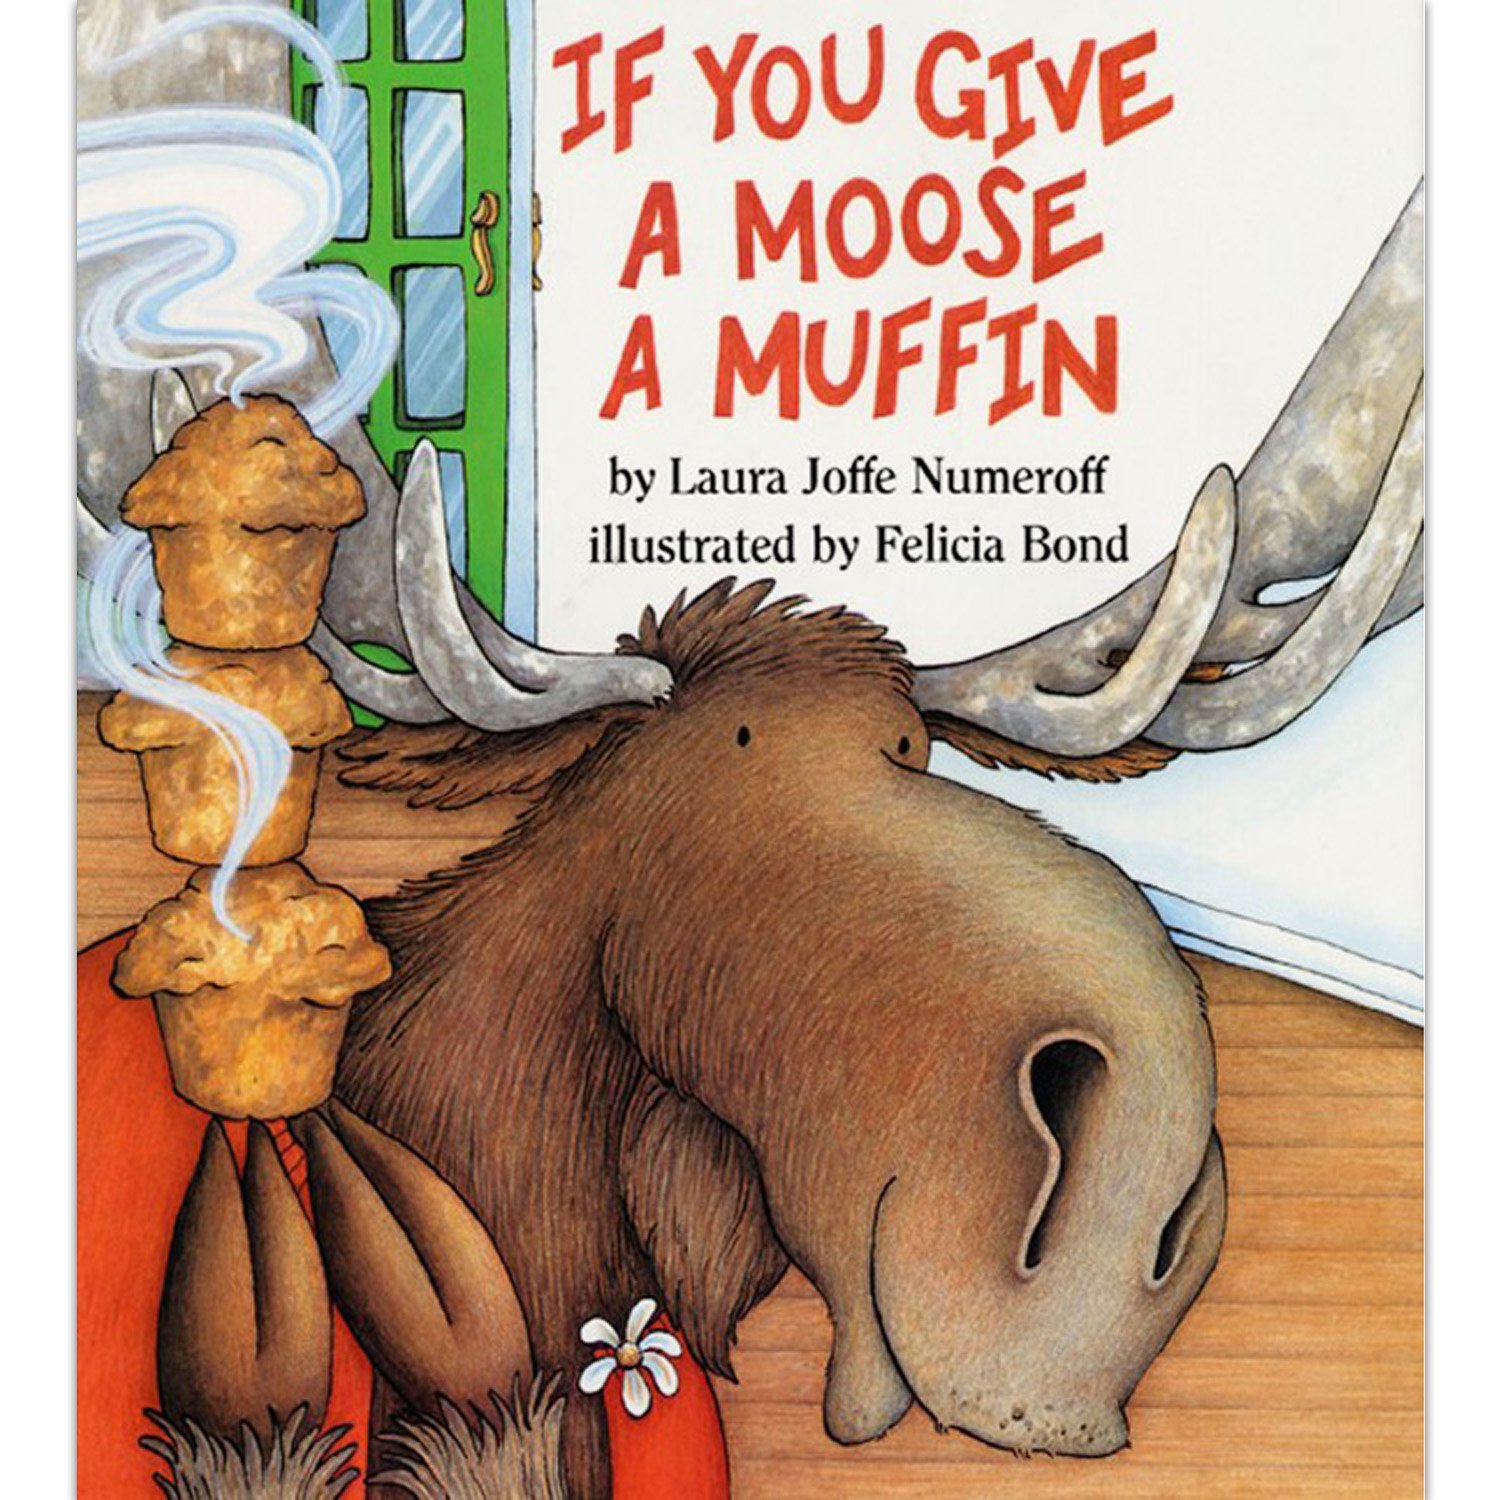
- If You Give a Moose a Cookie by Laura Numeroff
If you give him a cookie, he’ll ask for a glass of milk. He’ll want to look in a mirror to make sure he doesn’t have a milk mustache, and then he’ll ask for a pair of scissors to give himself a trim….It is great for kids ages 0-5 years old.
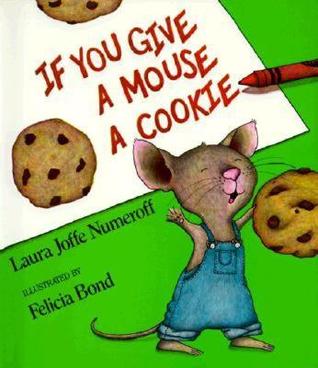
- If Your Give Mouse a Muffin by Laura Numeroff
If a big hungry moose comes to visit, you might give him a muffin to make him feel at home. If you give him a muffin, he’ll want some jam to go with it. When he’s eaten all your muffins, he’ll want to go to the store to get some more muffin mix. It is great for kids ages 0-5 years old.
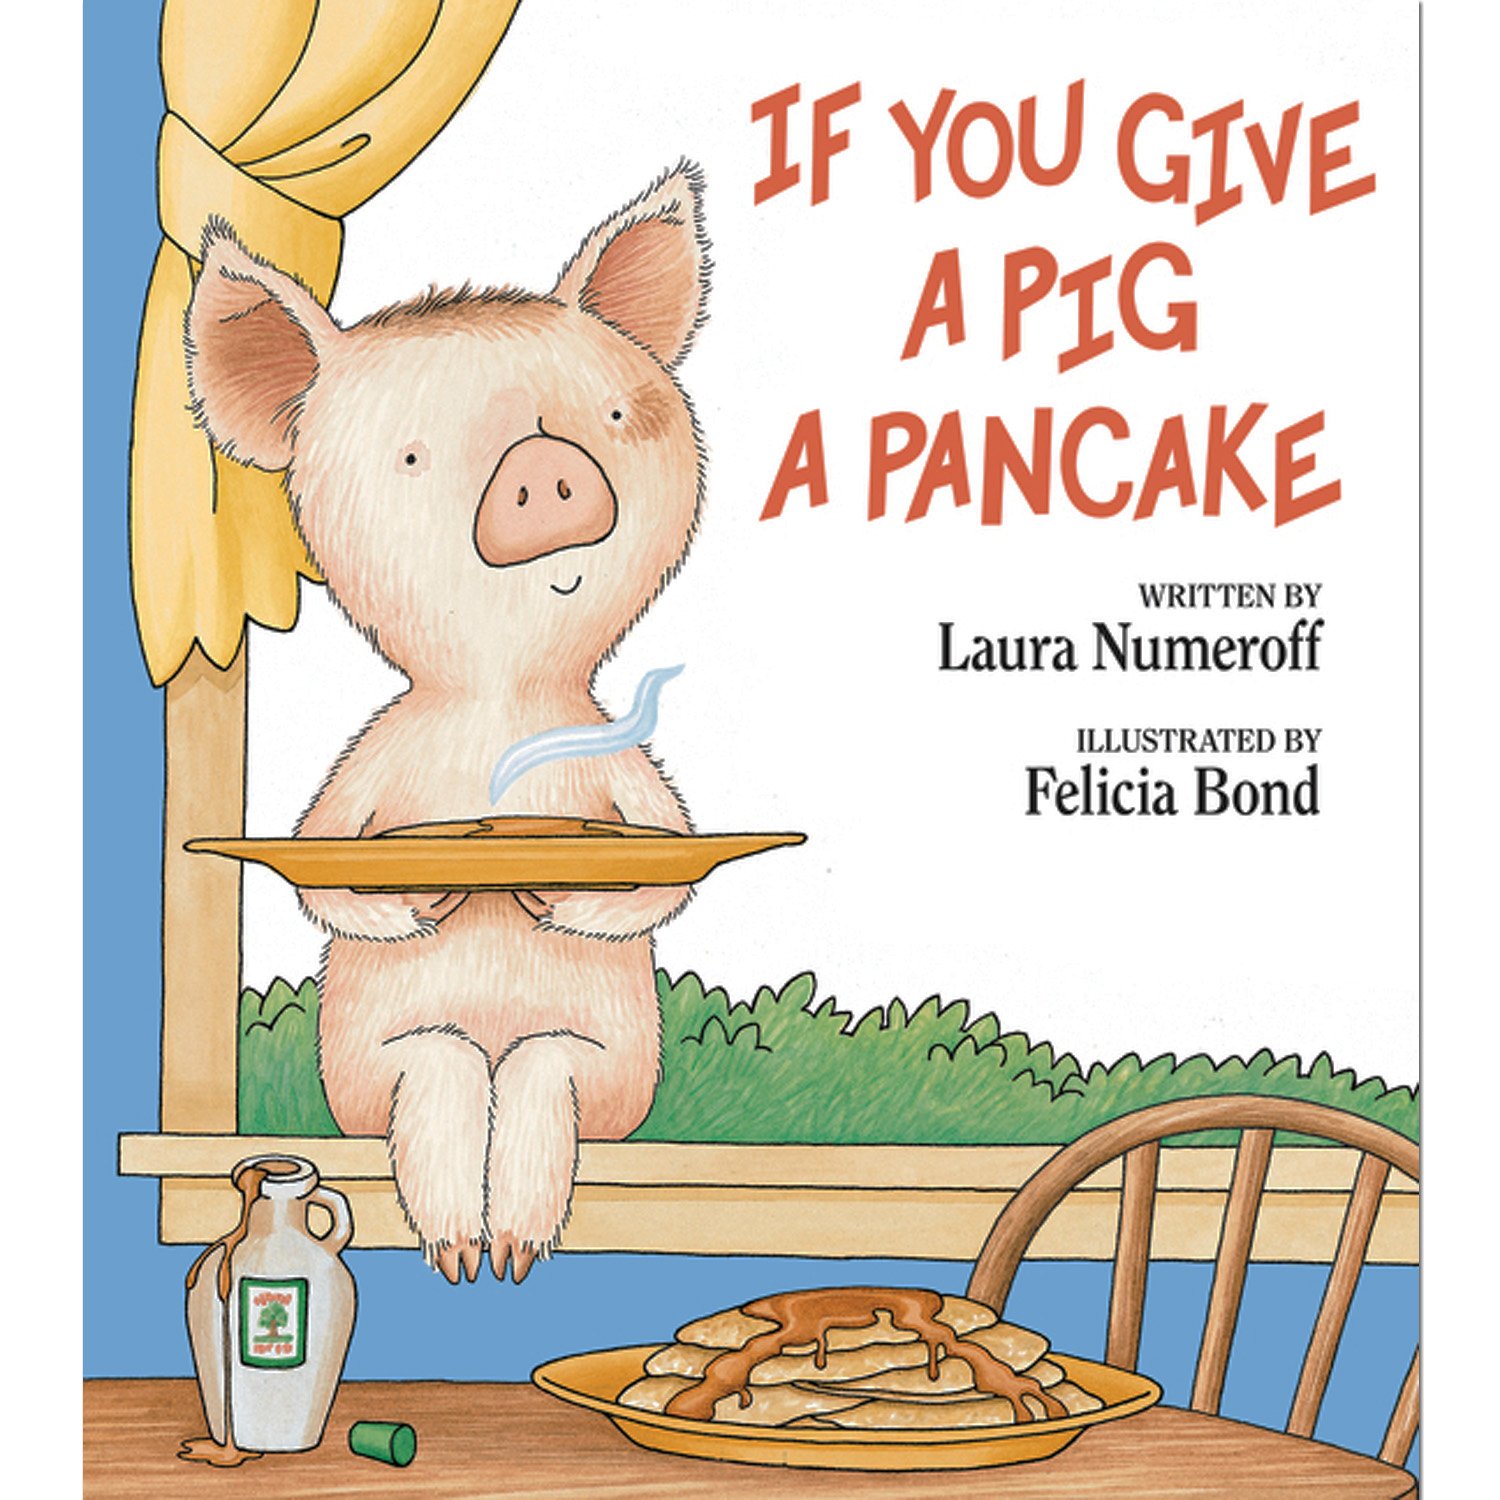
- If You Give a Pig a Pancake by Laura Numeroff
If you give a pig a pancake, she’ll want some syrup to go with it. You’ll give her some of your favorite maple syrup, and she’ll probably get all sticky, so she’ll want to take a bath. She’ll ask you for some bubbles. When you give her the bubbles… It is great for kids ages 0-5 years old.
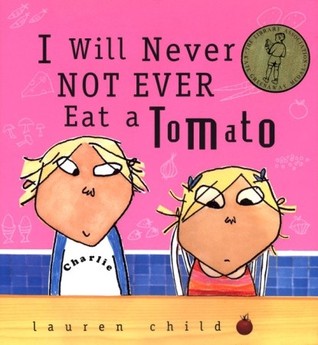
- I will Never Not Ever Eat a Tomato by Lauren Child 我绝对绝对不吃番茄
Lola is a fussy eater. A very fussy eater. She won’t eat her carrots (until her brother Charlie reveals that they’re orange twiglets from Jupiter). She won’t eat her mashed potatoes (until Charlie explains that they’re cloud fluff from the pointiest peak of Mount Fuji). There are many things Lola won’t eat, including — and especially —tomatoes. Or will she? Two endearing siblings star in a witty story about the triumph of imagination over proclivity. It is great for kids ages 0-5 years old.
Charlie和Lola 是一对兄妹,Lola是个非常挑食的小姑娘,有一天她的哥哥Charlie负责看她吃饭,面对Lola对各种蔬菜的抗拒,Charlie充分发挥自己的想象力,给胡萝卜(木星上的橙色树枝)、豌豆(绿色的雨)、土豆泥(富士山上的云)等蔬菜都编了个有趣的来历,于是Lola就愉快地吃下去了。

- Llama Llama Yum Yum Yum! by Anna Dewdney
Get cooking with Llama Llama in this scratch-and-sniff board book! Llama Llama and his Mama are in the kitchen whipping up some delicious treats! Join in the fun by reading along with this super-sweet story and scratching and sniffing the fun scents on each spread, like pickles and ice cream sundaes! It is great for kids ages 0-5 years old.
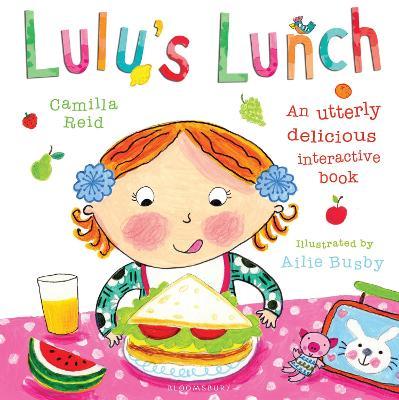
- Lulu’s Lunch by Camilla Reid
An action-packed activity book perfect for all toddlers. Join Lulu on her exciting edible day as she discovers sticky honey, a banana to peel, a picnic box to unpack and a brilliant finale – a plate full of spaghetti! It is great for kids ages 0-3 years old.
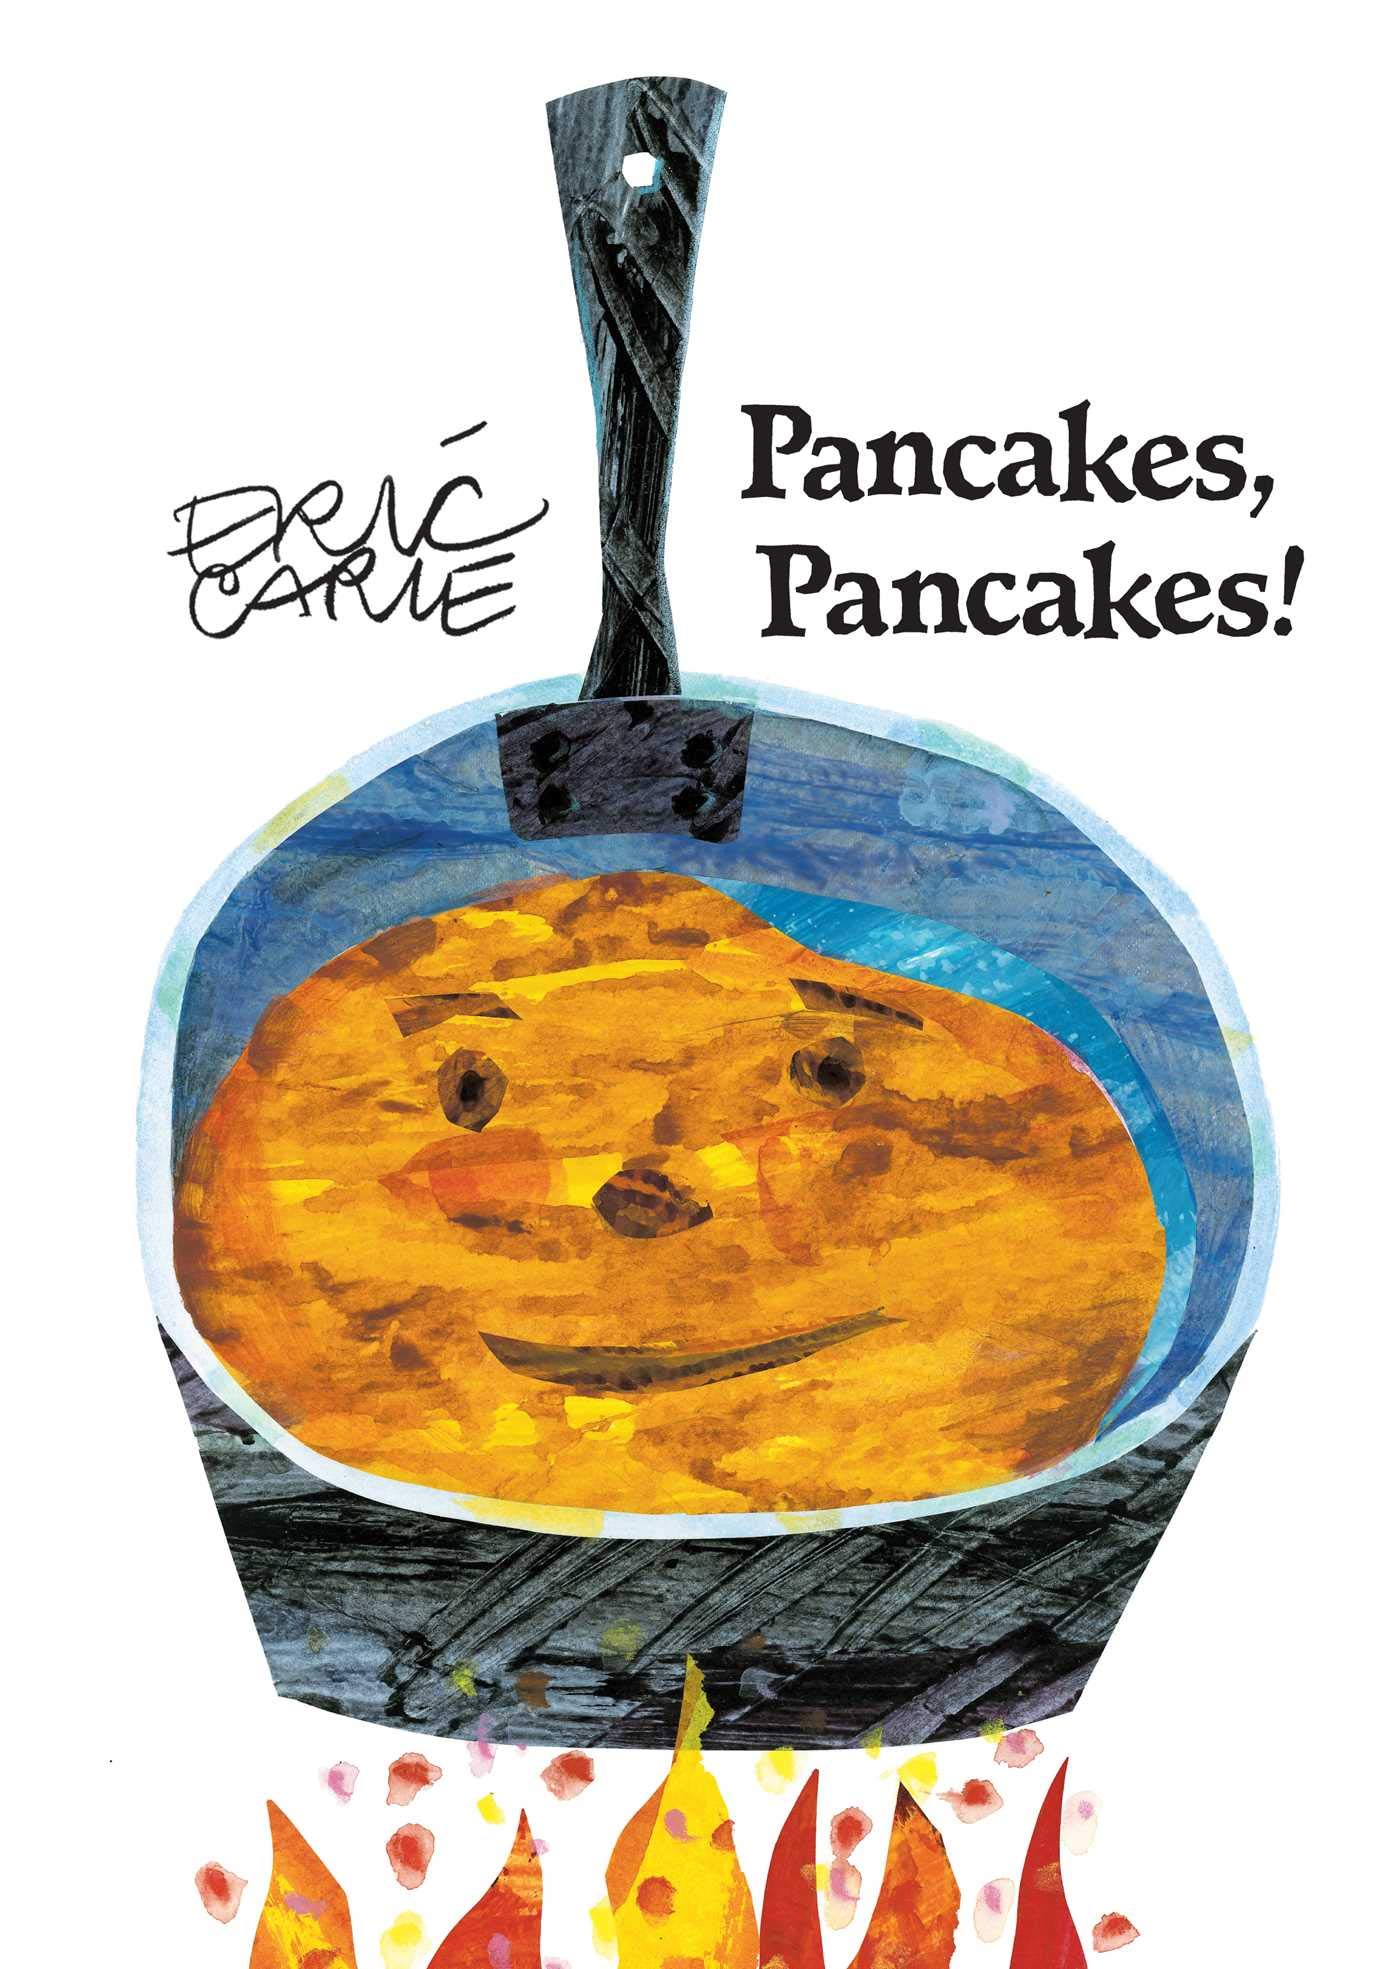
- Pancakes, Pancakes! by Eric Carle
Jack is so hungry that what he really wants is a large pancake for breakfast. Join Jack as he starts from scratch to help make his very own breakfast pancake! It is great for kids ages 4-8 years old.
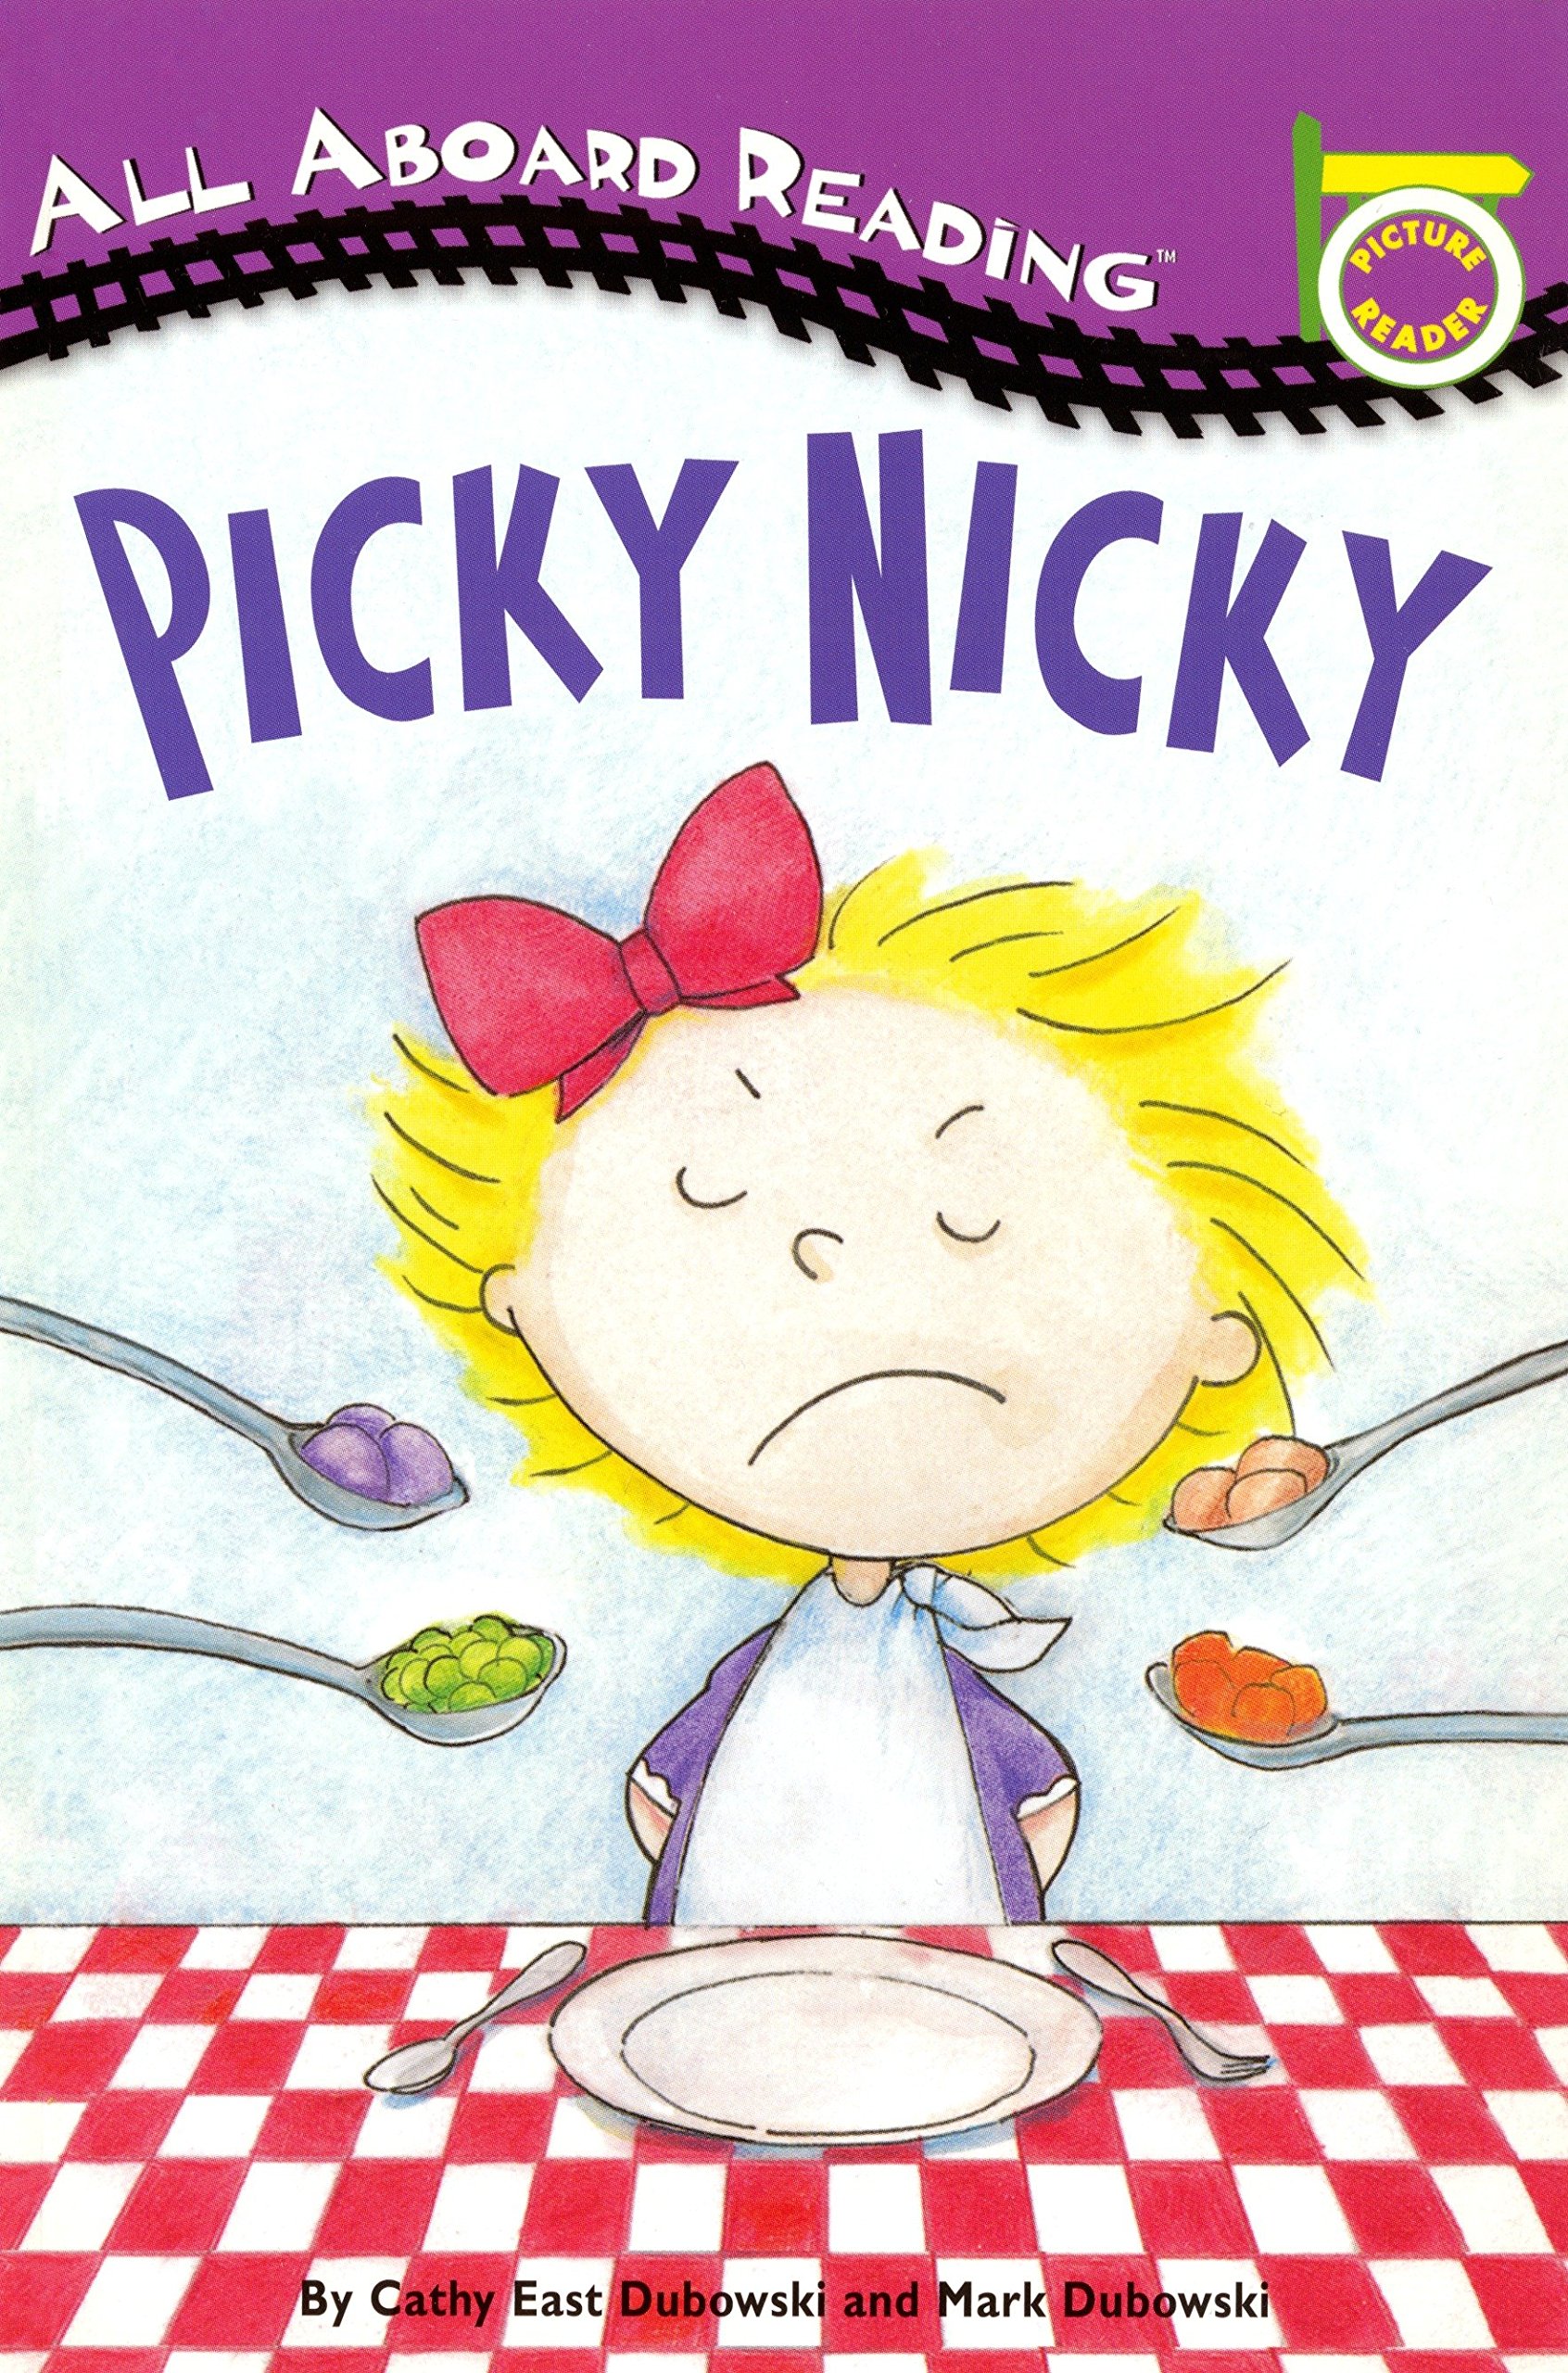
- Picky Nicky by Cathy East Dubowski
Picky eater Nicky declares that she would rather eat bees and parrots than peas and carrots until her inventive family devises a clever plan to overcome her finicky habits. It is great for kids ages 3-5 years old.
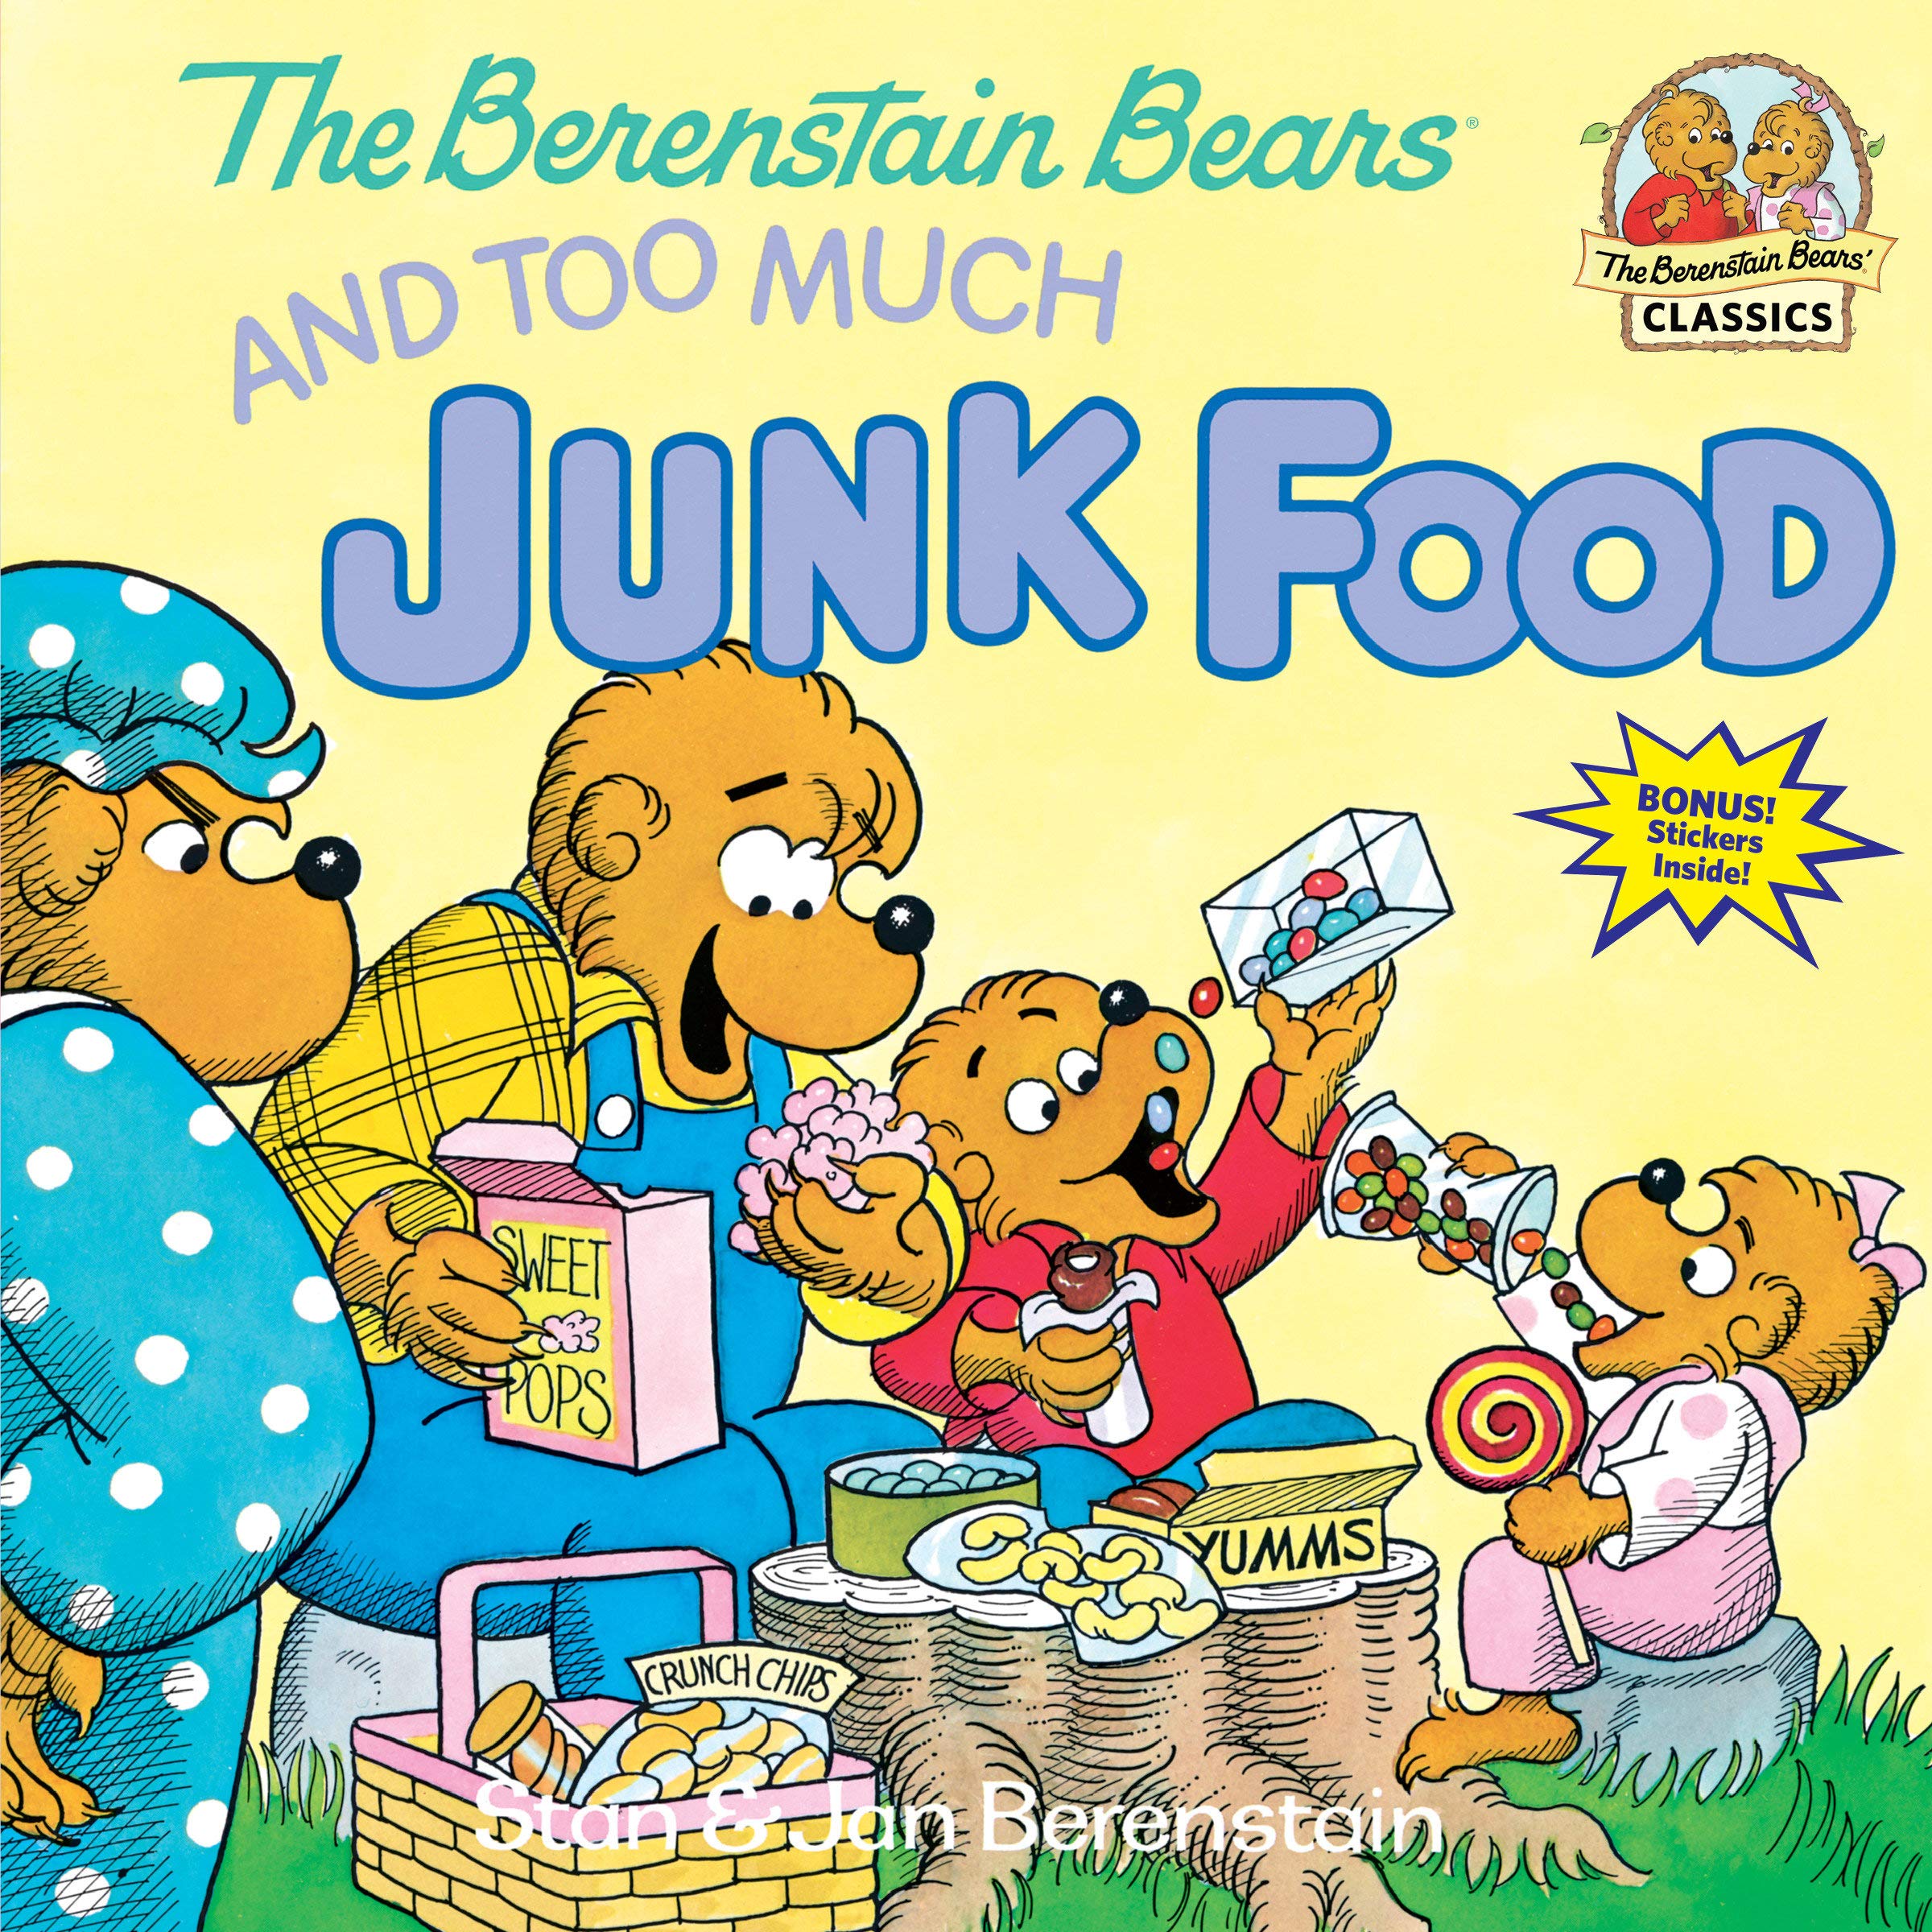
- The Berenstain Bears & Too Much Junk Food by Stan and Jan Berenstain
Papa, Brother, and Sister are eating way too much junk food, and it’s up to Mama and Dr. Grizzly to help them understand the importance of nutritious foods and exercise. This story book is a perfect way to teach children about the importance of eating healthy and staying active! It is great for kids ages 0-5 years old.
贝贝熊经典系列是美国小学指定阅读书目,其中很多内容都与日常生活密切相关。这本书讲的是贝贝熊爸爸、哥哥和姐姐吃了很多的垃圾食品,于是贝贝熊妈妈和医生不得不出手干涉的故事。书后有50个贴纸,可以用来给小朋友作为好好吃饭的奖励。
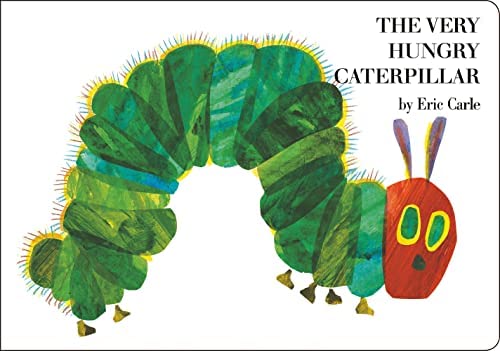
- The Very Hungry Caterpillar by Eric Carle
A children’s classic about a caterpillar who eats his way through the pages of the book. It is great for kids ages 0-5 years old.
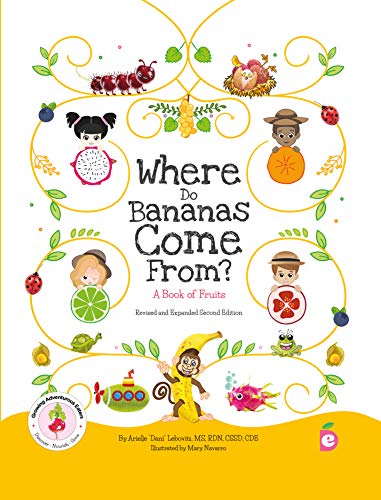
- Where Do Bananas Come From? by Arielle Lebovitz
A Book of Fruits is the fruit edition in a series of children’s nutrition books for kids ages 4 and up. This colorful and playful guidebook introduces 108 fruits with full-color photography and charming illustrations. Learn fun facts from farm to table, fruit seasonality, nutrition information, an introduction to cooking with tasty recipes, and how to pick, store, and eat fruits too.
Kids will explore new fruits through experience-based learning with 100 descriptive words to guide their five senses on endless food adventures. It is great for kids ages 4-12 years old.
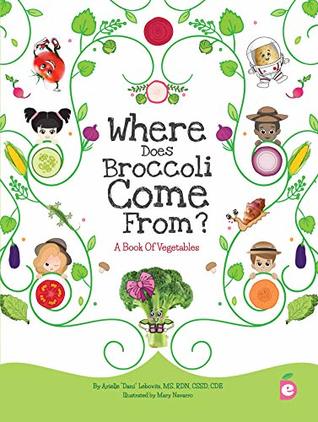
- Where Does Broccoli Come From? by Arielle Lebovitz
A Book of Vegetables is the vegetable edition in a series of children’s nutrition books for kids ages 4 and up. This colorful and playful guidebook introduces 102 veggies with full-color photography and charming illustrations. Learn fun facts from farm to table, vegetable seasonality, nutrition information, an introduction to cooking with tasty recipes, and how to pick, store, and eat veggies too.
Kids will explore new vegetables through experience-based learning with 100 descriptive words to guide their five senses on endless food adventures. It is great for kids ages 4-12 years old.
CHINESE CHILDREN BOOKS
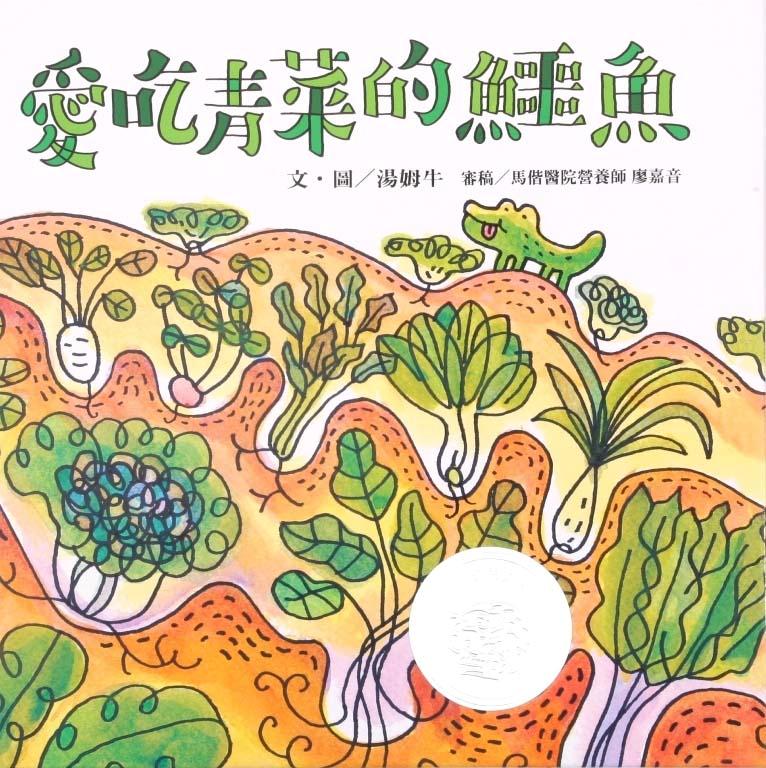
种蔬菜的农夫在河边捡到了一只小鳄鱼,于是每天喂他吃各种蔬菜,吃得小鳄鱼又大又强壮。有一天小镇来了一个医生,检查出全镇的人肚子里都有咕噜咕噜的怪声, 了解到是因为大家都不吃蔬菜,导致便秘的问题,因此肚子里有很多细菌,以致于发出咕噜咕噜的声音;但是又发现小鳄鱼的肚子里很干净、很健康,只有他 一个人没有咕噜咕噜的怪声。
这本书故事简单,内容贴近幼儿的心,用亲切的方式,让小朋友看到青菜长大的过程,了解吃青菜的好处,而且觉得吃青菜是一件很快乐的事!

在 一座长满各种水果的森林里,住着一只爱吃水果的牛,主人每天喂它各种好吃的水果,日子久了,这只牛就变得既健康又强壮。有一天,主人和邻居们,都因平日营养摄取不均衡,加上天气多变化而感冒了,大家都倒在床上动弹不得,幸亏有 “爱吃水果的牛” 每天提供大家各种好喝又营养的 “香蕉牛奶” “苹果牛奶”,大家才恢复昔日的健康,又变得生龙活虎的了!
这个轻松而富有想象力的故事,虽然主题明确,但故事处理得一点也不说教,简单明了的故事让孩子对吃水果的好处一目了然,不需父母在旁叨叨絮絮费尽口舌,小朋友自然而然会被这只可爱的牛吸引,进而对水果产生好奇与兴趣。
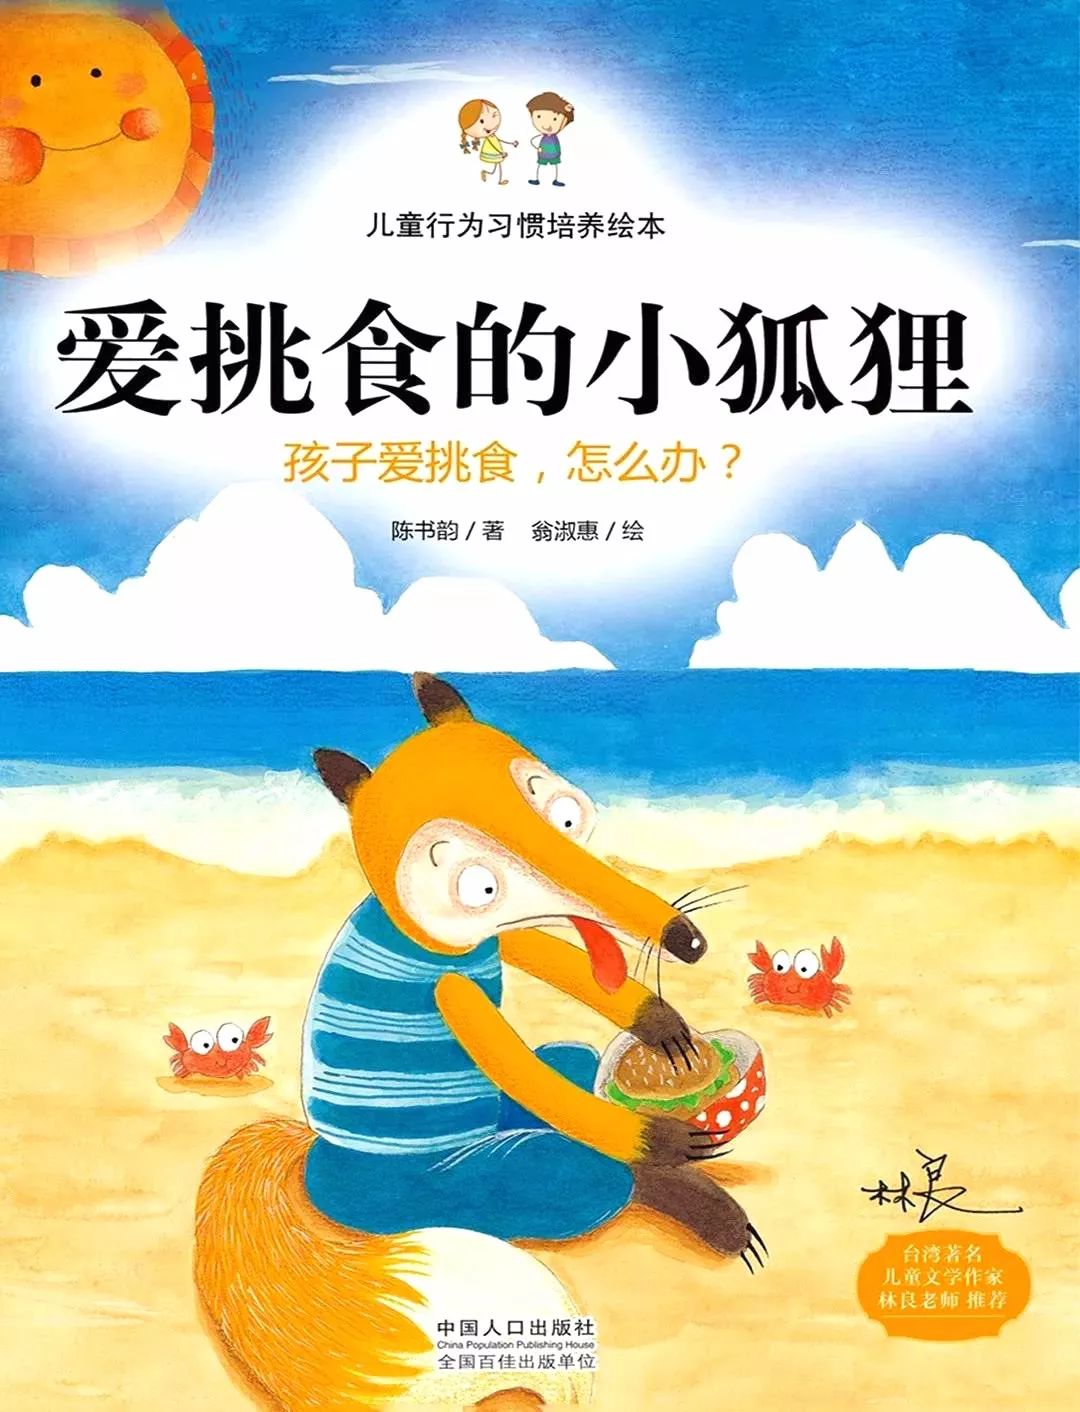
狐狸阿布特别挑食,这个不吃、那个不吃,弄得营养不均衡,最后连玩游戏的力气也没了!简单的故事点出偏食的坏处,以及营养均衡的重要。
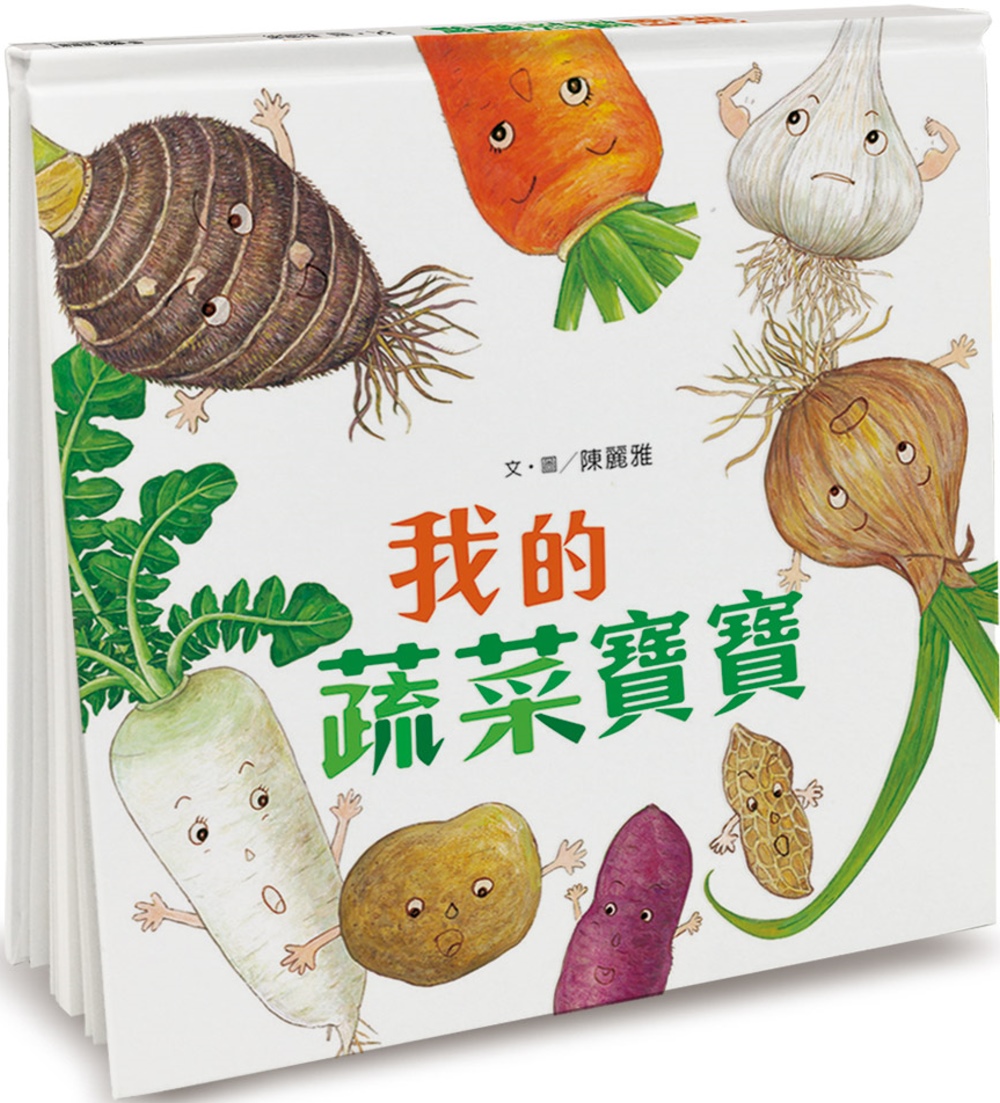
适合0~2岁幼儿阅读。宝宝的首本蔬菜认知类自然生态绘本,通过近距离的观察,探索植物生长的奥秘。
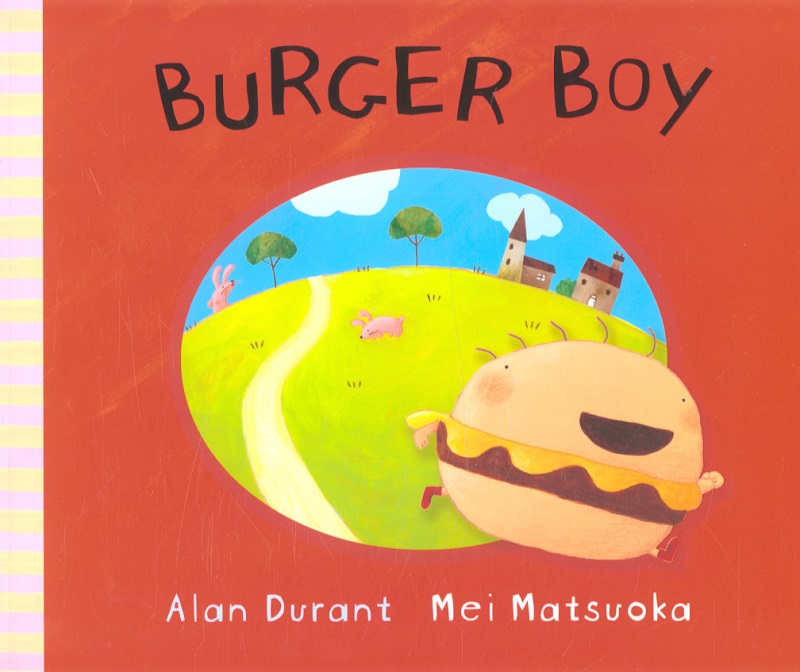
- 汉堡男孩 Burger Boy by 艾伦•杜兰 (Alan Durant)
维尼讨厌蔬菜。他不喜欢红萝卜。也不喜欢各种各样的蔬菜。维尼喜欢汉堡。汉堡是维尼的最爱。其实维尼的食物名单只有汉堡而已。“总有一天,你会变成一个大汉堡!” 妈妈警告他。有一天,维尼竟然真的变成汉堡了。狗狗、牛、小男孩都追着他,想一口吃了他,维尼怎么办?妈妈能把他救回来吗?
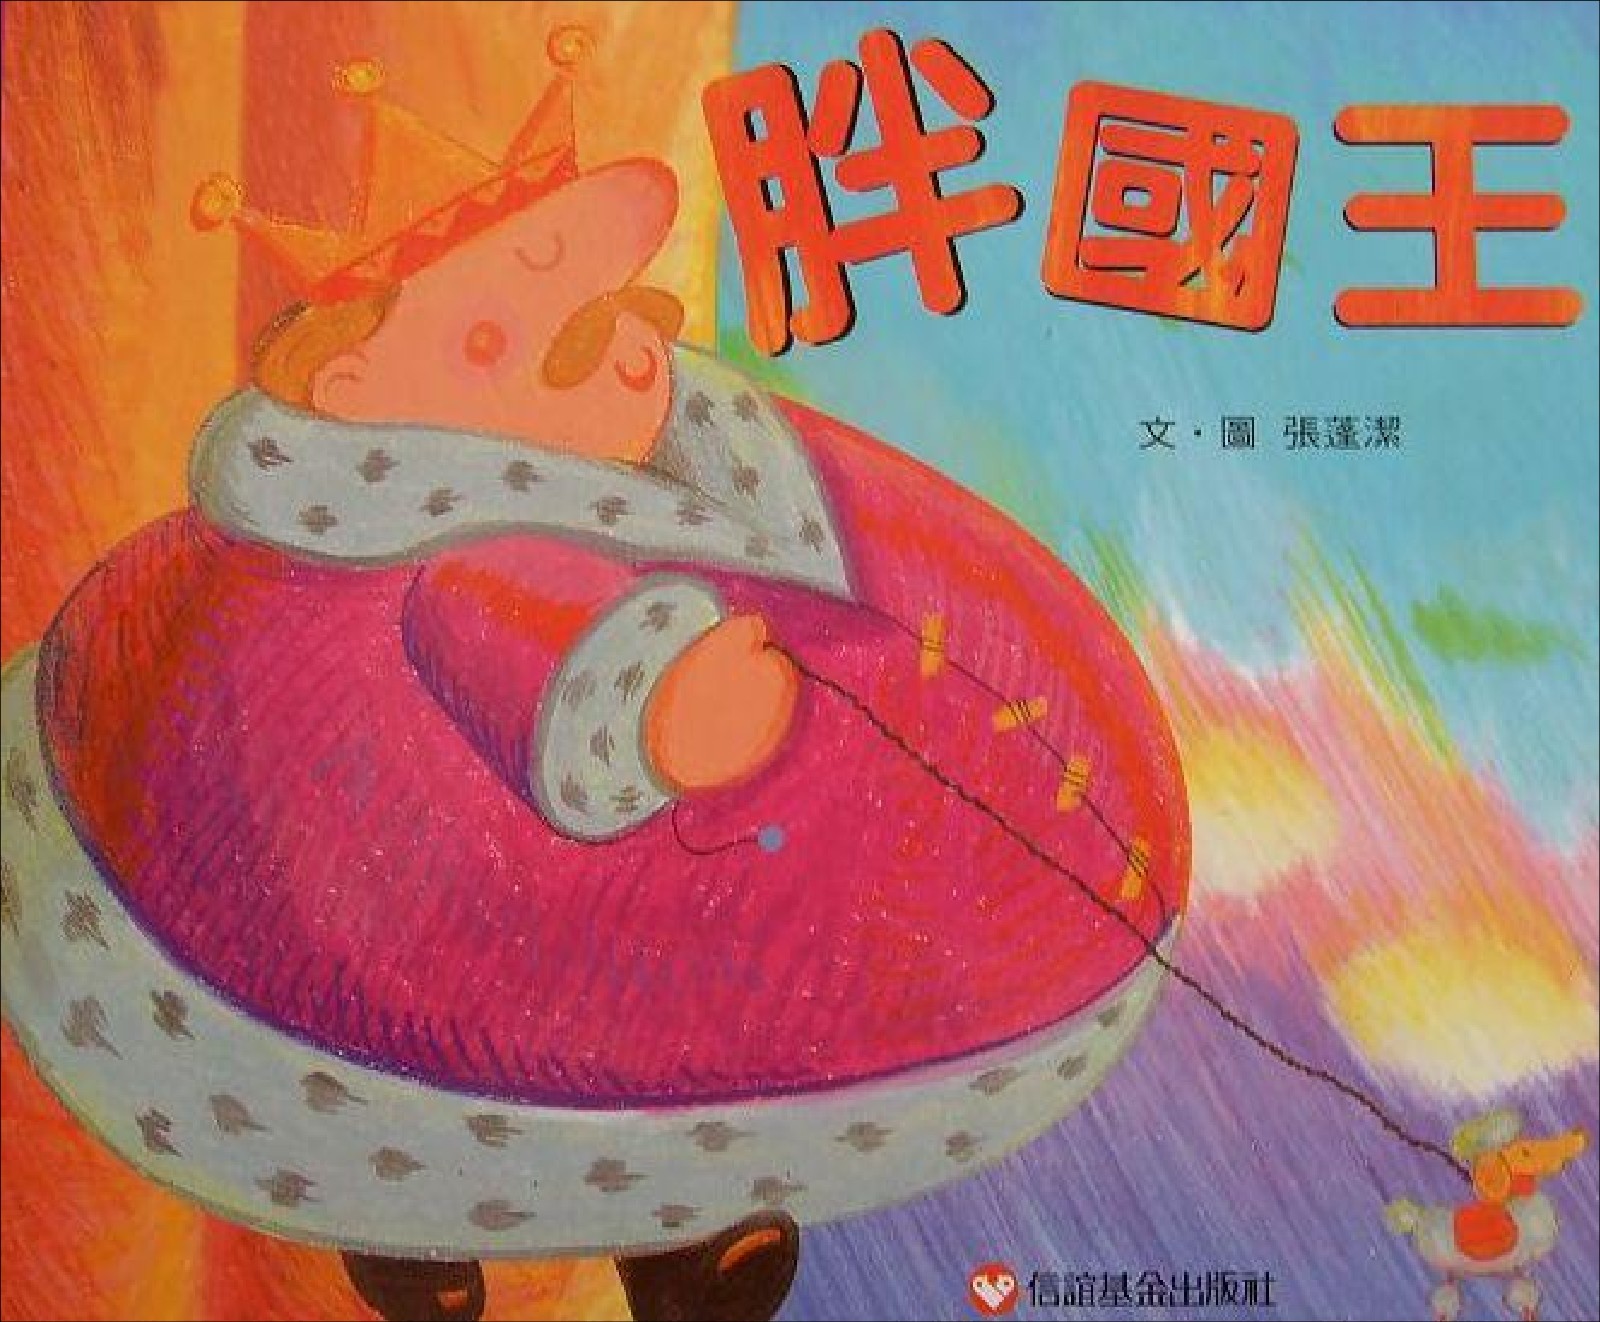
这本书通过轻松幽默的故事,提醒孩子注意营养均衡,常常运动、保持身心健康,让孩子学到一些简单的饮食观念。父母也可以通过故事,引导孩子认知:胖国王最大的问题不是胖,而是不健康。所以不是要孩子成为一个瘦子,而是要孩子变成一个健康的人。
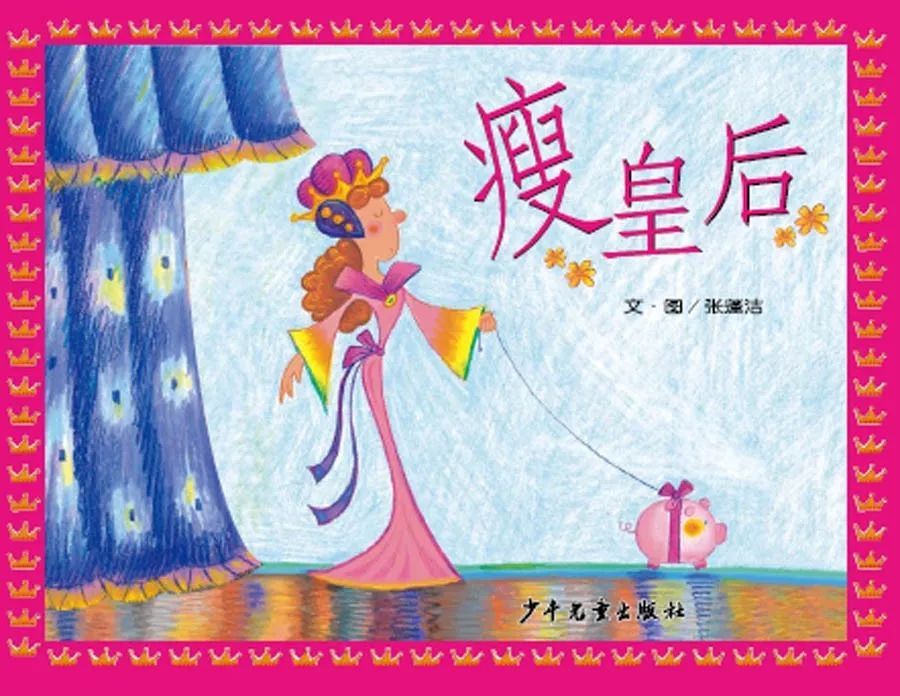
瘦皇后本来没有那么瘦的,但是因为担心胖国王太胖了,所以天天紧紧张张,又忙着藏胖国王的零食、忙着陪国王做运动,忙到不想吃东西、睡不着觉,有一天居然昏倒了……书中以轻松活泼的方式,提醒现代人注重营养均衡、适量运动,内容相当具有现代意义。
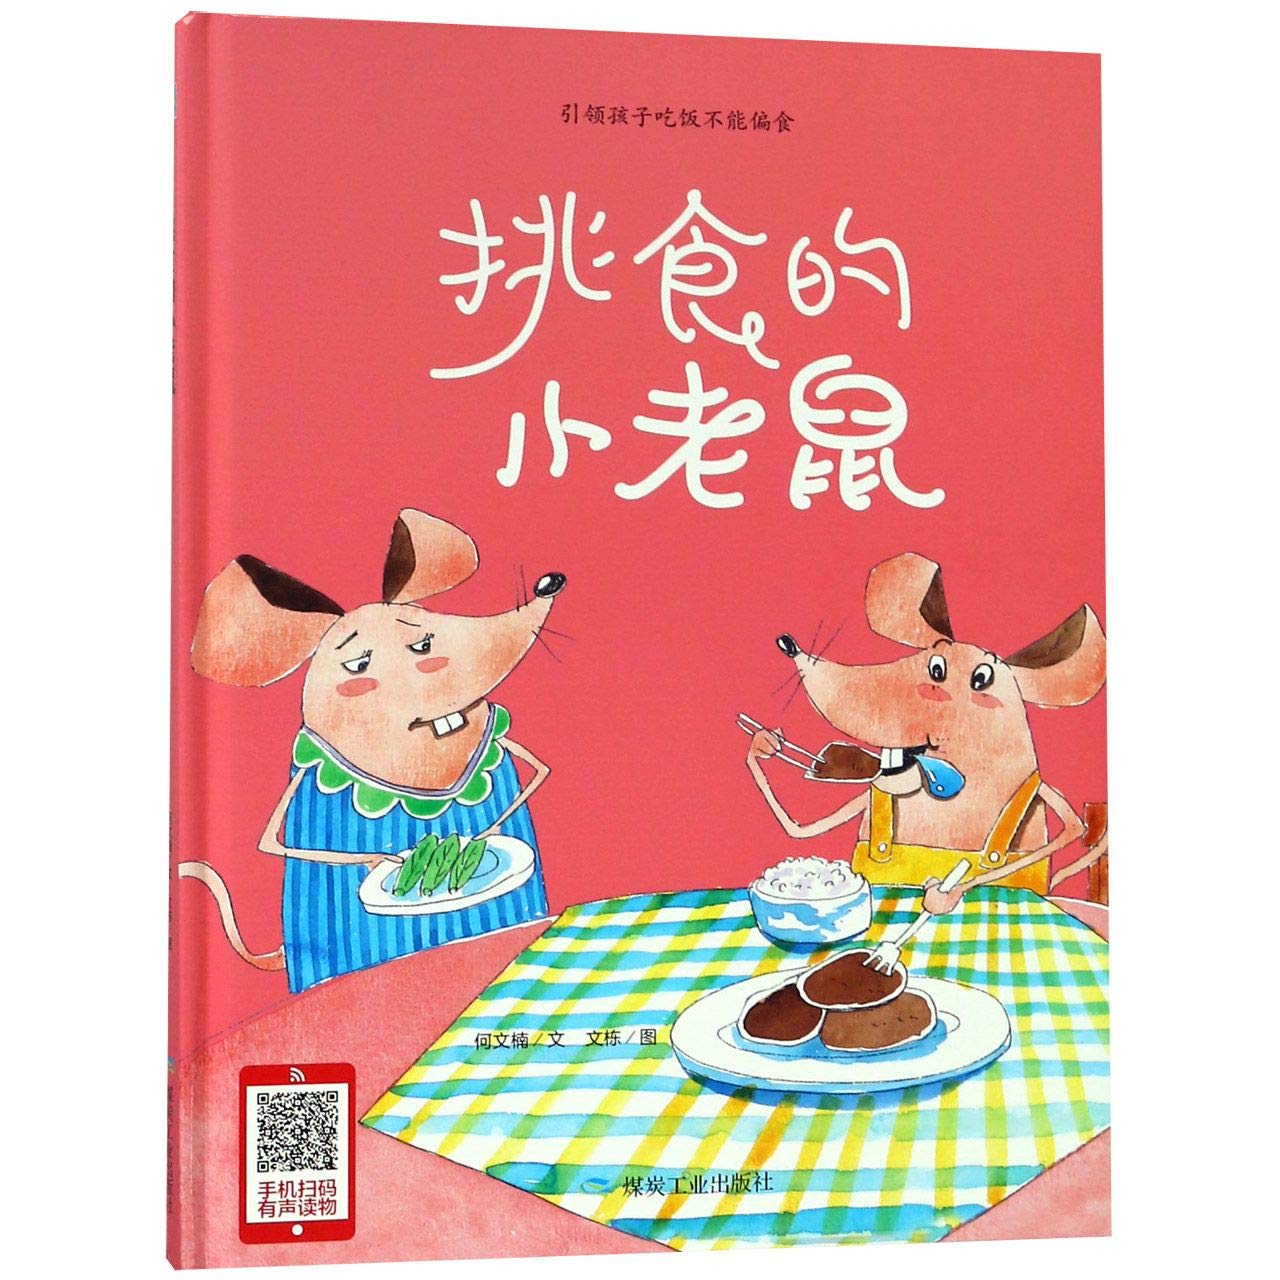
小老鼠青青刚开始的时候,非常偏食,只吃肉,不吃蔬菜。后来发生了什么事让青青一下子改变了挑食的坏习惯了呢?
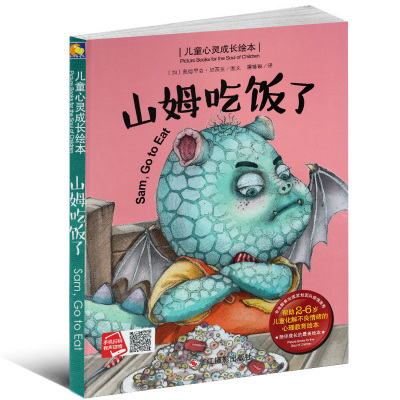
- 山姆吃饭了Sam, Go to Eat by (加)奥德里奇•加西亚
山姆是一个不爱吃饭的孩子。吃饭的时候,他只吃饼干,藏着自己的小脑袋或者挥舞自己沾满颜料的小脏手拒吃饭……咦,发生了什么事让山姆专心吃饭了呢?
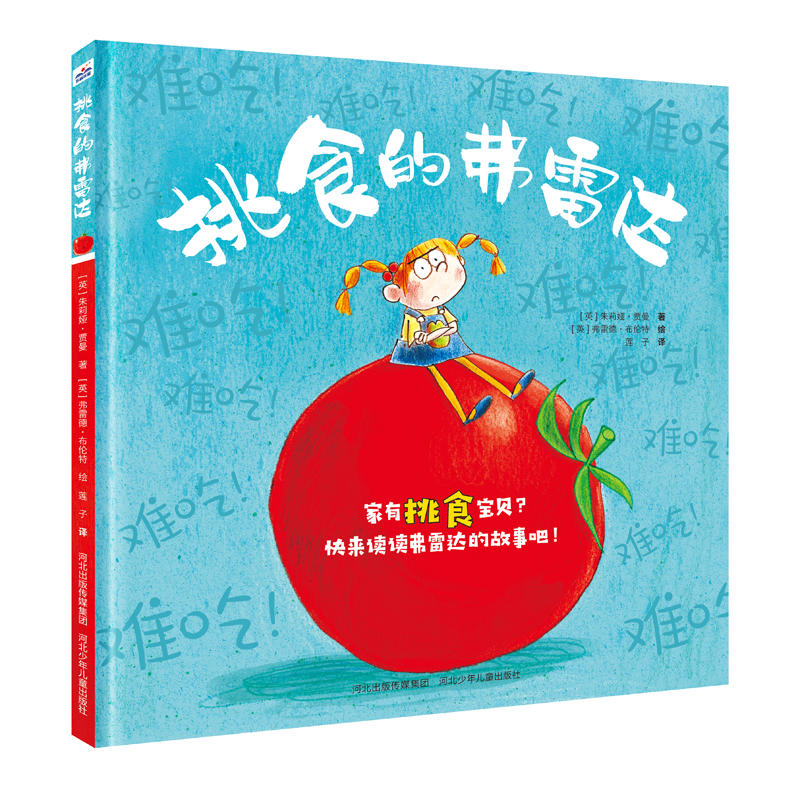
弗雷达的小女孩儿太爱挑食了,无论爸爸妈妈做什么菜肴,她都不喜欢吃;奶奶给她带来了美味的海鲜,她也不喜欢吃;从法国度假回来的舅舅带来了法国美食,可她依旧不爱吃。有一天,她突然变小了,不好,猫要把她当老鼠吃掉了。
弗雷达是如何从一个挑食的小女孩转变成一个胃口好,吃什么都香的孩子呢?其中的关键转变就是自己对坏习惯的意识,放弃与父母的对抗,从而学会对自己负责。家长们想尽一切办法,即辛苦又不讨好,可当孩子意识到问题的严重性以后,就会主动地去改正自己的行为,从而养成健康饮食的习惯。
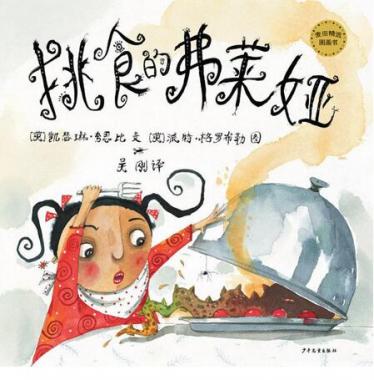
弗莱娅的胃口原本要多好有多好,可突然有一天,她向大家宣布:“你们做的饭一点儿也不好吃。” 第二天她连香肠也不喜欢了。没多久,她就变得很瘦。妈妈无奈之下只好给外婆打电话讨救兵。“把弗莱娅送到我这儿来吧,我们会调教好她的,这个挑剔的小东西。” 于是, 弗莱娅动身去外婆外公家享受无上美味去了——在那儿,她还将学到一点令她终身难忘的东西。
对于挑食,有时需要淡化处理。如果孩子只是偶尔有那么一两样东西不吃,没什么大不了,完全可以不去管它,刻意的纠正有时反倒会强化“不吃”的心理。要是挑食过了火,影响了健康,我们可以从外婆的秘诀中取经。总之,不管用什么方法,大人首先要保持轻松的心态,以不伤害孩子的心理健康为大前提。

- 不一样的小公主:公主小姐不想吃饭 by (法)克里斯汀•诺曼•维拉蒙
小公主不想好好吃饭的故事,她不喜欢这个不喜欢那个,于是爸爸妈妈决定让她扮演爸爸妈妈的角色去劝自己的小仓鼠吃饭。在自己要成为榜样的过程中,会发生什么事?公主小姐不想吃饭,谁来帮帮她?
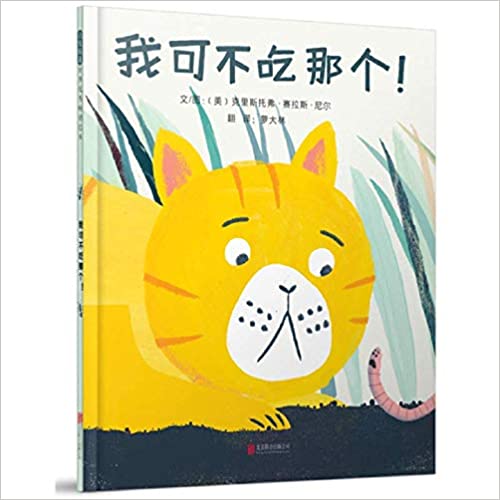
- 我可不吃那个!I won’t Eat That ! by (美)克里斯托弗•赛拉斯•尼尔
猫宣告它不吃又干又乏味的猫粮了,那它该吃什么呢?它走进自然界,去向乌龟、狐狸甚至是鲸鱼求助,可是它们吃的东西猫都不感兴趣。猫很沮丧,它还能找到自己爱吃的东西吗?
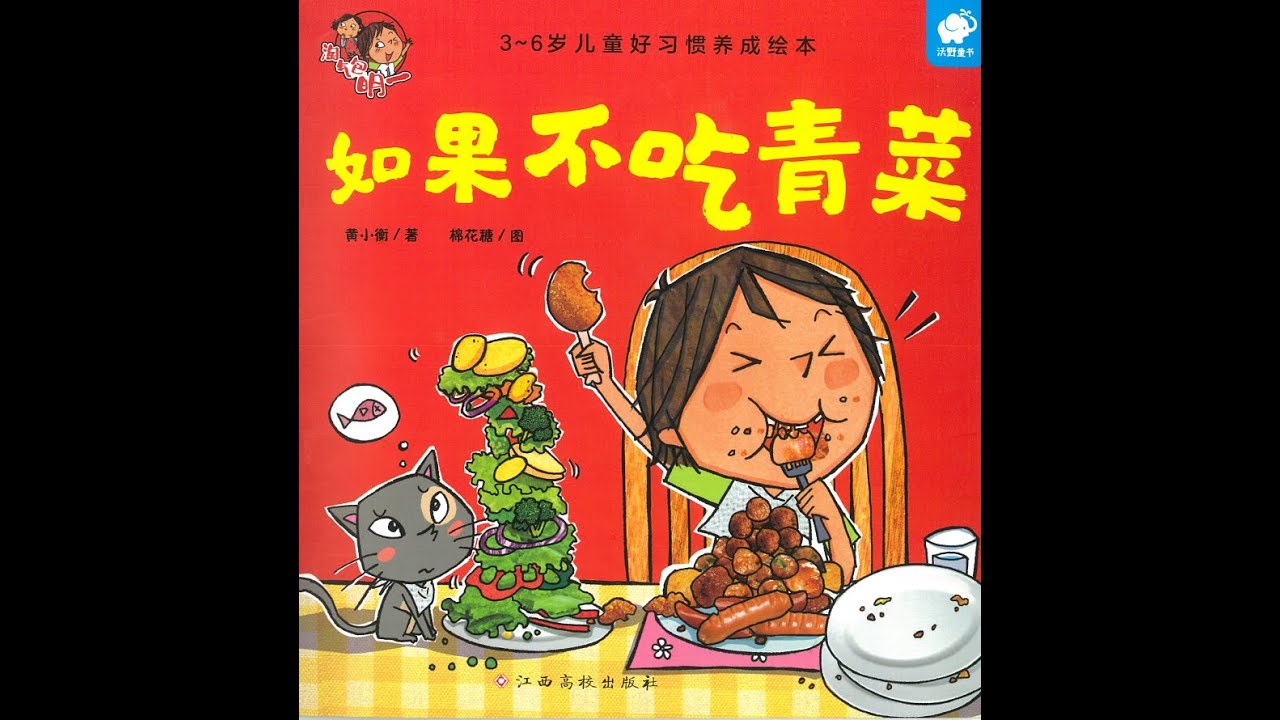
《淘气包明一》习惯养成系列绘本的其中一本。本书画风夸张、幽默、想象力爆棚,让孩子在笑声中认识到这些坏习惯的“可怕”后果,真正用孩子喜欢的方式寓教于乐。

先用清楚的图示、对比,让你一眼看出这些食物外观的不同,再详细介绍它们的种类、来源、演变、营养和料理方法等。超多图示让你一目了然学会如何区分这些食物,更进一步告诉你这些食物为什么这么好吃的秘密!

适合0~4岁幼儿阅读。饭团是用什么做的呀?汉堡包、拉面、饺子、圣代又是用什么做的呢?我们大家又是用什么做的呢?通过不断的提问启发小朋友们思考事物是如何构成的。本书语言简洁、色彩柔和,小动物的形象生动活泼,小朋友们可以通过图文识别常见的食品及原料,是一本颇具美感又趣味十足的幼儿读物。
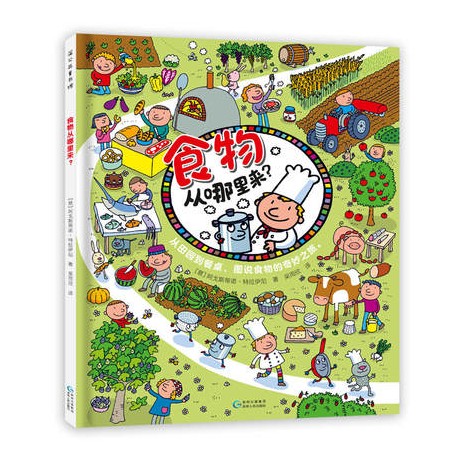
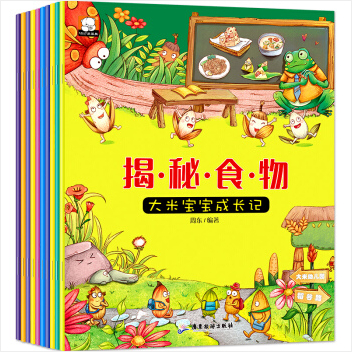
餐桌上的米饭、面包、水果、点心都是怎么来的呢?跟随小小美食家的步伐,穿过田野,来到城镇,深入海底,逛逛市场,参观工厂,一起来了解食物是怎么来的,它们又是如何加工变成我们餐桌上的美食的吧。这本书以图解的方式和活泼的语言,将食物的来源、加工制作的过程讲解得轻松有趣。
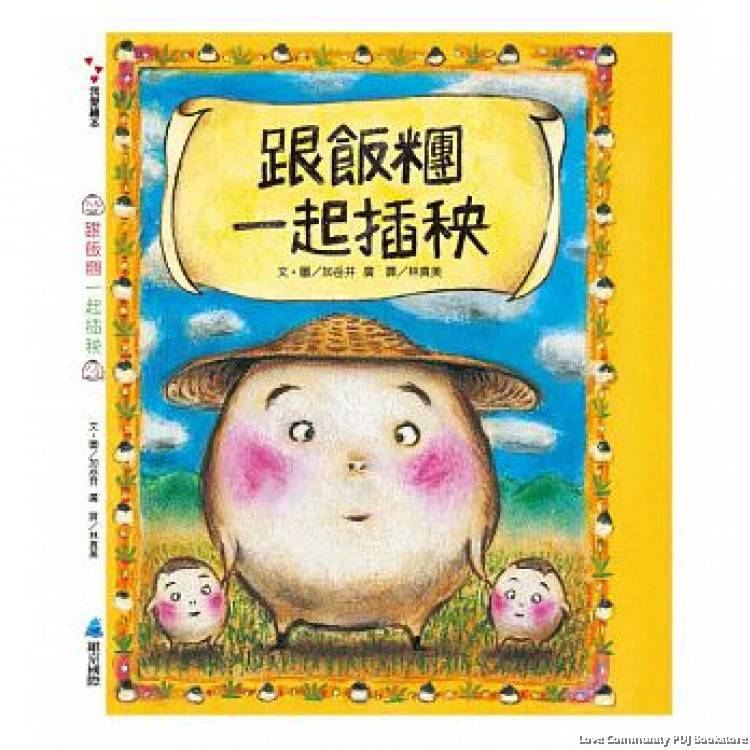
适合3岁以上的儿童阅读。又到了饭团家插秧的日子了,附近村子的伙伴们都来到稻田旁集合,豆皮寿司、酸梅、干木鱼等和米饭相关的食材都来了。大家互相帮忙插秧真是太好了!努力了一上午,可是还有一大片稻田等着呢。真能完成插秧的任务吗?正当大家忍不住怀疑的时候,两位神秘的帮手出现了。他们是谁呢?饭团家能顺利插完秧吗?田园风光和劳动的结合,帮孩子们理解食物与生产劳动的关系。
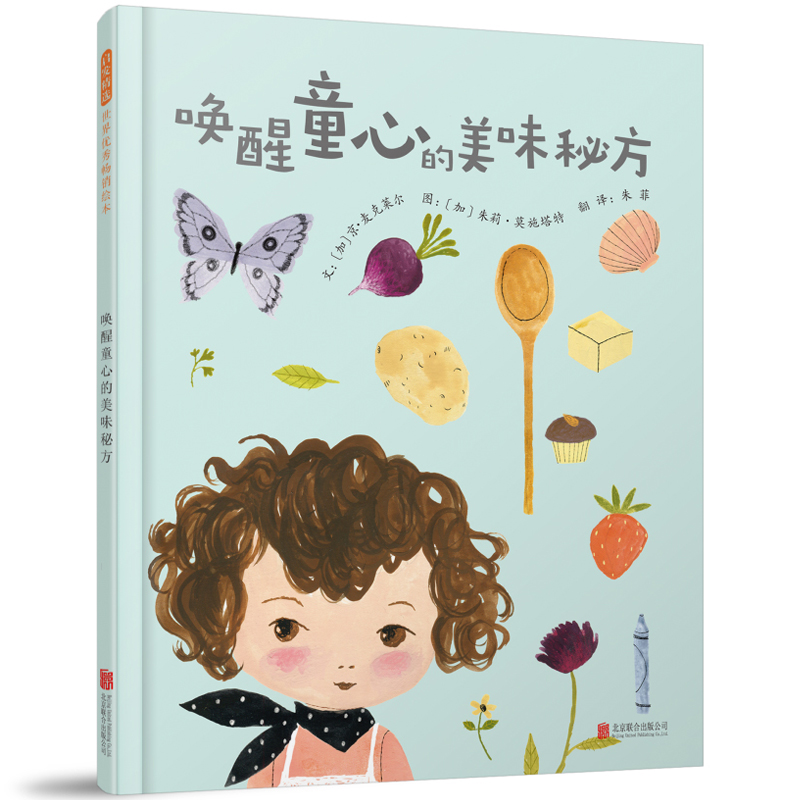
茱莉亚从小就喜欢法国美食,她甚至爱上了动手制作。为了做出美味佳肴,她和好朋友西姆卡一起学习烹饪,在厨房里快乐地煮啊煮,并希望能永远做小孩儿。
这本书,讲述的不仅仅是美食、烹饪的艺术,还借由孩子的眼睛,提醒我们每一个人,放缓节奏,欣赏沿途的风景,不争不抢,品味每一个当下的时刻;放松心情,保有一颗童心,不急不躁,感受生活中的乐趣和美好。
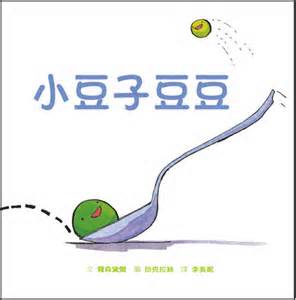
- 小豆子豆豆 Little Pea by (美)艾米·科考斯·罗森塔尔 Amy Krouse Rosenthal
豆豆每天都过得很快乐,他喜欢做的事有很多,但是晚餐时间却是他的噩梦,豆豆如果不把他的晚餐,讨厌的糖果全部吃完,就没有她最爱的蔬菜点心,豆豆会否吃完她最讨厌的糖果?这是一本以逆向思考及幽默的方式讓小朋友學習輕鬆看待自己不喜歡的事物(挑食)
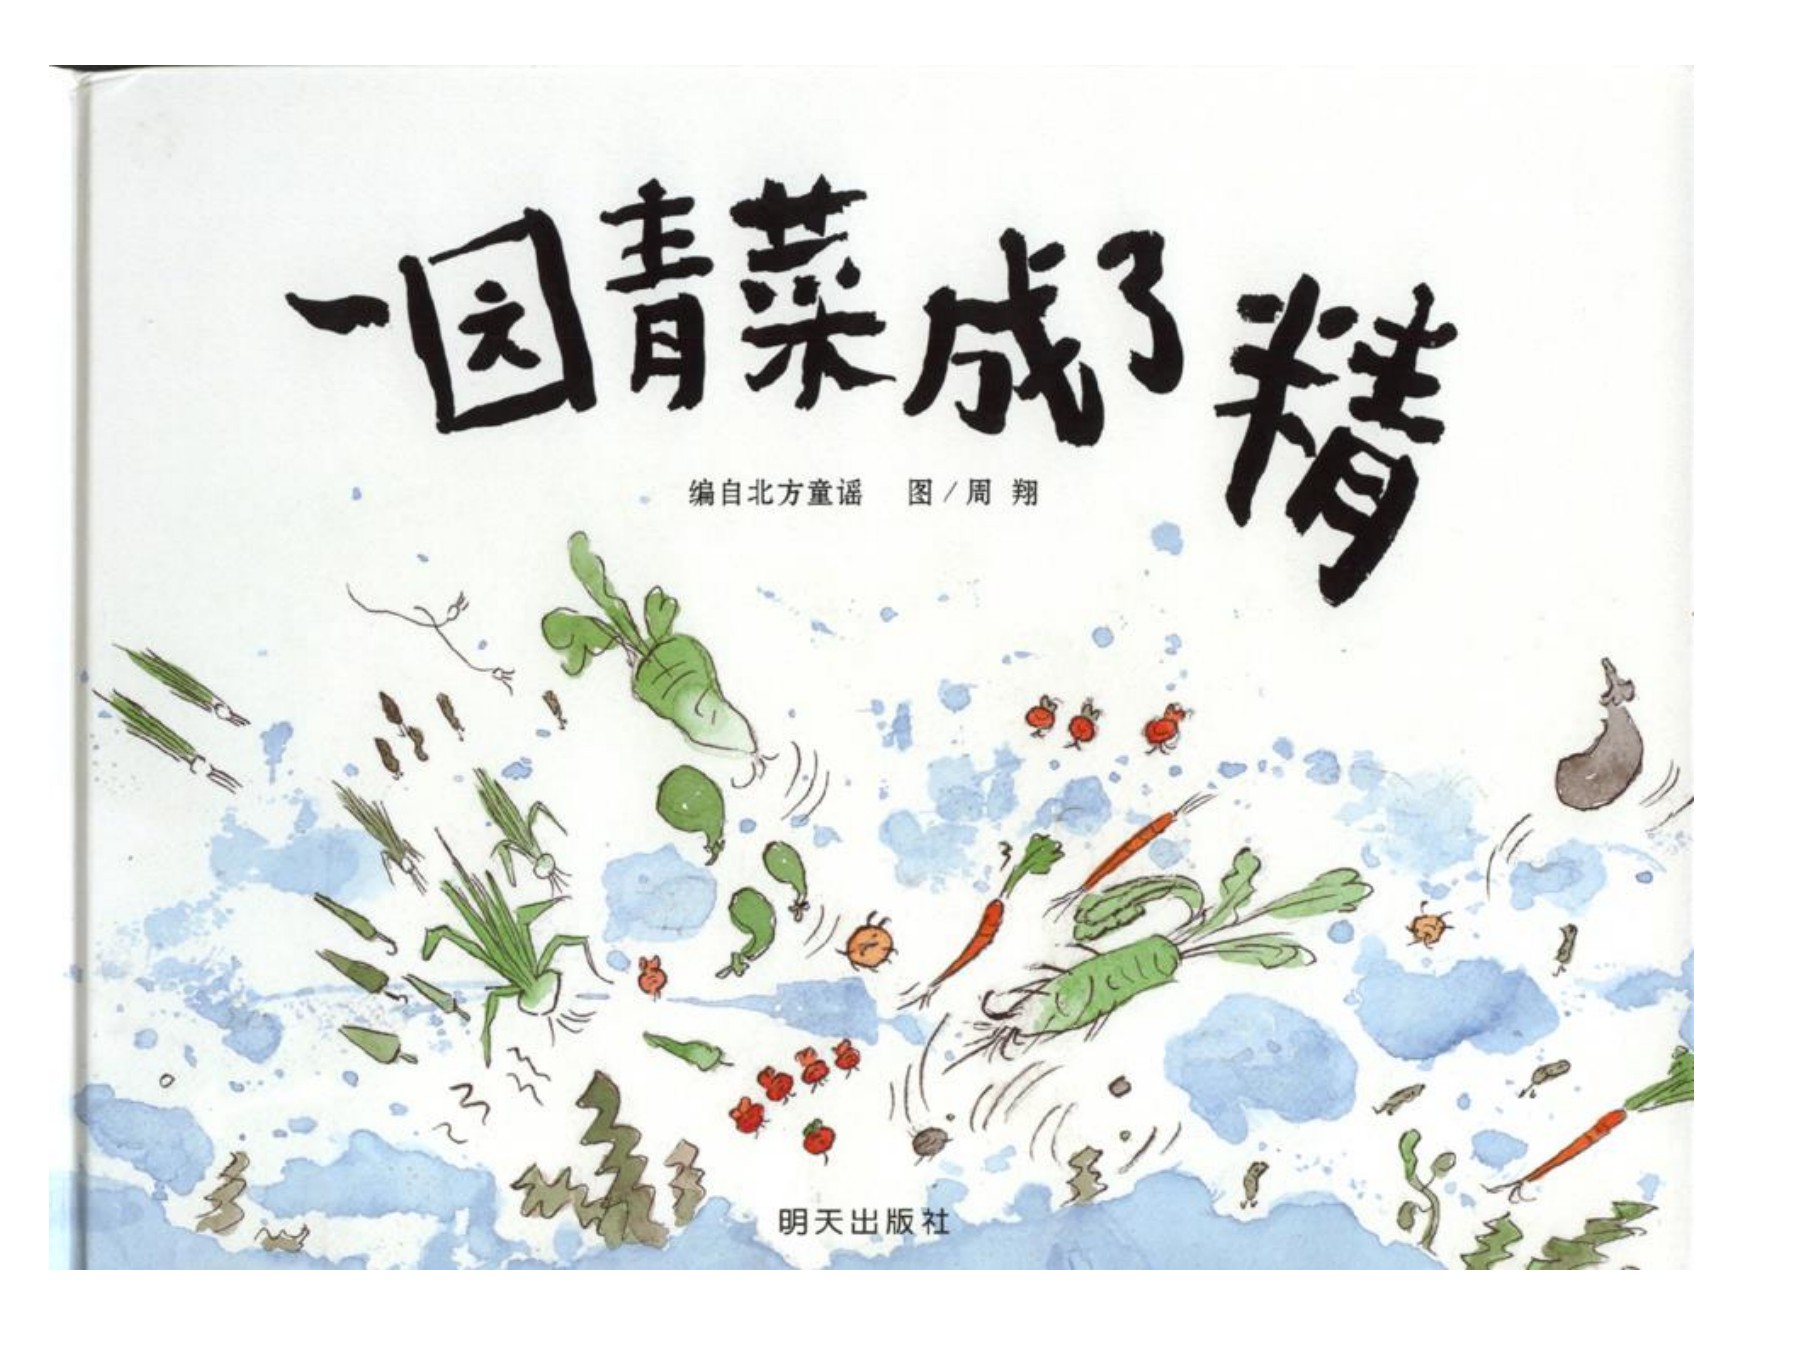
出了大门往正东,一园青菜在农夫走后开始了大战,它们个个成了精。在农夫回来后,一园青菜已然熟透……本书通过幽默风趣及夸张的表现手法,朗朗上口的儿歌语言,演绎了一个菜园里的热闹故事,给予儿童无穷的想象空间。
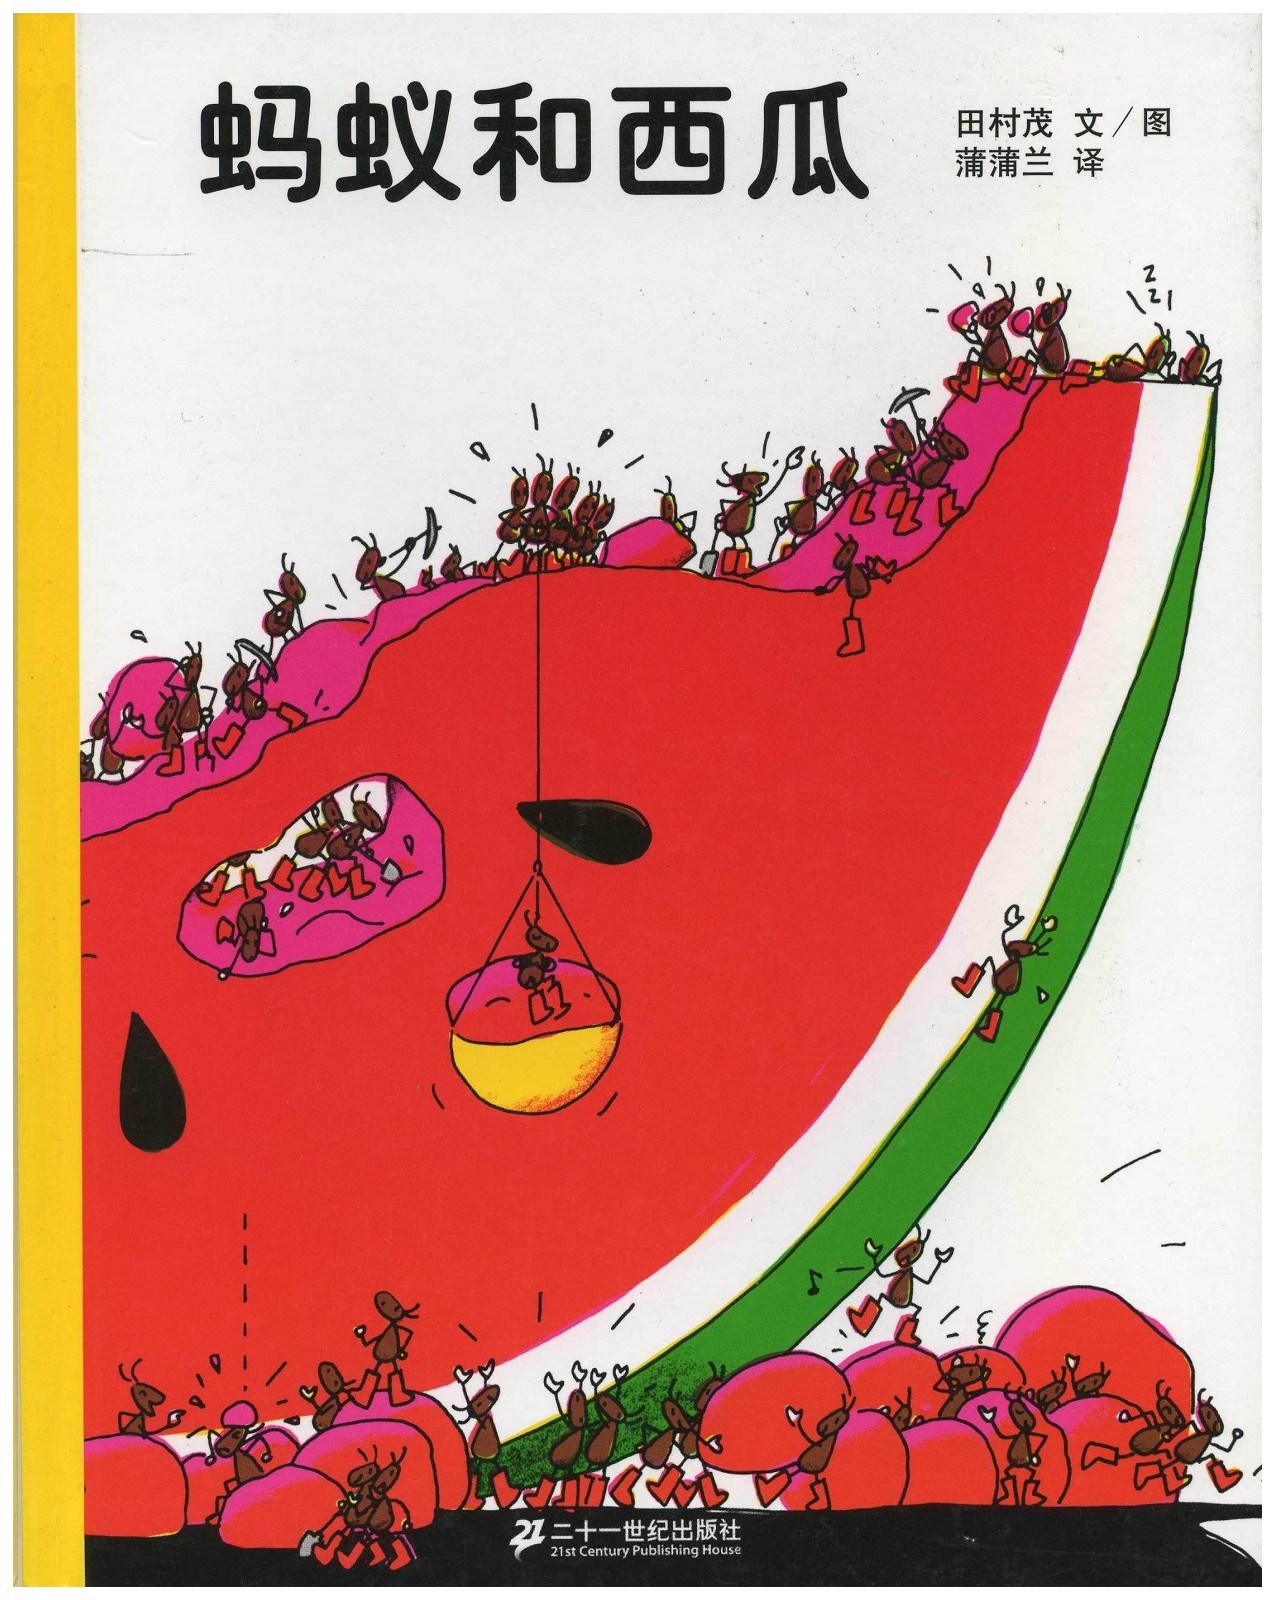
一个好热的夏天的下午,蚂蚁们发现了一大块西瓜。“真好吃,赶紧搬回家吧!”可是怎么搬回去呢?一只蚂蚁想到了好主意……简单的线条、漫画式的夸张,把勤劳、乐天、齐心协力的理念呈现得无比幽默,结尾别出心裁。
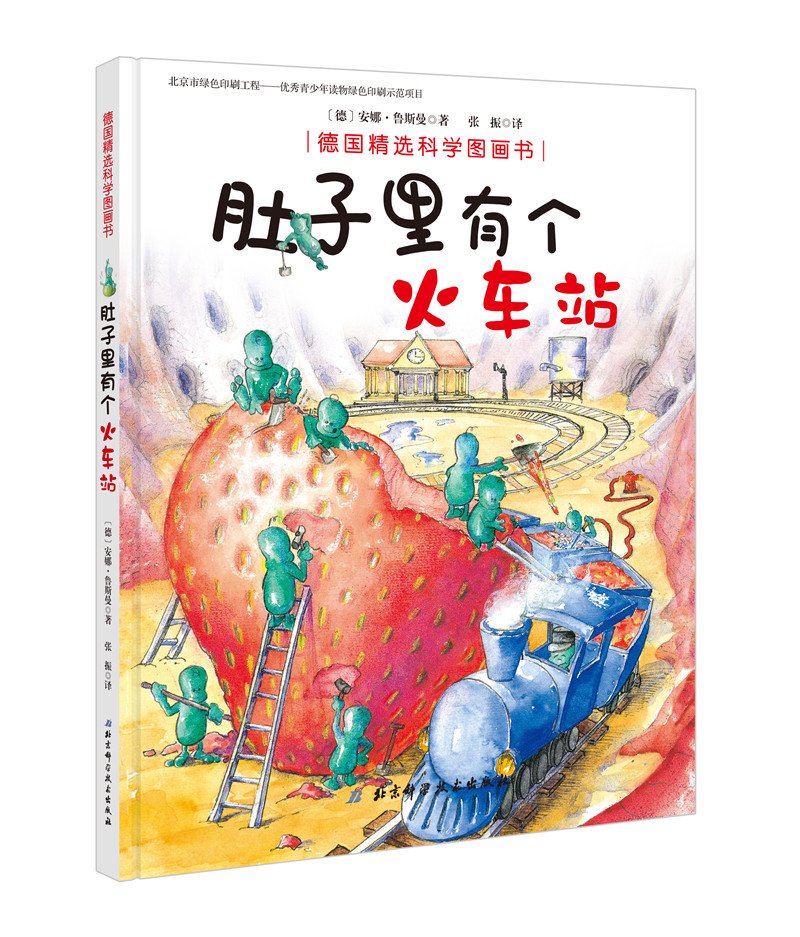
肚子里有一群帮助食物消化的小精灵,如果吃的太多太快,精灵们就会游行示威、罢工抗议,肚子里就会乱作一团。这本书一种极其有趣的方式使我们了解自己的消化系统,从而帮助我们养成健康的饮食习惯。
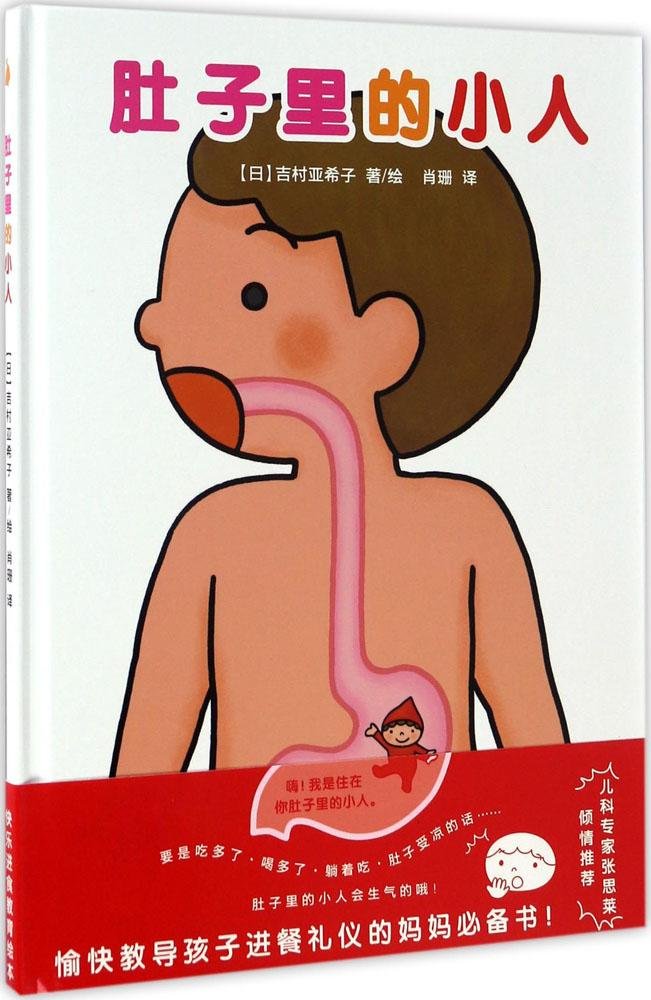
这本书解决了这一沟通难题。不说教、不示范,而是采用“共情”的方法,利用孩子天生的想象力,使之假想肚子里面有一个跟自己吃一样、喝一样的小人。如果自己习惯不好,那么肚子里的小伙伴可要遭殃了。这样的方式,生动、形象,而且讲过一次,便难以忘记。家长可以继续根据需要,创造出更多关于“肚子里的小人”的故事。
用充满趣味的语言解读身体的秘密,让孩子在童话故事中了解自己身体的秘密,自主养成好的生活习惯,拥有保护自我的意识,理性认识自我的能力。
让孩子探索食物的秘密爱上美食。
Let me know what you think! Is there a book you love that’s not on this list?