Many parents are worried about their child is not eating enough; or their child is small compared to other children and isn’t growing properly; or their child has very few foods that he will eat.
When it comes to mealtimes, toddlers or young children can be hard to predict. Some days they may not eat much. Other days it seems like they are eating all day long. They may want one food every day for weeks, and then suddenly not like it anymore. And how much your child eats may be very different from how much another child eats.
Picky eating is typical toddler behaviour. Most toddlers are picky eaters. This is one area of their life where they can exert some control. By refusing to eat, your child is practicing his or her independence. It’s your job as a parent to provide healthy food choices and teach good eating habits.
Here are the most common reasons why your child is refusing to eat at meals, and what to do about it.
TOO MUCH PRESSURE
If your child feels any amount of pressure to eat or senses that you as the parent are anxious at mealtimes, he will likely back off and choose not to eat. Toddlers and young children sense pressure, even if it’s not as direct as “Eat your broccoli NOW !” If you focus too much on WHAT and HOW MUCH he is eating during a meal, instead of allowing him to simply be another eater at the table while everybody is eating, he will back right off.
Most common indirect pressure:
- You bring the food right in front of him
- You watch him every move
- You hover over him
- You continually take uneaten food off of his plate and replace it with new food
- You talk about his eating habit
- You pick up food and bring to his mouth without his cueing to do so
The more you push your child to eat, the more likely that your child will not enjoy eating.
What to Do
Let your child self-feed and eat at his own pace at meals, provide lots of food variety at meals in manageable amounts, and let him be in charge of whether and how much he eats. Try your best not to hover over your child. I know it is extremely difficult, especially when he is hardly touching his food. Sit back and engage in conversations with the whole family, including your child. If you can think about mealtime more so as “family bonding time” than “I need to get my child to eat time”, your child won’t feel as pressured and will be more open to try new or previously rejected foods.
BOREDOM
Are you serving the same dish/recipe over and over again. Most parents get stuck in “food ruts” as their children are only eating certain foods. You prepare it as you know he will eat it. However, this is not a long term solution, it is your job to help your child grow up with a healthy relationship with food, not to get them to eat their meal RIGHT NOW.
What to Do
We get bored of certain foods and so do our children. Be creative, discuss with your child and come up with a few new and different snack or meal option for him, you can try to rotate so that he doesn’t get bored again.
NOT ENOUGH SAY
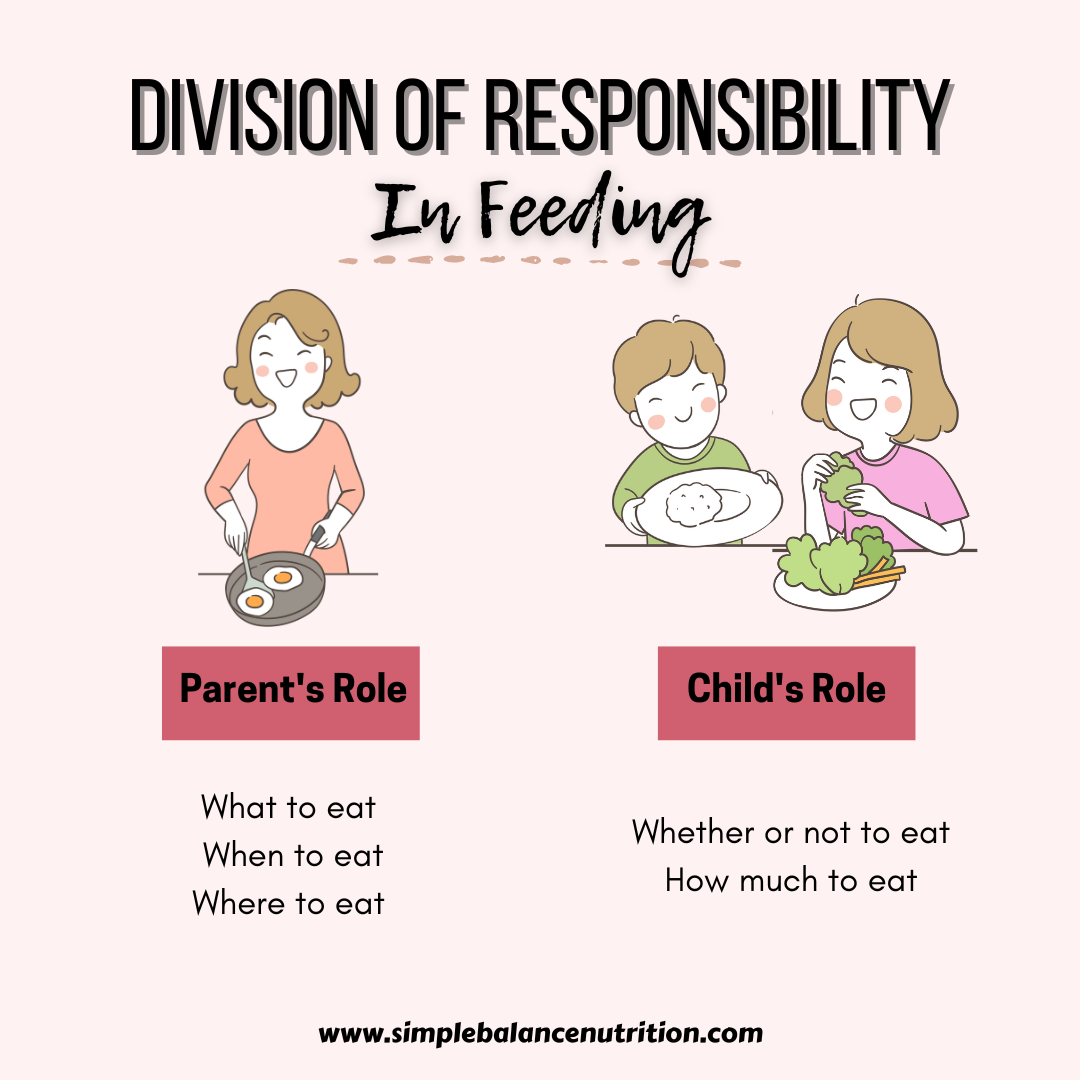
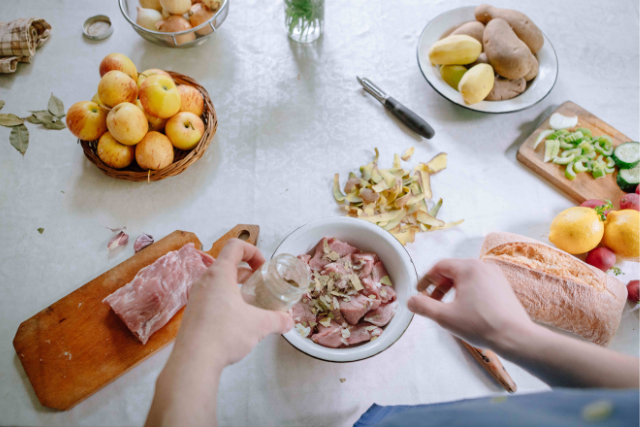
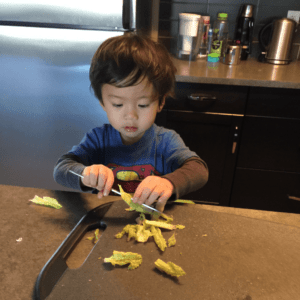
The research has shown that children eat better when they involve with shopping, preparing, cooking and serving their meal. That’s why it is important to include children in meal prep, even letting them to mix together ingredients or set the table. From the previous blogpost, you have learned, parents should be in charge of the “what’s” of feeding, children might feels that they have no control over what they’re fed if parents don’t include them in choosing food once in a while. They may not like the way that their foods are placed on their plate, perhaps they grow bored of what you serve them.
What to Do
It is important to set healthy boundaries and meet your responsibility of “what”, “when” and “where”, but it’s okay to let your children be a part of the process. Get them involved in shopping, meal planning, preparing, cooking, serving and cleaning up. This process can be messy and longer, maybe a bit more frustrating. However, the benefits are huge and it’s worth it. You just have to be patient.
SIMPLY NOT HUNGRY
We know that children’s appetite can be unpredictable and erratic at the best of times. After the age of two, growth slows and stabilizes which meals that toddlers aren’t as hungry as they used to be. Your children can have “hungry days” (your child out-eats everyone at the table) or “full days” (your child doesn’t eat much at all). As long as you are maintaining your feeding roles and staying consistent with mealtime boundaries, your child should be in charge of whether and how much he eats. It is possible that your child is simply not physically hungry when a meal is served (for whatever reason) and that’s ok.
What to Do
- Accept “I’m not hungry” as an acceptable answer for now, and reminding your children that the “Kitchen will be closed after dinner, are you sure you’re done !!”.
- You may also want to consider having dinner a little bit later.
TOO MANY DISTRACTIONS
Allowing your children to watch TV, IPAD or play with toys at the table is a recipe for distraction. Screen distractions can work in two different ways (negative). When a child is watching a show or playing a video game while eating, he is focusing ALL of his attention on the show he’s watching or game he’s playing. There is no attention left for eating his meal, not to mention listening to his hunger/fullness cues.
Also, I found that some parents like to spoon-feed their children (especially young infant) in random time (not at regular mealtime), so having random family members/strangers walk in and out to the kitchen, can be very distracted. Younger children have a hard time focusing on their meal with minimal distractions, older children can easily under or over-eat because they’re just not paying attention.
Playing with siblings at the table while eating can be very distracted too.
What to Do
- Set healthy boundaries by not allowing any electronic devices or toys at the table while eating.
- Seat children strategically so that they can’t touch each other.
- Eat together as often as possible. This helps to teach your child healthy eating habits, table manners and how to use utensils. It also provides a time to role model healthy eating.
LARGE PORTIONS
Some children turn their plate away simply because the portion that they’ve been served is too large and overwhelming. Some parents thinks that their children appetite should be same as other children of the same age.
What to Do
Every child is different, even appetite. Continue serve a balanced meal with small portion, let him ask for more.
TOO MANY SNACKS
Are you having a snacker/grazer at home? Children who graze between meals often come to the table feeling too full to eat. Research has shown grazers can eat up to 50% less than those with more regular meal and snack times. This is why it is so important to establish a mealtime structure.
What to Do
Set regular meal and snack times. Offer 3 meals and 2-3 snacks at regular times each day. You need to give your kids a chance to build an appetite for meals, otherwise, they won’t eat much and it can become harder for them to learn self-regulation.
TOO TIRED
After a long day of playing, daycare, preschool, kindergarten, some kids just don’t have the energy to bring foods to mouth by the end of the day. During dinner time, if you’re finding that your child is fussy, easy to cry, rubbing the eyes or yawning, that’s probably what’s happening.
What to Do
Try to encourage him to fill his tummies before bed as best as he can, and remind them that there is no more food until next morning. You can also consider having earlier dinner.
NOT FEELING WELL OR SICK
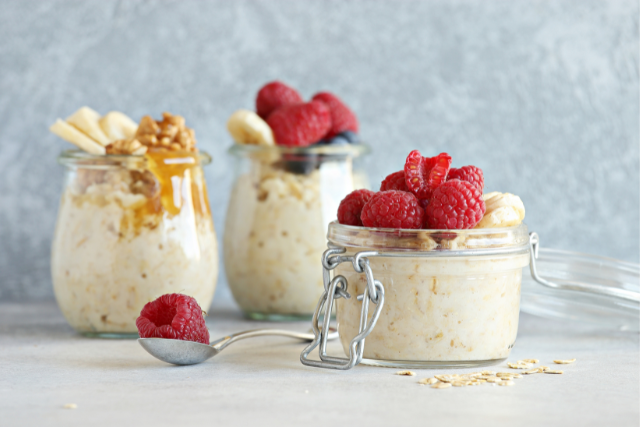
If your child is sick, it is likely that he will not eat well at a meal. In this case, make sure to keep your child hydrated, and offer “easy to digest” foods such as porridge, banana, bread, crackers, smoothie popsicle, soup and apple sauce until his appetite returns.
What to Do
Offer foods more often when you child is sick, but don’t push or force them. Fluids are most important.
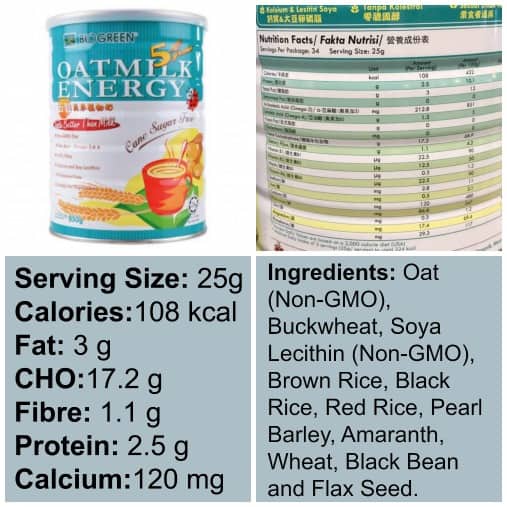
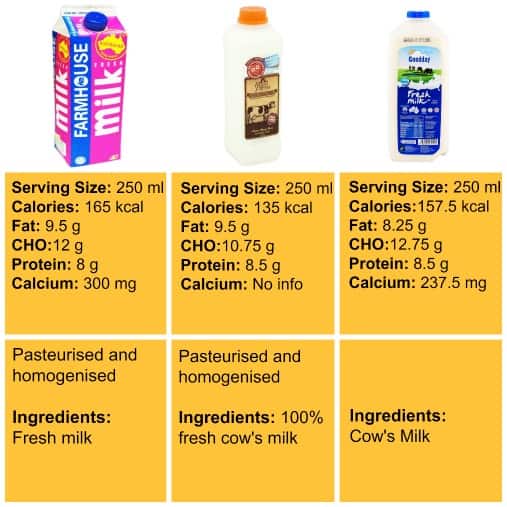
TOO MUCH MILK OR JUICE
Too much milk or juice can spoil the appetite. Milk contains fat and protein (two nutrients that make kids feel full). Juice contains excess calories and sugar.
What to Do
- 1-2 years old, offer 3 cups (24 oz/750 mL) of milk per day
- After 2 years old, 2 cups (16 oz/500 mL) of milk per day
- Offer only water in between meals and snacks for hydration
- Avoid or limit fruit juice to no more than 1/2 cup per day. You can water it down.