High Fibre Zucchini Oat Chocolate Chip Cookies

High Fibre Zucchini Oat Chocolate Chip Cookies

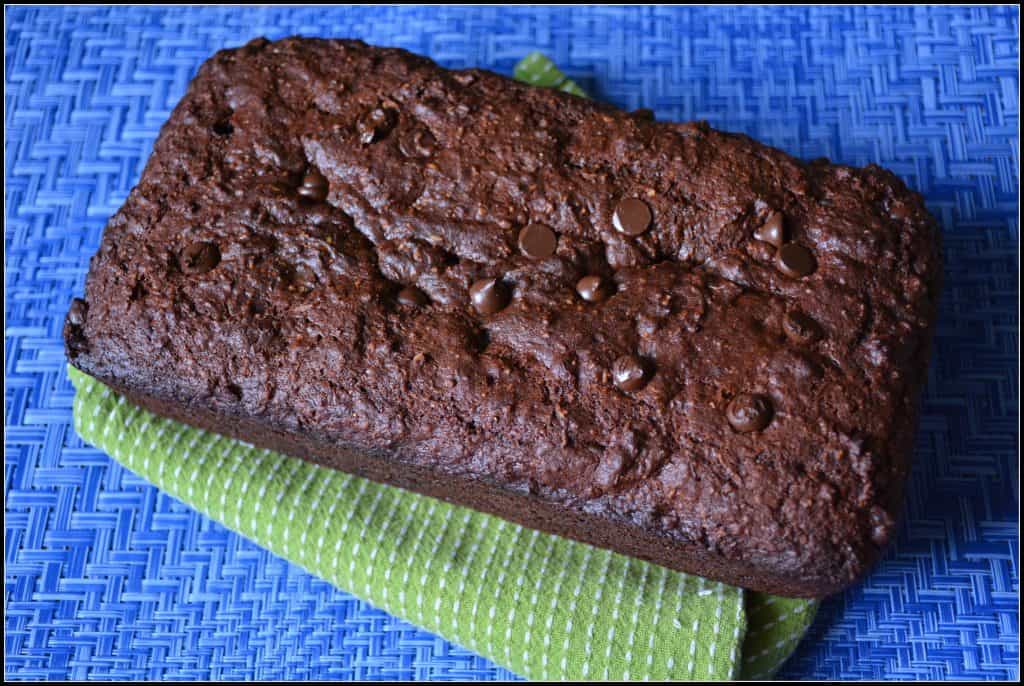
After baking the Super Tasty Zucchini Chocolate Bread, I am addicted to any zucchini recipes. Zucchini is very versatile with a simple mellow flavour so it can go in just about anything.

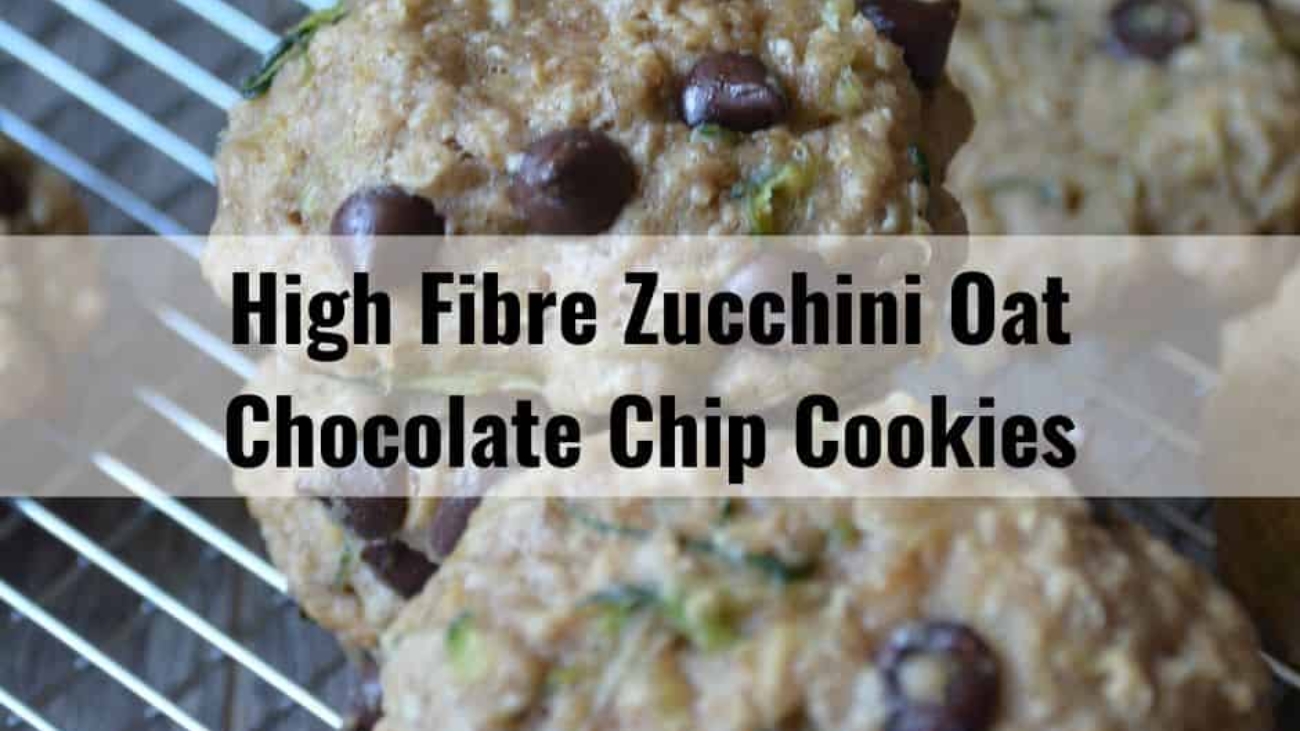
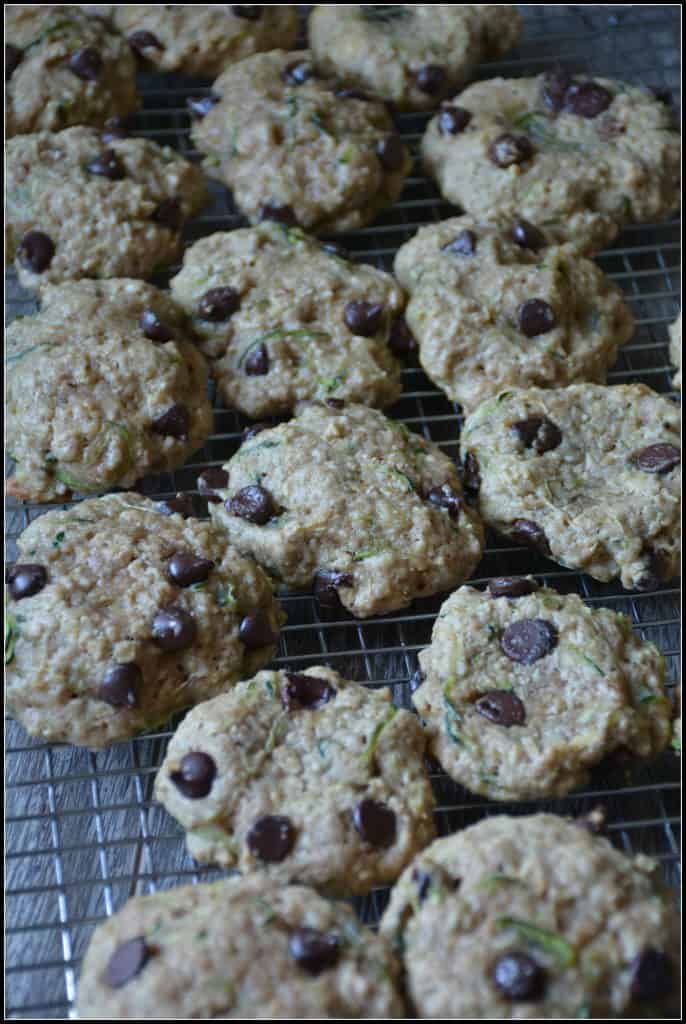
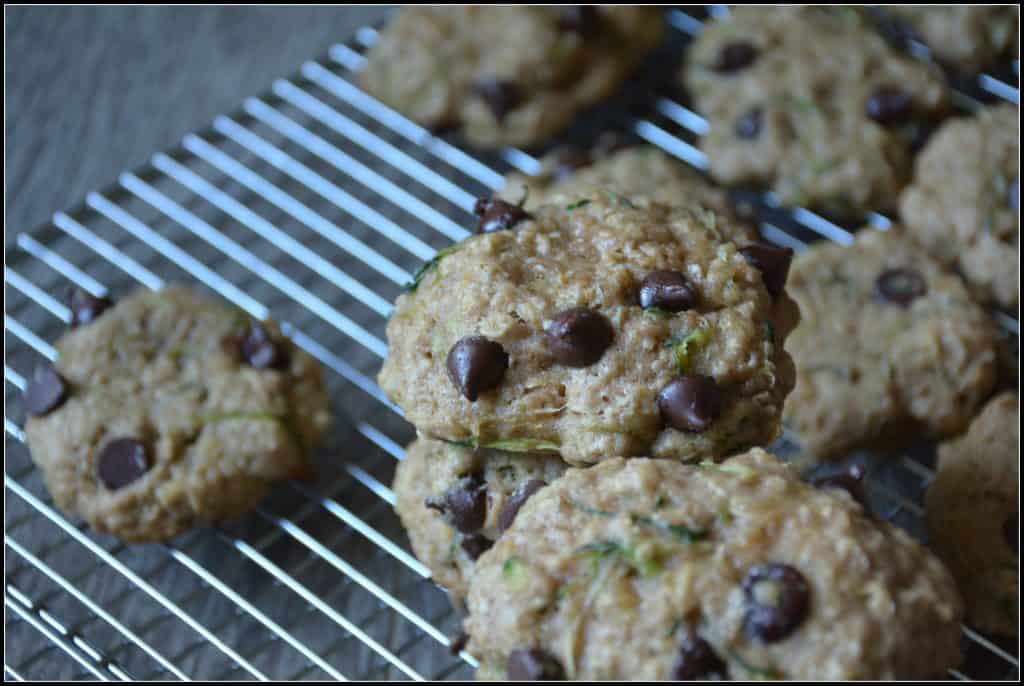
This recipe is definitely a keeper. They look as good as they taste. They came out soft and moist. If you want to avoid the cookie becomes too moist,  you can squeeze out the extra moisture after grating the zucchini. Also, set aside a few chocolate chips to place on top of each cookie before baking.

I would make endless batches of these and Zucchini Chocolate Bread.

Try these high fibre, delicious, soft and flavourful cookie recipe, I am sure everyone will love it.

Enjoy !!

Recipe adapted from Cooking Classy 

High Fibre Zucchini Oat Chocolate Chip Cookies

High Fibre Zucchini Oat Chocolate Chip Cookies

Prep Time 20 minutes
Cook Time 12 minutes
Total Time 32 minutes
Course Snack
Servings 2 dozen

Ingredients
  

  • 1.5 cups whole wheat flour
  • 1 tsp ground cinnamon
  • 1.2 tsp baking soda
  • 1/2 tsp salt
  • 1/2 cup unsalted butter, softened
  • 1/2 cup granulated sugar
  • 1/3 cup packed light-brown sugar
  • 1 large egg
  • 1 1/2 tsp vanilla extract
  • 1 1/2 cup shredded zucchini
  • 1 cup quick oats
  • 3/4 cup chopped pecans or walnutes (optional)
  • 1 cup dark chocolate chips

Instructions
 

  • Preheat oven to 350’C. In a mixing bowl whisk together flour, cinnamon, baking soda and salt for 20 seconds, set aside.
  • In a large bowl, use hand mixer whip together butter, granulated sugar and brown sugar until creamy. Mix in egg and vanilla extract.
  • Add zucchini, then slowly add in flour mixture. Stir in oats, walnuts and chocolate chips (I reserved 1/4 cup of the chocolate chips to press into the tops of dough balls before baking, just for looks which is totally optional).
  • Shape dough into balls, 1-2 tbsp each, then transfer to parchment paper lined baking sheets, spacing cookies 2 inch apart.
  • Bake in preheated oven 15 mins until edges are lightly golden. Cool on baking sheet 2 minutes then transfer to a wire rack to cool completely. Store in airtight container.
Super Tasty Zucchini Chocolate Bread

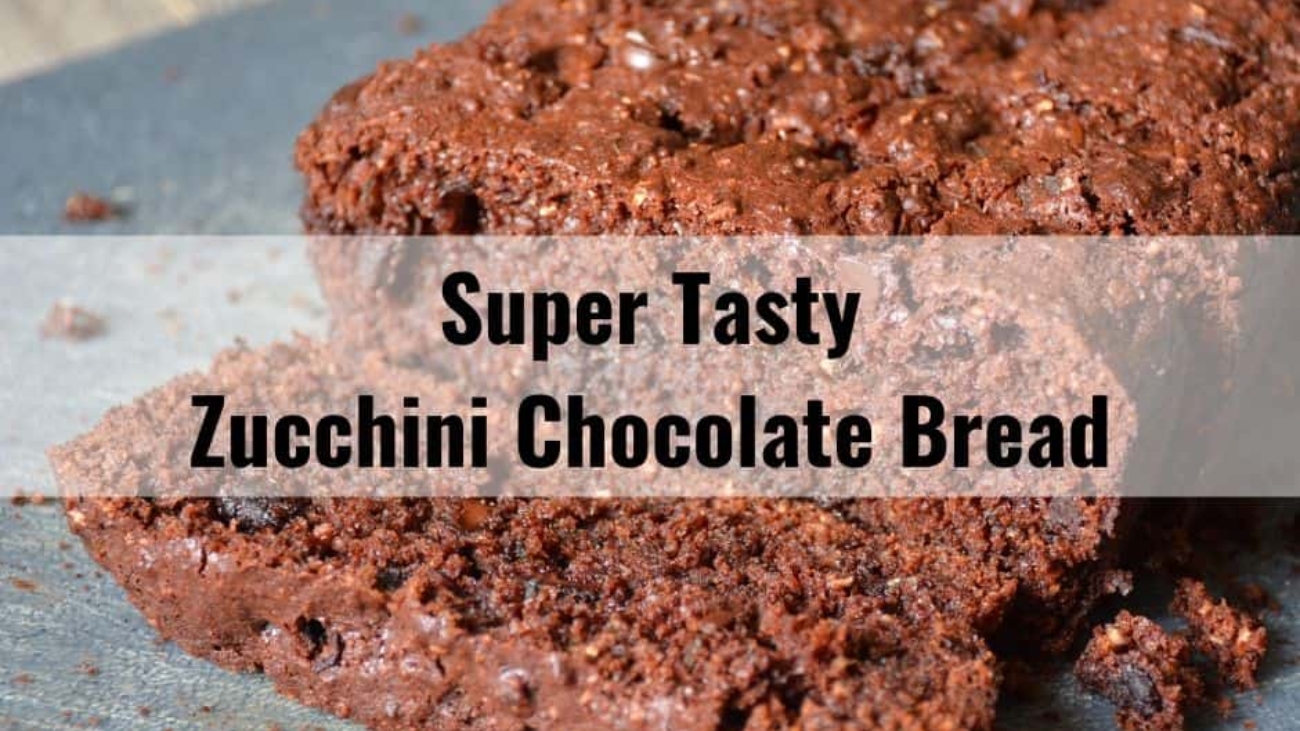
Super Tasty Zucchini Chocolate Bread

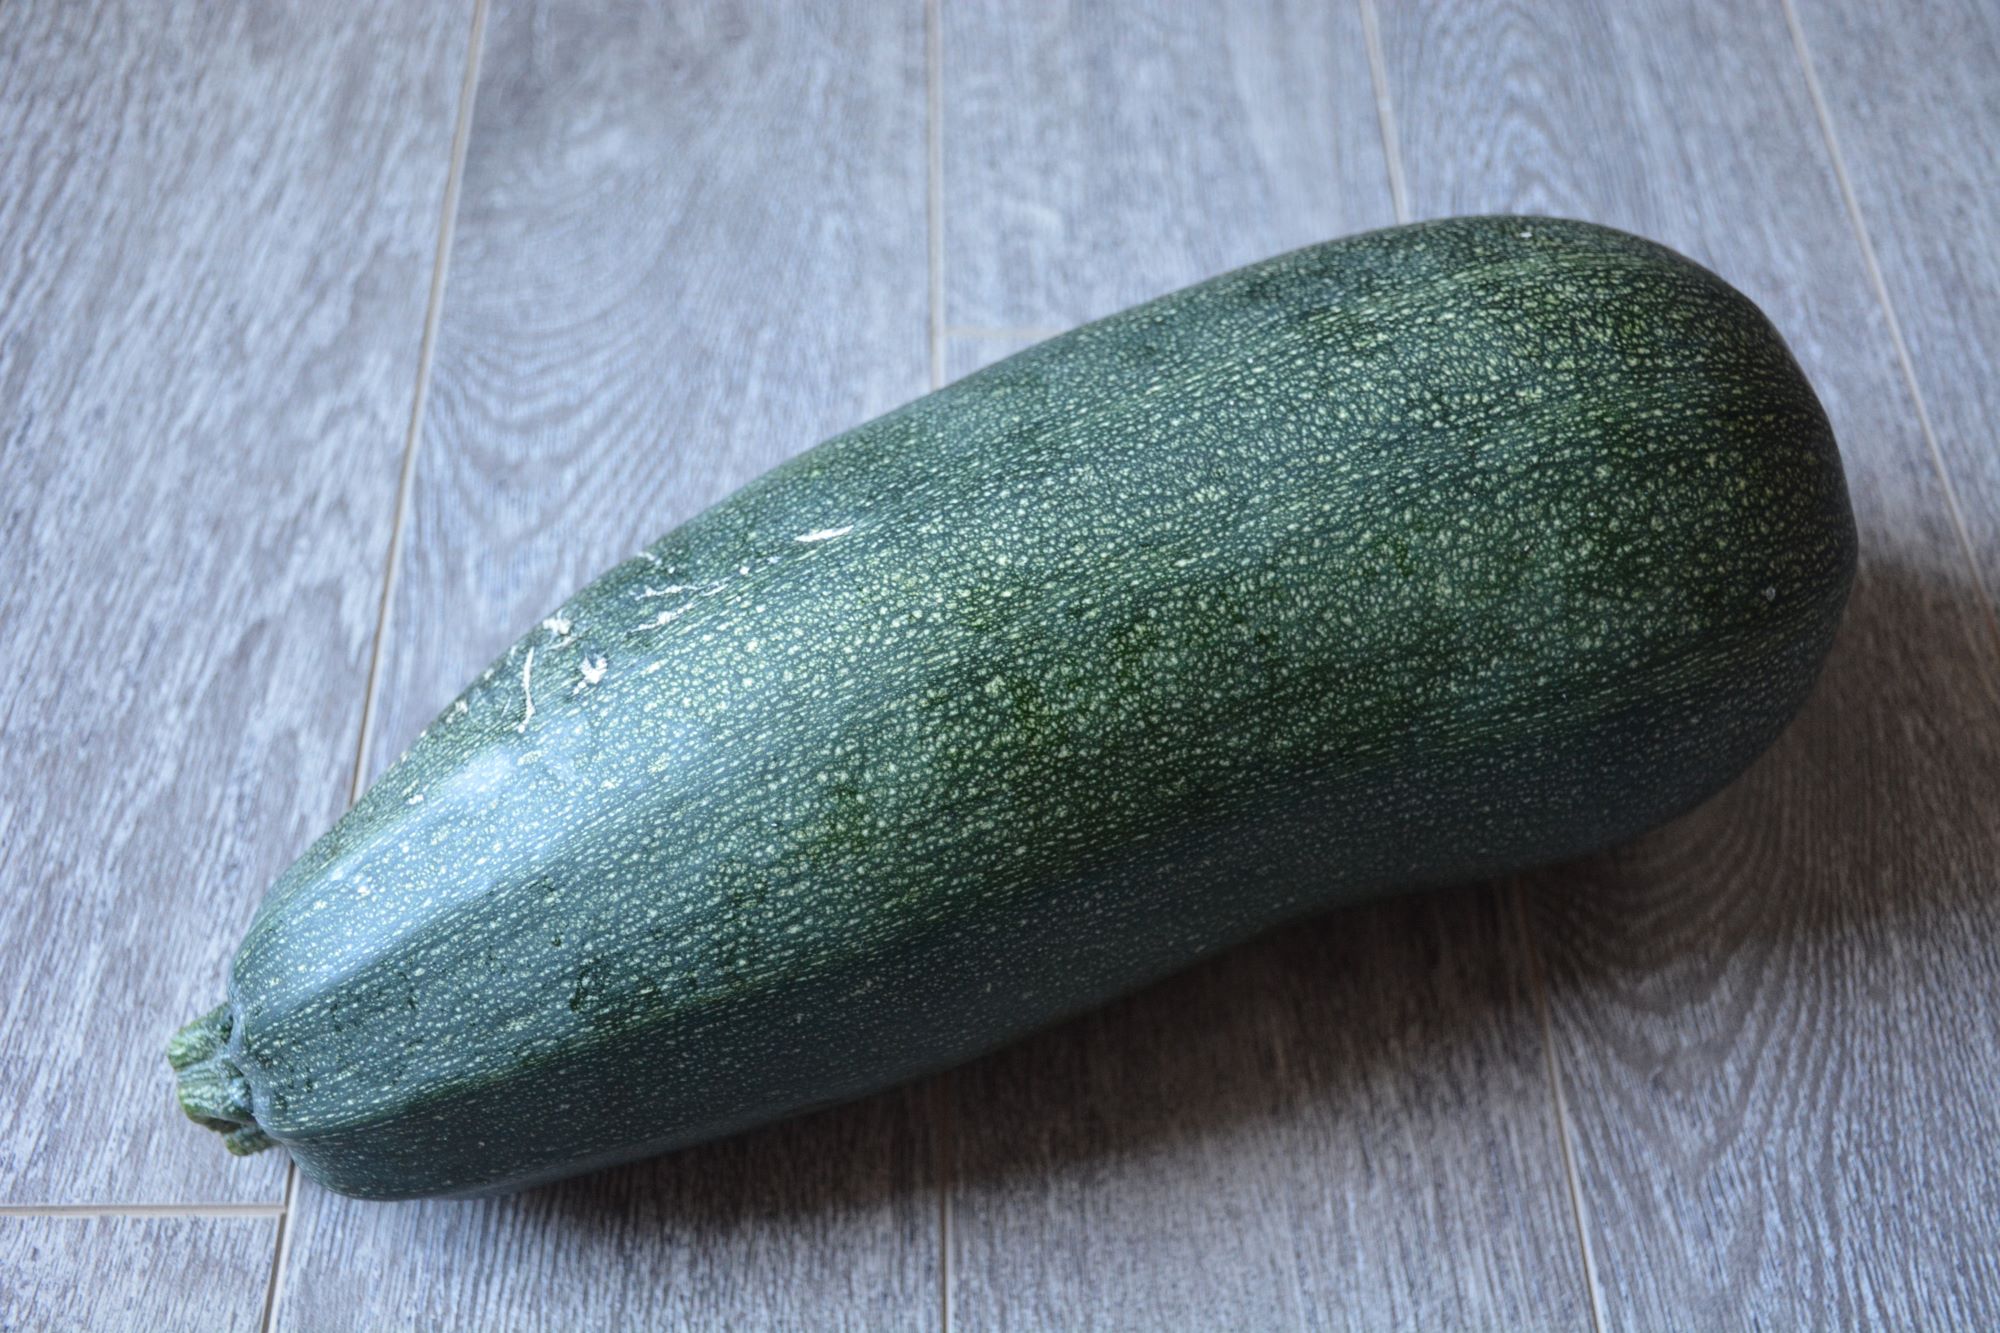
In the summer, I received a huge zucchini from a friend of mine.

Zucchini is so versatile, I have tried all kind of zucchini recipes such as zucchini wedges, zucchini chips, grilled zucchini, zucchini patties. I also love baking with zucchini because it not only adds moisture to muffins, cookies and loafs, but it also boosts the nutritional profile of any baked snack, adding a healthy dose of Vitamin A, Potassium, Folate and antioxidants.

dsc_8634

Make sure you have thoroughly dried zucchini to keep it from being too wet/watery in the finished bread. I use paper towel and squeeze the water out from the grated zucchini. Do’t squeeze out all the liquid as some is needed for the bread.

Enjoy !!


Recipe adapted from Chelsea’s Messy Apron

Super Tasty Zucchini Chocolate Bread

Super Tasty Zucchini Chocolate Bread

Prep Time 20 minutes
Cook Time 50 minutes
Total Time 1 hour 10 minutes
Course Dessert, Snack
Servings 1 loaf

Ingredients
  

  • 1/2 cup plain greek yogurt
  • 2 tbsp honey
  • 1/2 cup brown sugar
  • 1/3 + 3/4  cup Dark Chocolate Chips, separated*
  • 1/3 cup coconut oil, melted
  • 1 1/2 tsp vanilla extract
  • 1 large egg
  • 1/3 cup oat flour (blended oats)
  • 2 tbsp cocoa powder
  • 1 tsp baking soda
  • 1/4 tsp baking powder
  • 1/4 tsp salt
  • 1 cup whole wheat flour
  • heaping 3/4 cup lightly packed finely grated zucchini
  • 1 tbsp cornstarch

Instructions
 

  • Preheat the oven to 350C. Lightly grease and flour one loaf pan. (I use an 8 and 1/2 by 4 and 1/2 inch pan).
  • In a bowl, stir together the Greek yogurt, honey, and brown sugar.
  • In another small bowl place 1/3 cup chocolate chips. Melt the coconut oil and measure the oil AFTER being melted. Pour the coconut oil over the chocolate chips and stir until melted. Pop in the microwave for 15 seconds if needed until the mixture is smooth. Allow to slightly cool and then add to the Greek yogurt mixture.
  • Add in an egg and the vanilla extract.
  • In a separate bowl, stir together the oat flour (measured AFTER blending. I used regular rolled oats and quickly pulse them in a blender or food processor until they resemble flour. Then measure and add to the bowl), cocoa powder, baking soda, baking powder, salt, and cornstarch.
  • Add in the white or whole wheat flour. Add in the remaining 3/4 cup chocolate chips. Stir the dry ingredients together.
  • Add the dry to the wet and mix until just combined. Over-mixing will result in dense bread or a sunk in center.
  • Stir in the grated zucchini.
  • Pour the mixture into the prepared pan and top with more chocolate chips if desired.
  • Bake for 45-55 minutes or until a toothpick when inserted into the center comes out clean and the bread has begun to slightly pull away from the sides. Barely under-cooking the bread will yield a softer and slightly denser bread.
  • If needed tent some tin foil over the top to keep the top from over-cooking.
  • Allow to completely cool before cutting into the bread. Cut with a sharp knife.
  • Cover and enjoy within 3 days or freeze up to one month.
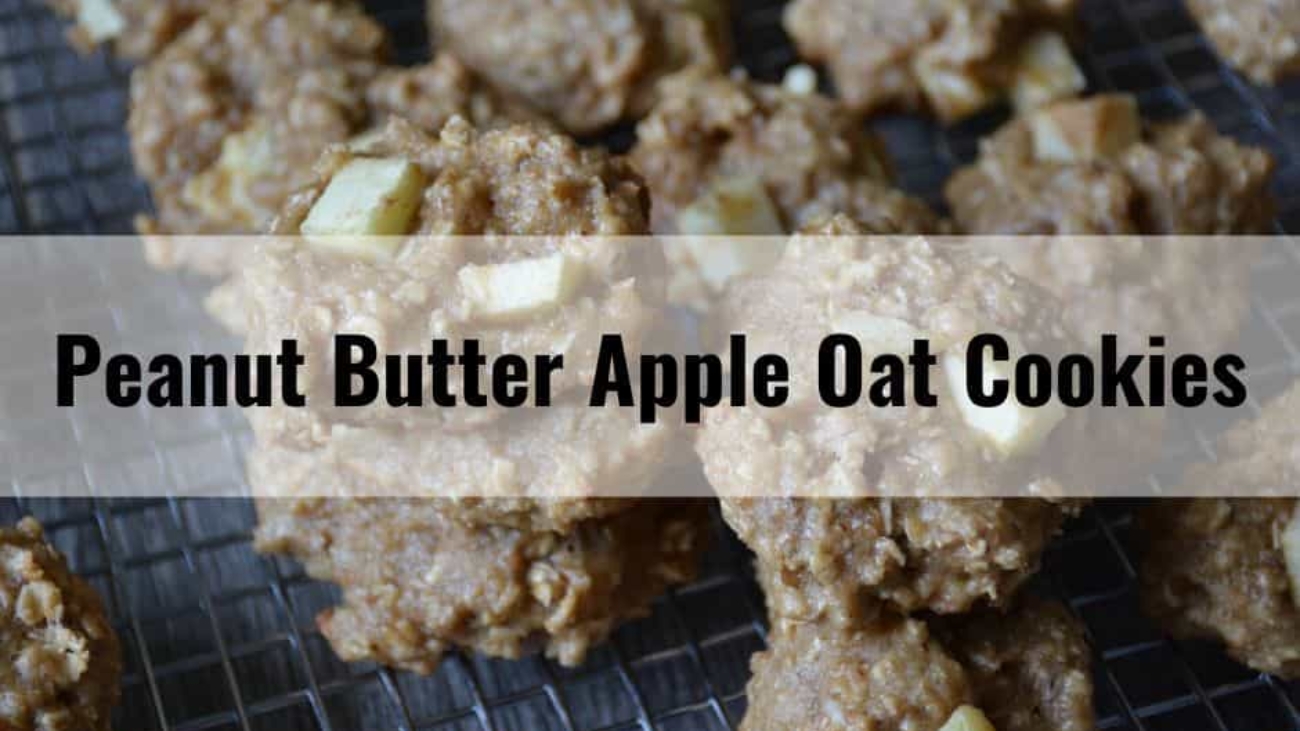
Peanut Butter Apple Oat Cookies

Peanut Butter Apple Oat Cookies

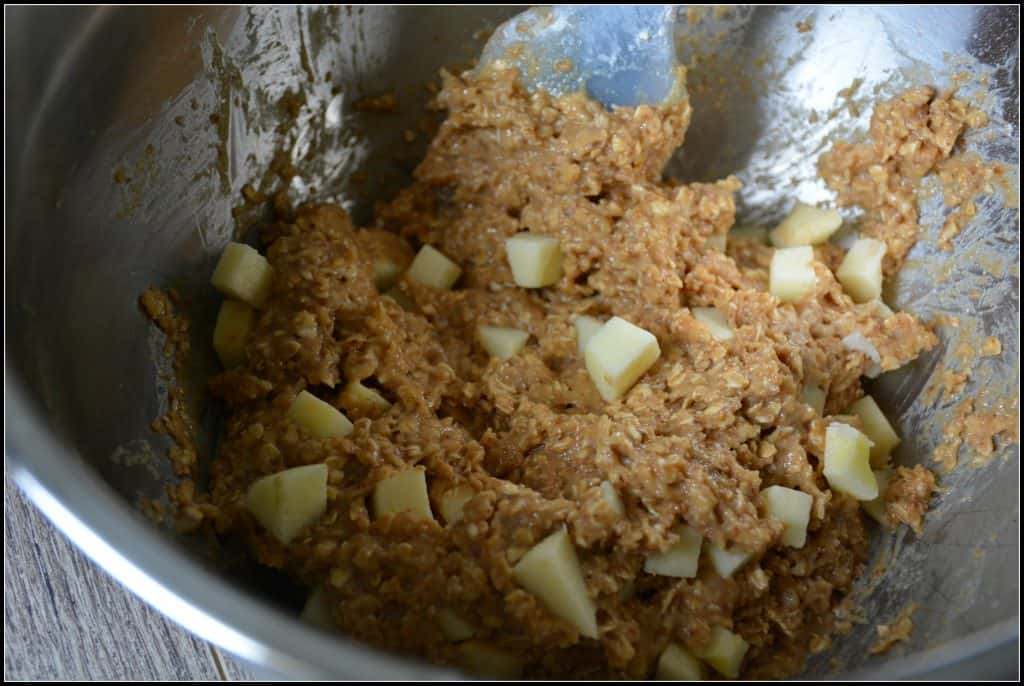
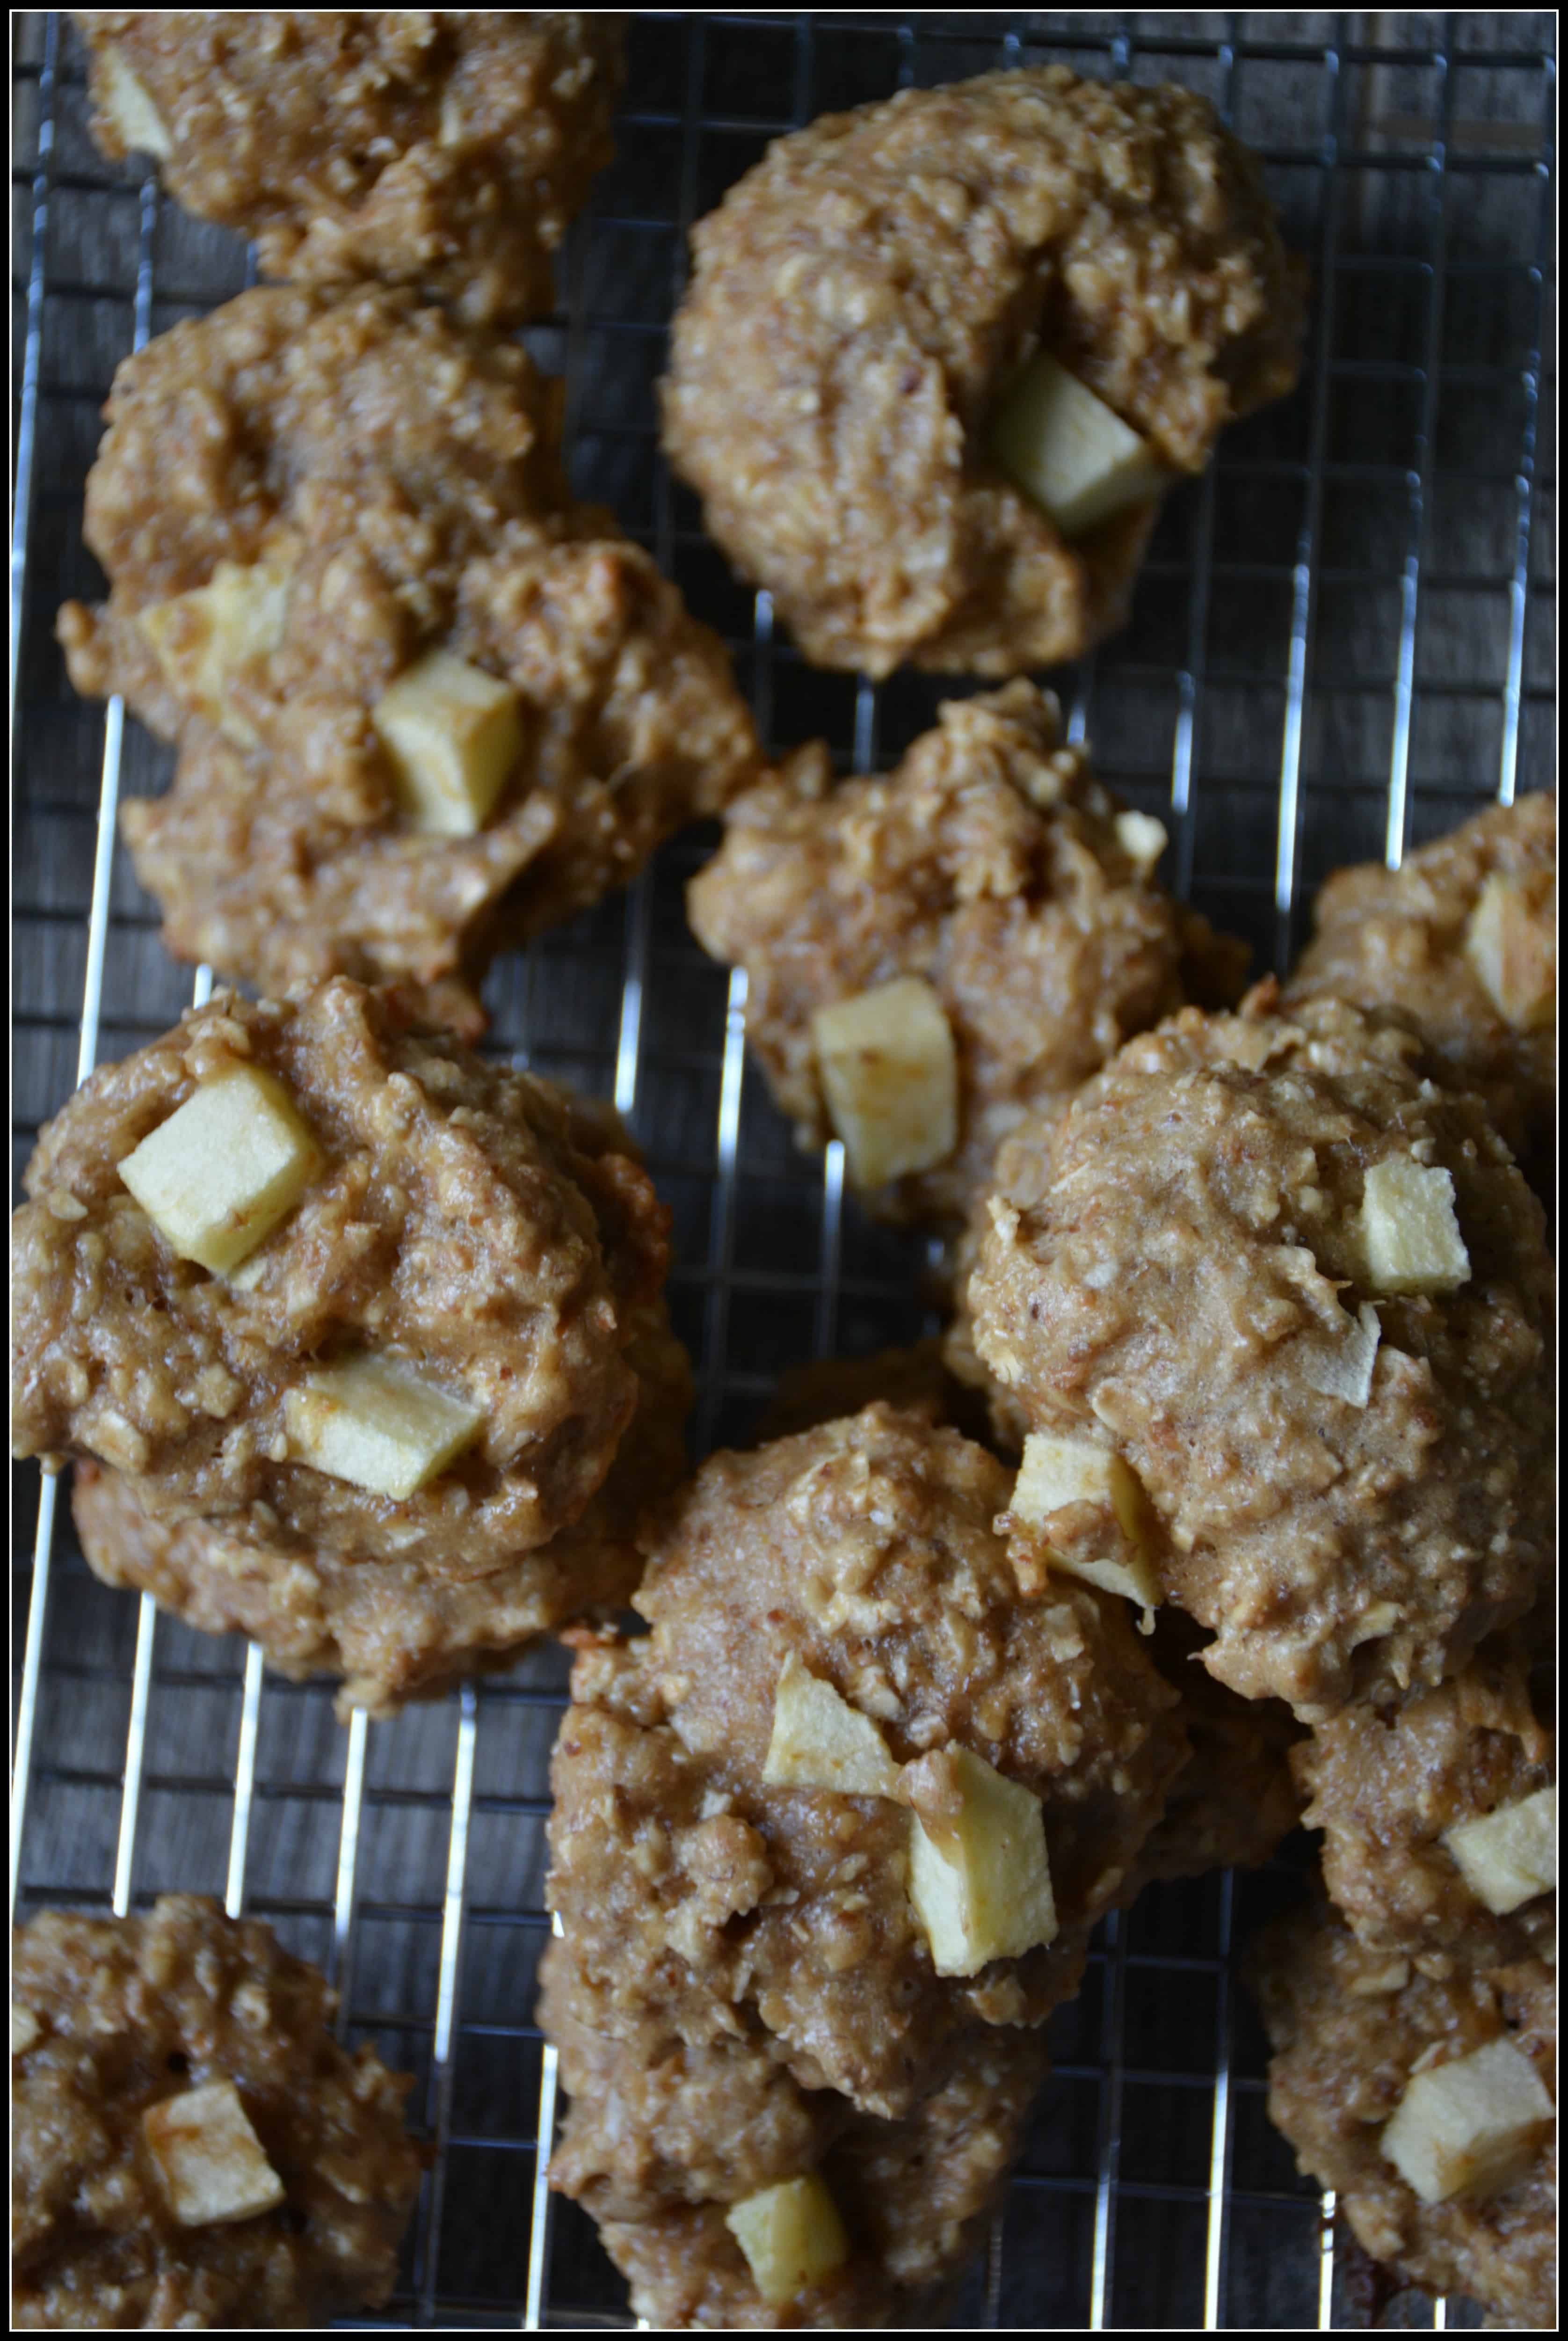
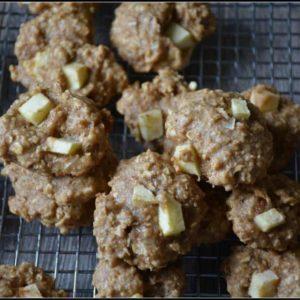
I love apple, we usually grab an apple and bite right in, I will also cut up my apple and dip it into natural peanut butter. This is my perfect snack and it has always been my favourite.

Until I found this recipe. Now I can have my apple, peanut butter and cookie. All of my favourite combined into one tasty treat.

dsc_8778

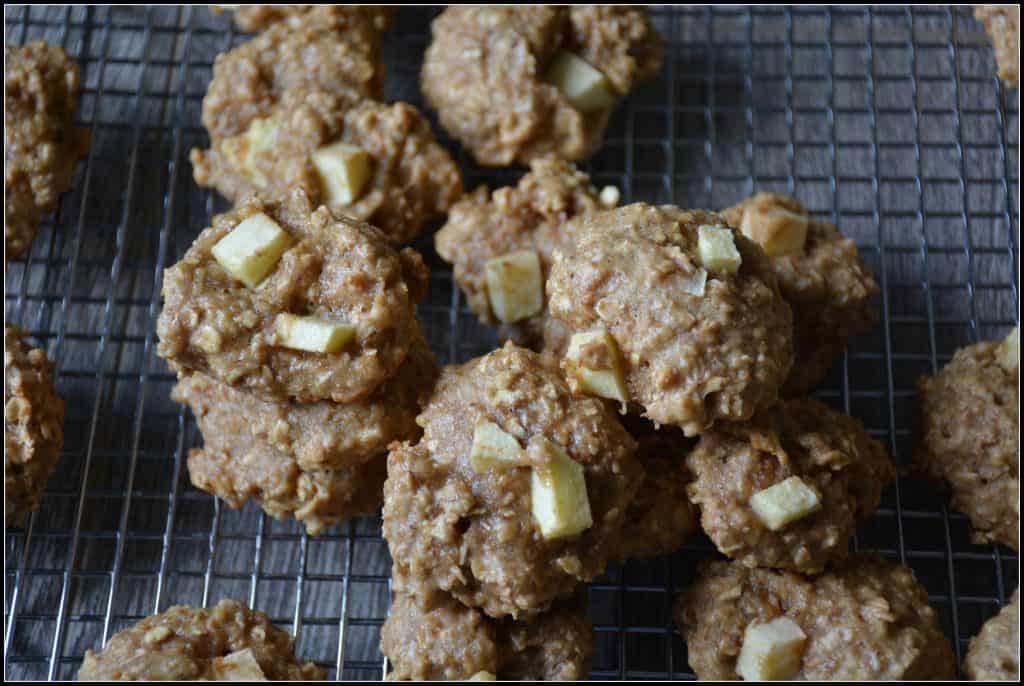
These cookie recipe is soft and chewy. They have oatmeal, peanut butter and apple, that is pretty much the perfect breakfast, snack or dessert.

dsc_8792

If apples and peanut butter are one of your favourite snacks, I can guarantee you will love this recipe. It will remind you of your favourite snack and your kids will addict to it.

Enjoy !


dsc_8790

Peanut Butter Apple Oat Cookies

Prep Time 15 minutes
Cook Time 15 minutes
Total Time 30 minutes
Cuisine Gluten Free, Vegan
Servings 30

Ingredients
  

  • 1/2 cup Unsweetened Applesauce
  • 1 tsp Vanilla Extract
  • 1/2 cup Vanilla Extract
  • 1 Flax Egg (1 tbsp ground flax seed + 3 tbsp water) or 1 Egg
  • 3/4 cup Whole Wheat Flour (you can use Oat Flour for gluten free recipe)
  • 1 cup Large Flake Regular Oats
  • 1/4 cup Brown Sugar
  • 1/4 cup White Sugar
  • 1/2 tsp Baking Powder
  • 1/4 tsp Baking Soda
  • 1/2 cup Diced Apple, Skin Remove

Instructions
 

  • Preheat the oven to 350 degrees F. Coat two baking sheets with cooking spray.
  • In a large bowl, mix applesauce, vanilla extract, peanut butter, egg together until combined.
  • In a medium bowl, whisk together flour, oat, brown sugar, white sugar, baking soda, baking powder. Set aside.
  • Add the dry ingredients to wet ingredients. Mix until just combined. Stir in the diced apples.
  • Roll cookie dough into tablespoon size balls and place on prepared cookie sheet.
  • Bake for 15 minutes or until light golden brown around the edges. Let cookies cool on the baking sheet for two minutes. Transfer to a cooling rack and cool completely.
Colourful Edamame Sesame Quinoa Salad

Colourful Edamame Sesame Quinoa Salad

What is Quinoa (小小米)? 

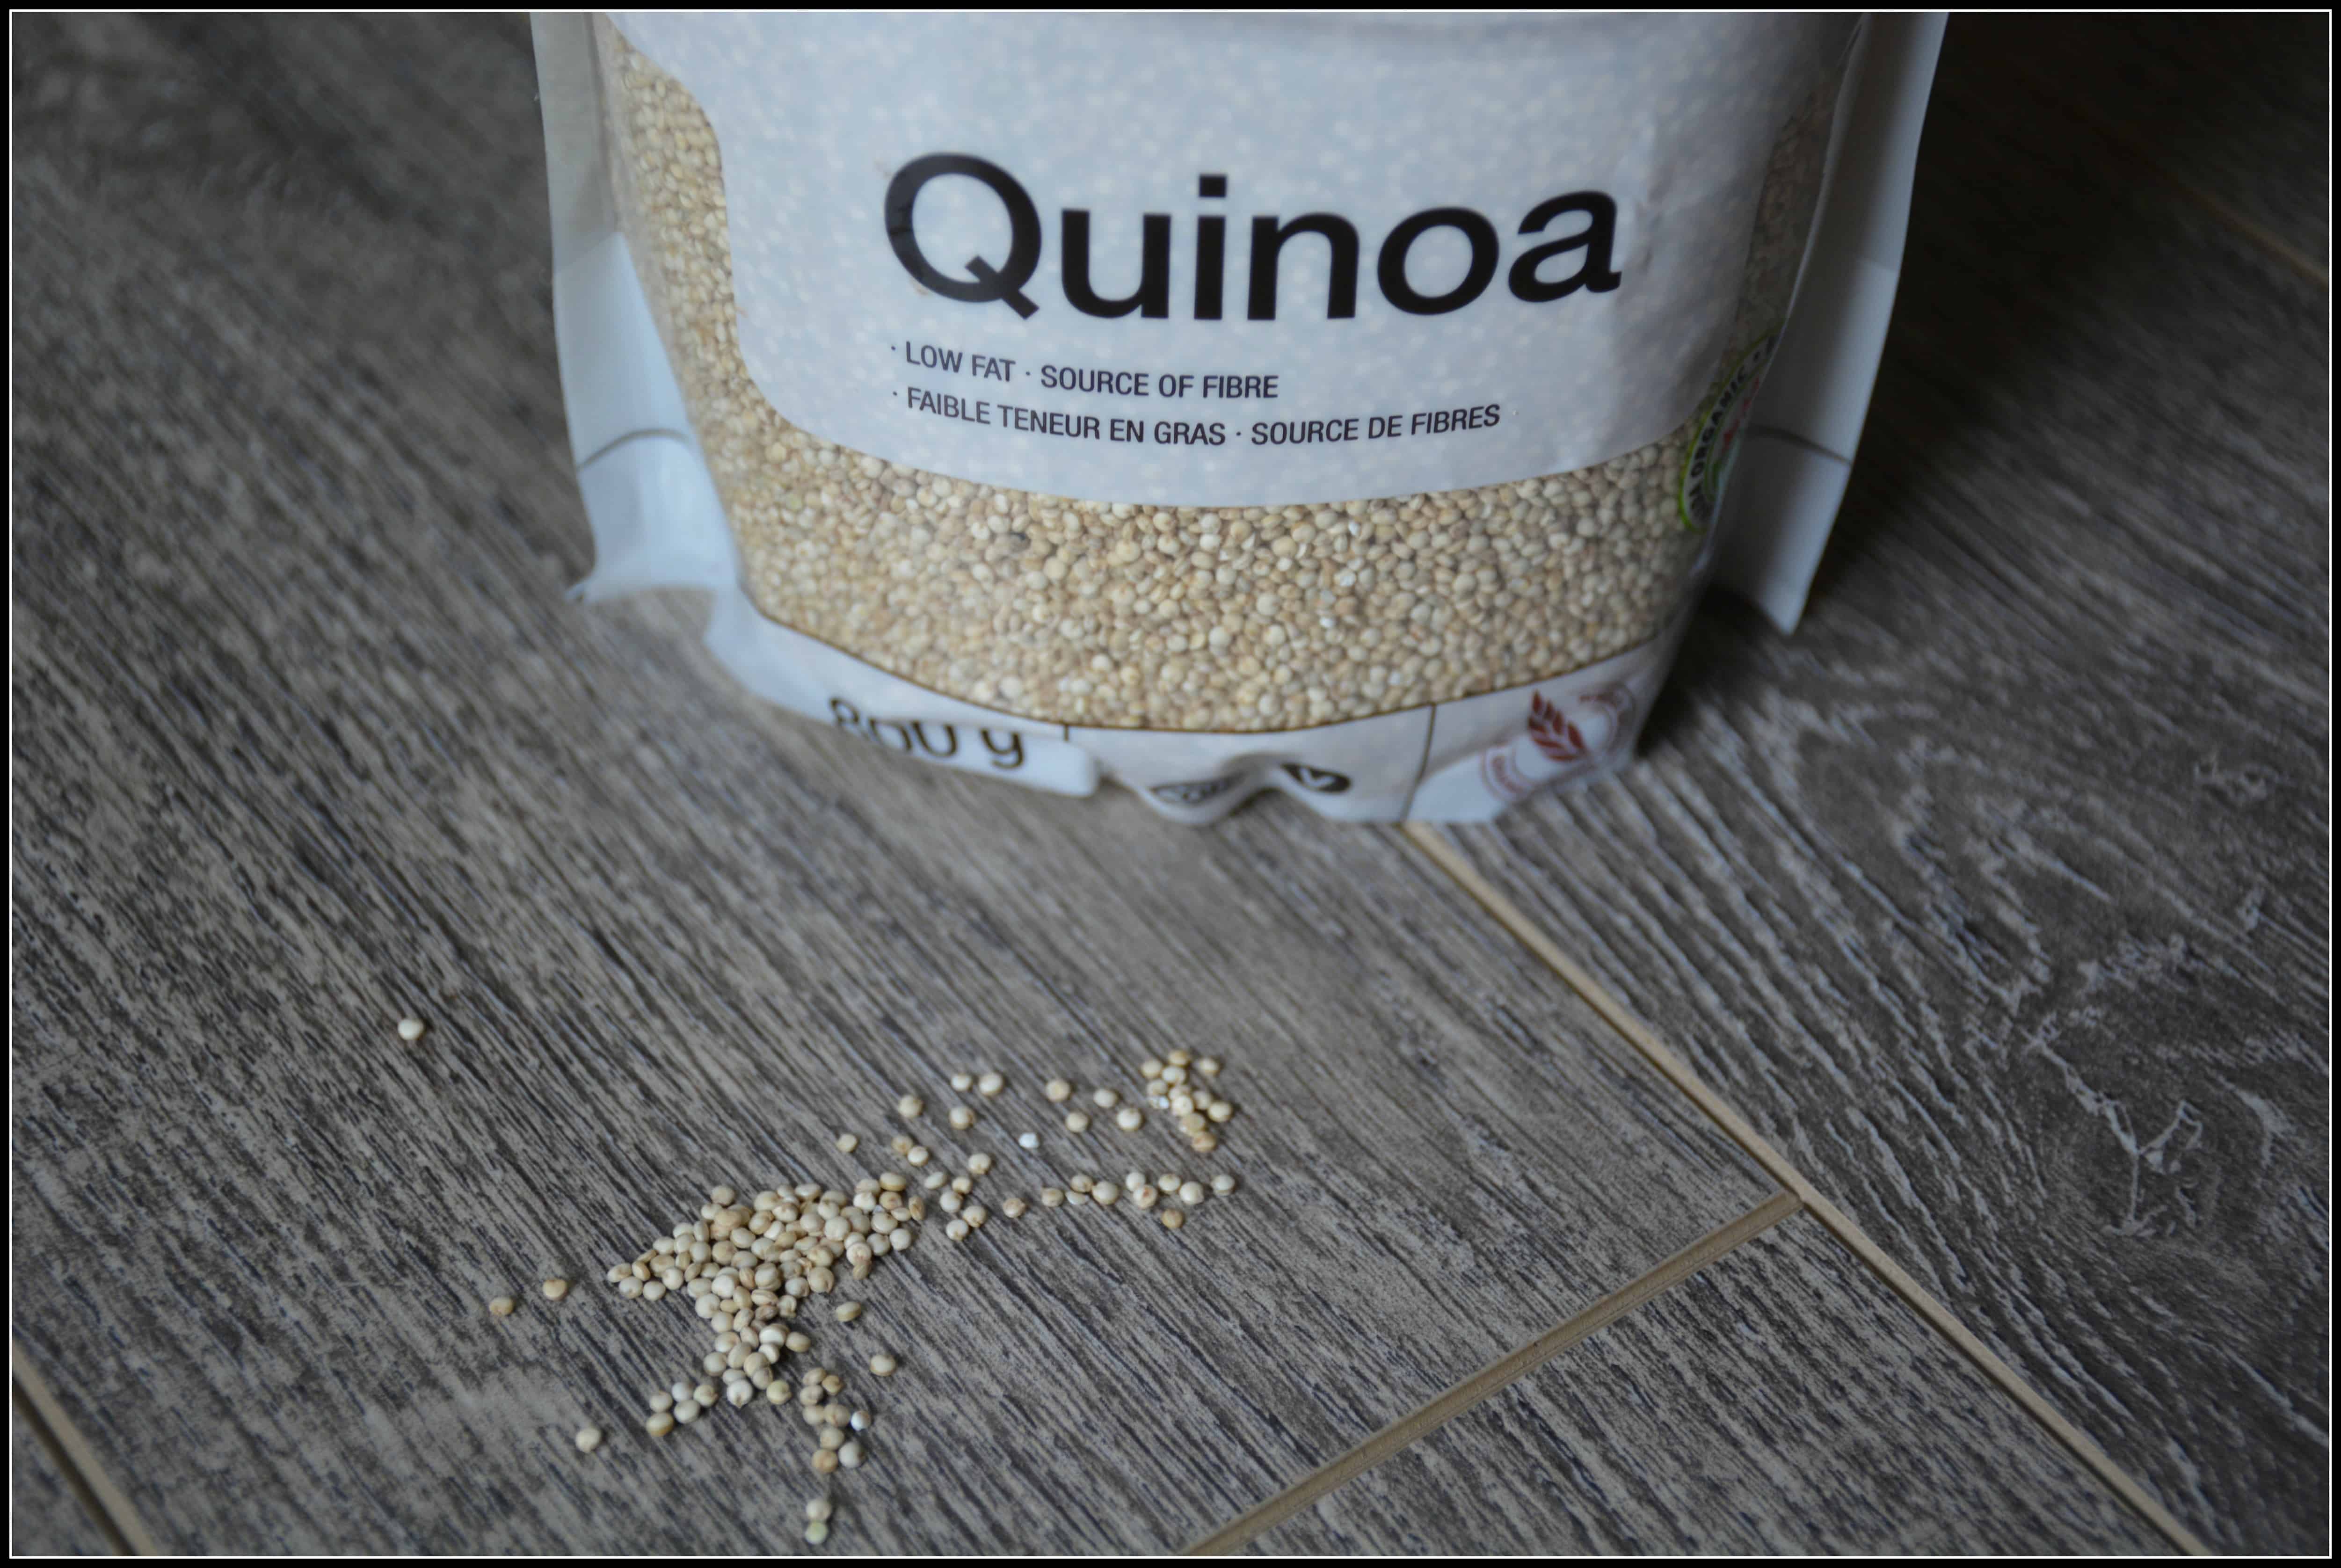
Quinoa (Keen-Wah) is a nutritious, nutty tasting, tiny seed. Quinoa is the seed of a plant related to beets, chard and spinach. It cooks just like rice, but quicker. It is available at most major grocery and bulk food stores.

dsc_8794

Nutrition Profile of Quinoa?  

Quinoa is higher in protein and iron than most grains and is a source of insoluble fibre too. It is also low in calories.

[table id=10 /]

Source: Organics Biologique Quinoa

Quinoa contains all 9 essential amino acids, so its protein profile is similar to that found in meat, fish, eggs and poultry.

Quinoa is high in lysine, an amino acid essential for tissue growth and repair. The high quality protein and unique amino acid profile make it an important staple for vegetarian and vegans who rely on plant sources to meet their dietary requirements (especially protein).

Health Benefits of Quinoa 

Quinoa’s low glycemic index value means it raises blood glucose (sugar) slowly. That makes it a good choice for people with diabetes.

Quinoa is gluten free. Since quinoa does not contain gluten, it is one of the least allergenic grains.

How to Use Quinoa

  • Buying

The colour of quinoa can be pale yellow, red, brown, and black. Quinoa is available in a variety of forms, including raw grains, flour and flakes. It has becoming a common ingredient in many whole grain and gluten-free products such as breakfast cereal, bread, crackers, and wraps.

  • Storing

Quinoa has a hard outer shell and will keep for more than a year if stored properly. You can store in an air tight container in a cool, dry place, or in the fridge to extend its shelf life. You can also freeze cooked quinoa for up to a month.

  • Cooking

This tiny seeds should be washed and rinsed before cooking to remove the naturally-occurring saponins that coat the seeds and have a bitter taste. Some seeds may come pre-washed, however, rinsing quinoa under cool running water before cooking can help eliminate any residual bitter taste associated with saponin.

Quinoa has a mild, slightly nutty favour when cooked. Quinoa triples in size when cooked. 1 cup (250mL) dry quinoa yields 3 cups cooked.

Healthy Ways to Enjoy Quinoa 

Are you ready to add quinoa to your grocery list? Here are a few ideas to get you started:

  • Hot Cereal: Just add milk to leftover quinoa. You can also cook them in milk. Top with cranberries, raisons, fruit, toasted nuts/seeds. For sweetness, you can sprinkle a little cinnamon, vanilla extract or honey.
  • Salads: Use it as a base, add lean meats (chicken breast, canned beans, salmon), vegetables (peppers, carrot, edamame). Mix in a little of your favourite oil and vinegar dressing. Top with low fat cheese, toasted nuts/seeds, dried cranberries or raisons. See recipe below.
  • Soups and Stews: Add raw quinoa during the last 15 minutes of cooking to your favourite vegetable and bean soup for a boost of flavour and protein.
  • Baked goods: muffins, cookies, breads. Quinoa flakes and flours can be added to baked goods.

My Favourite Quinoa Recipe: 

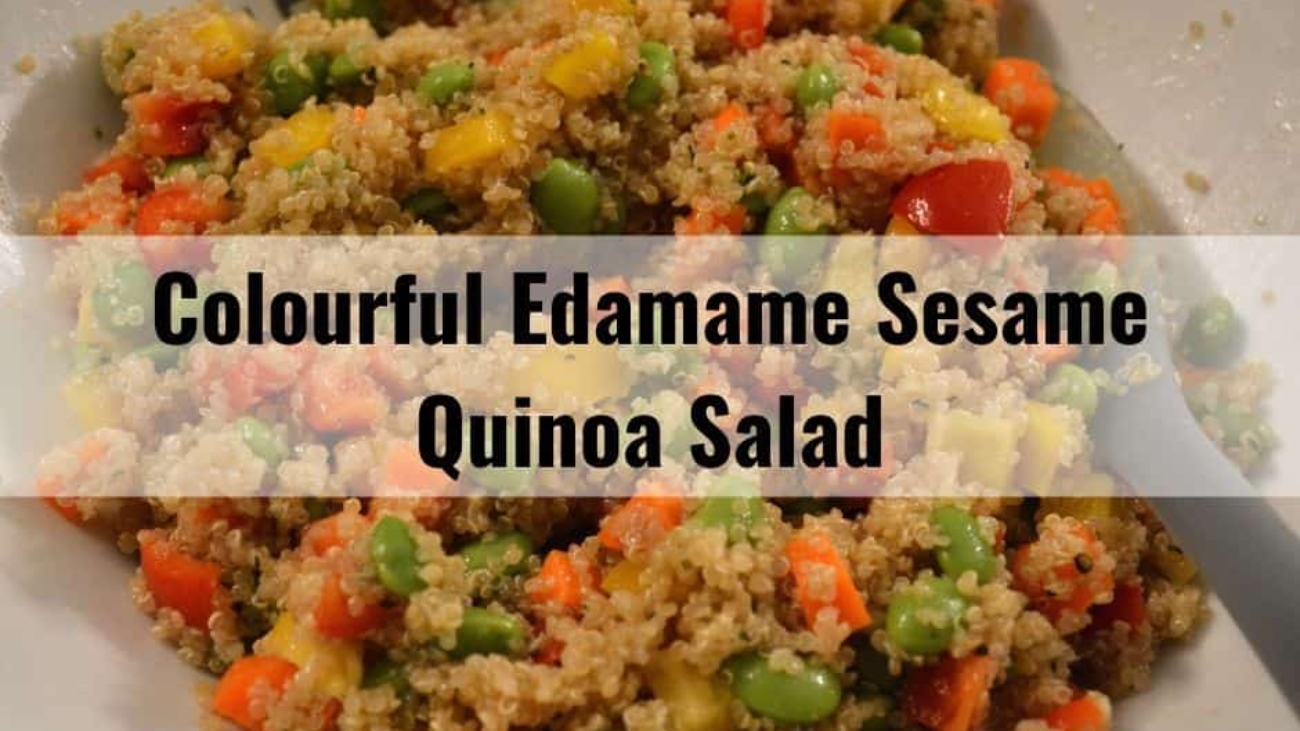
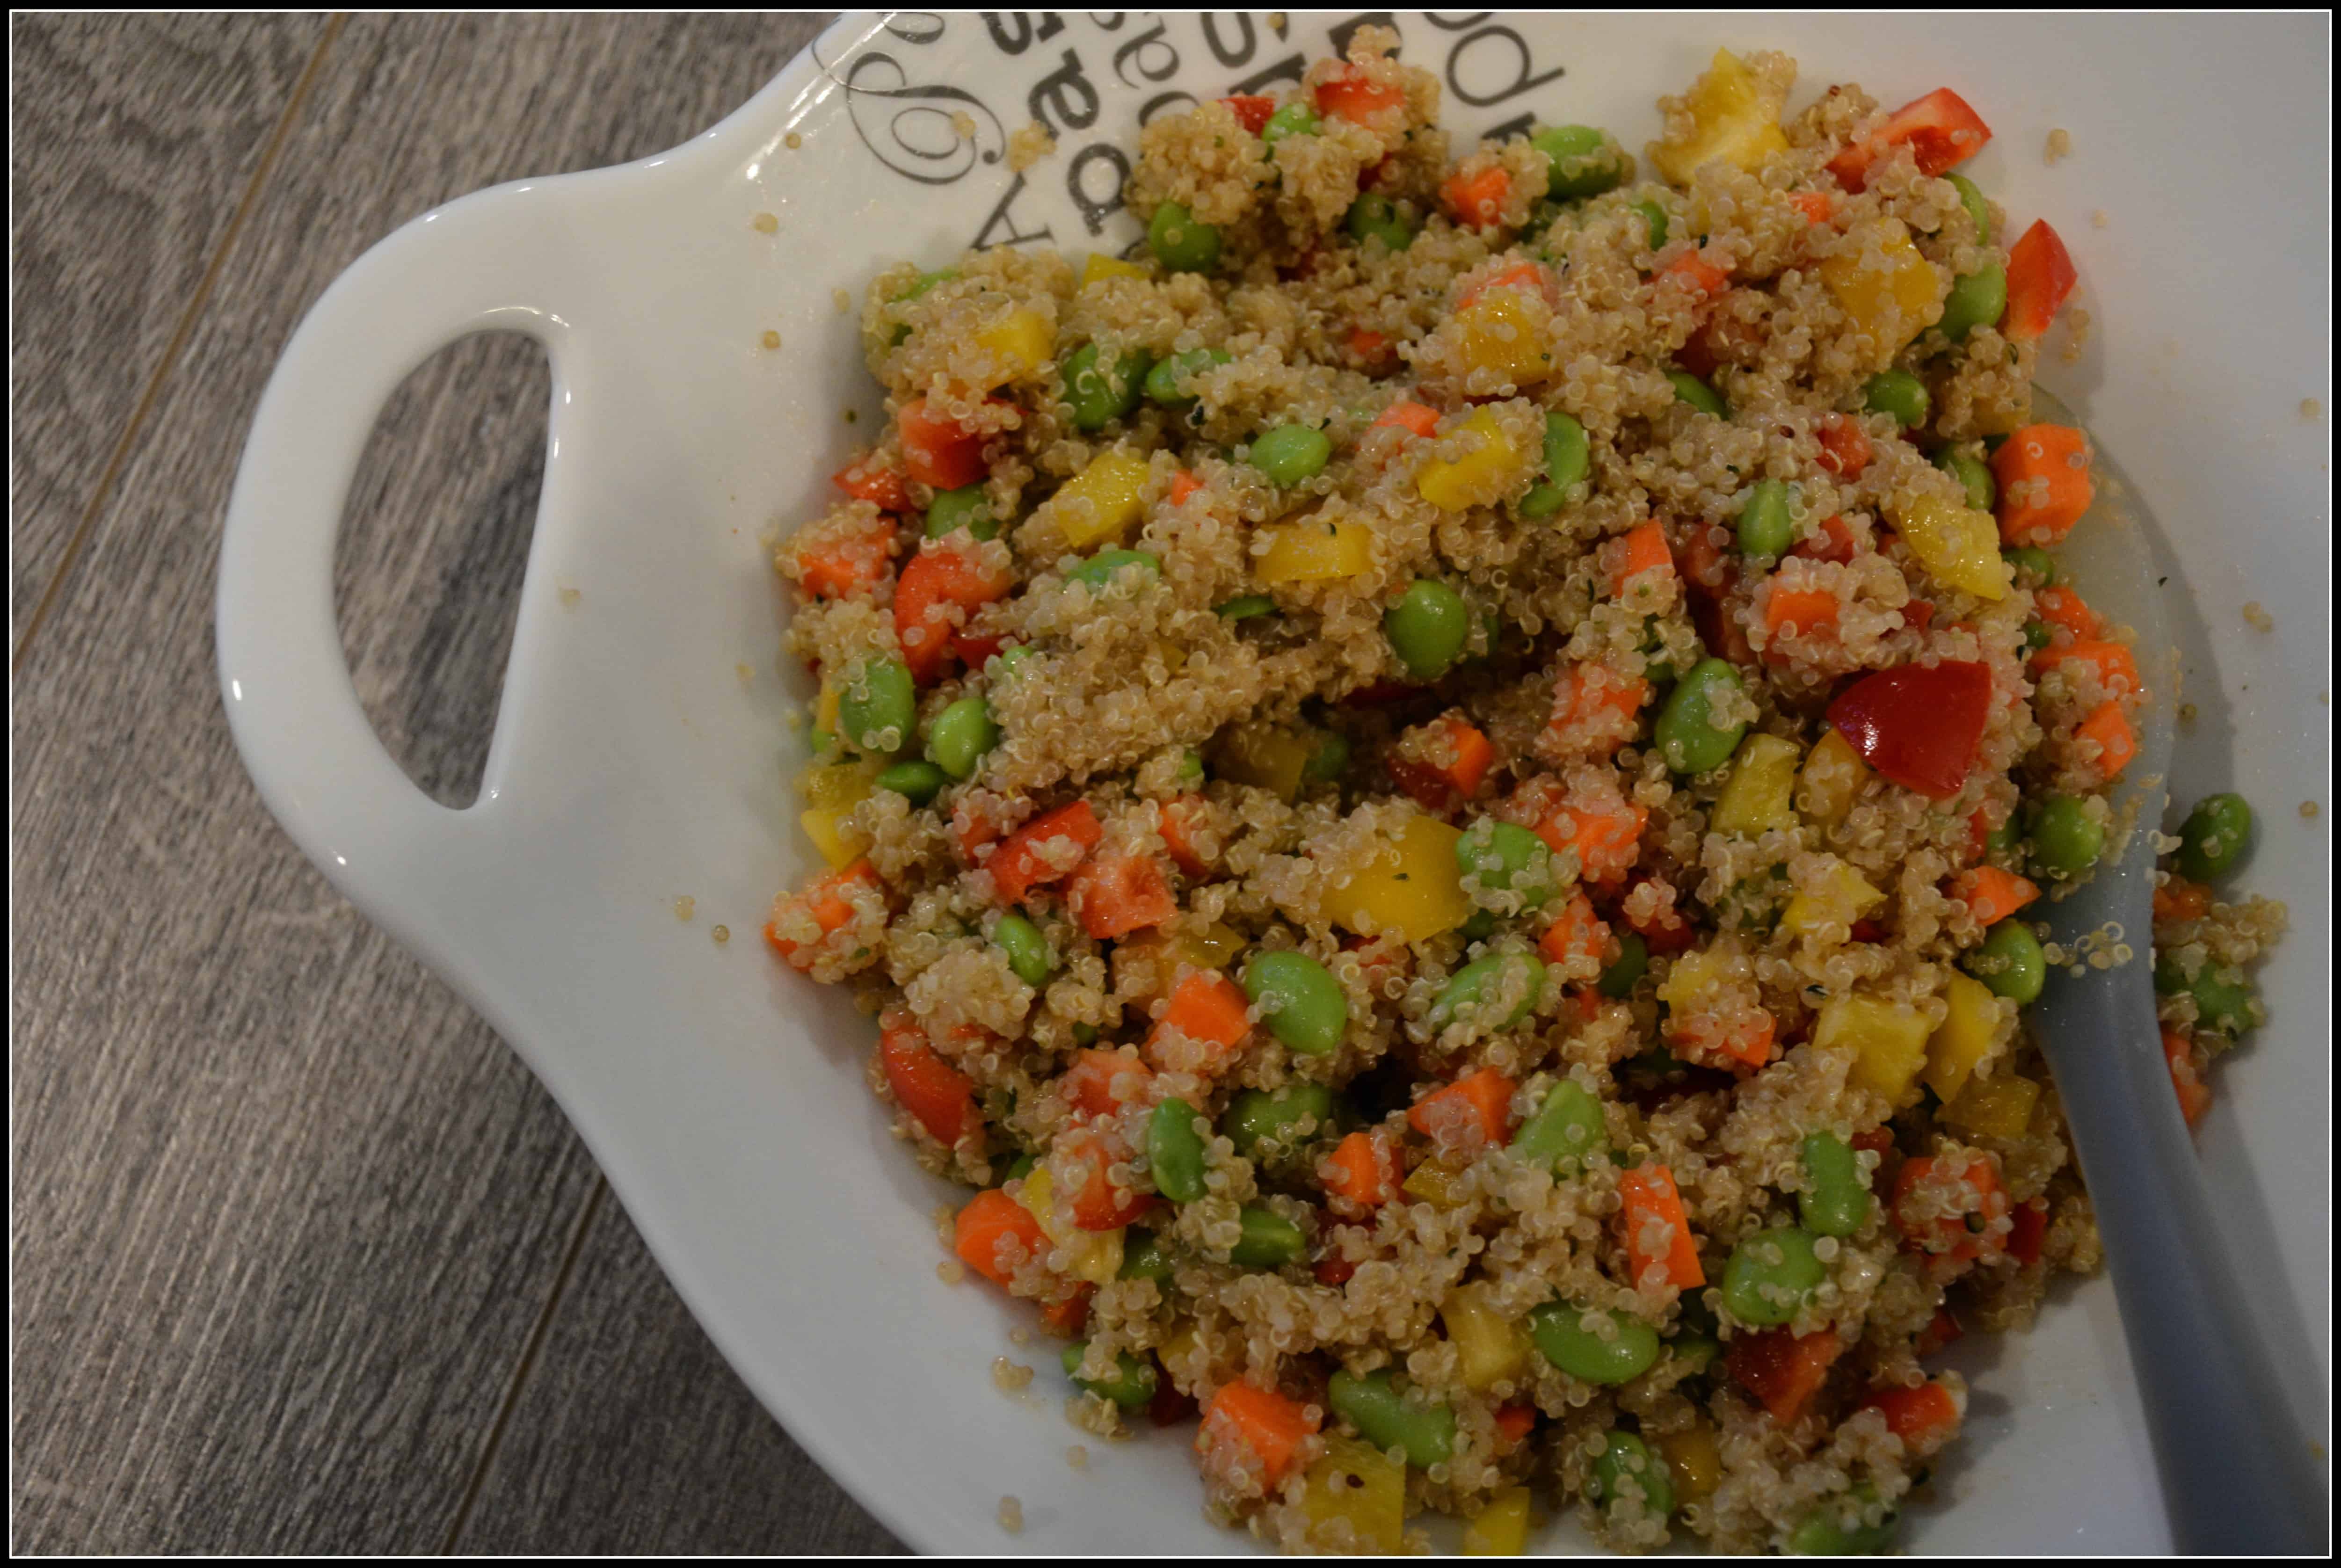
Are you tired of green lettuce salad, I made this hearty salad that includes cooked quinoa and edamame for added protein and fibre. It is vegan and gluten free.

dsc_8768

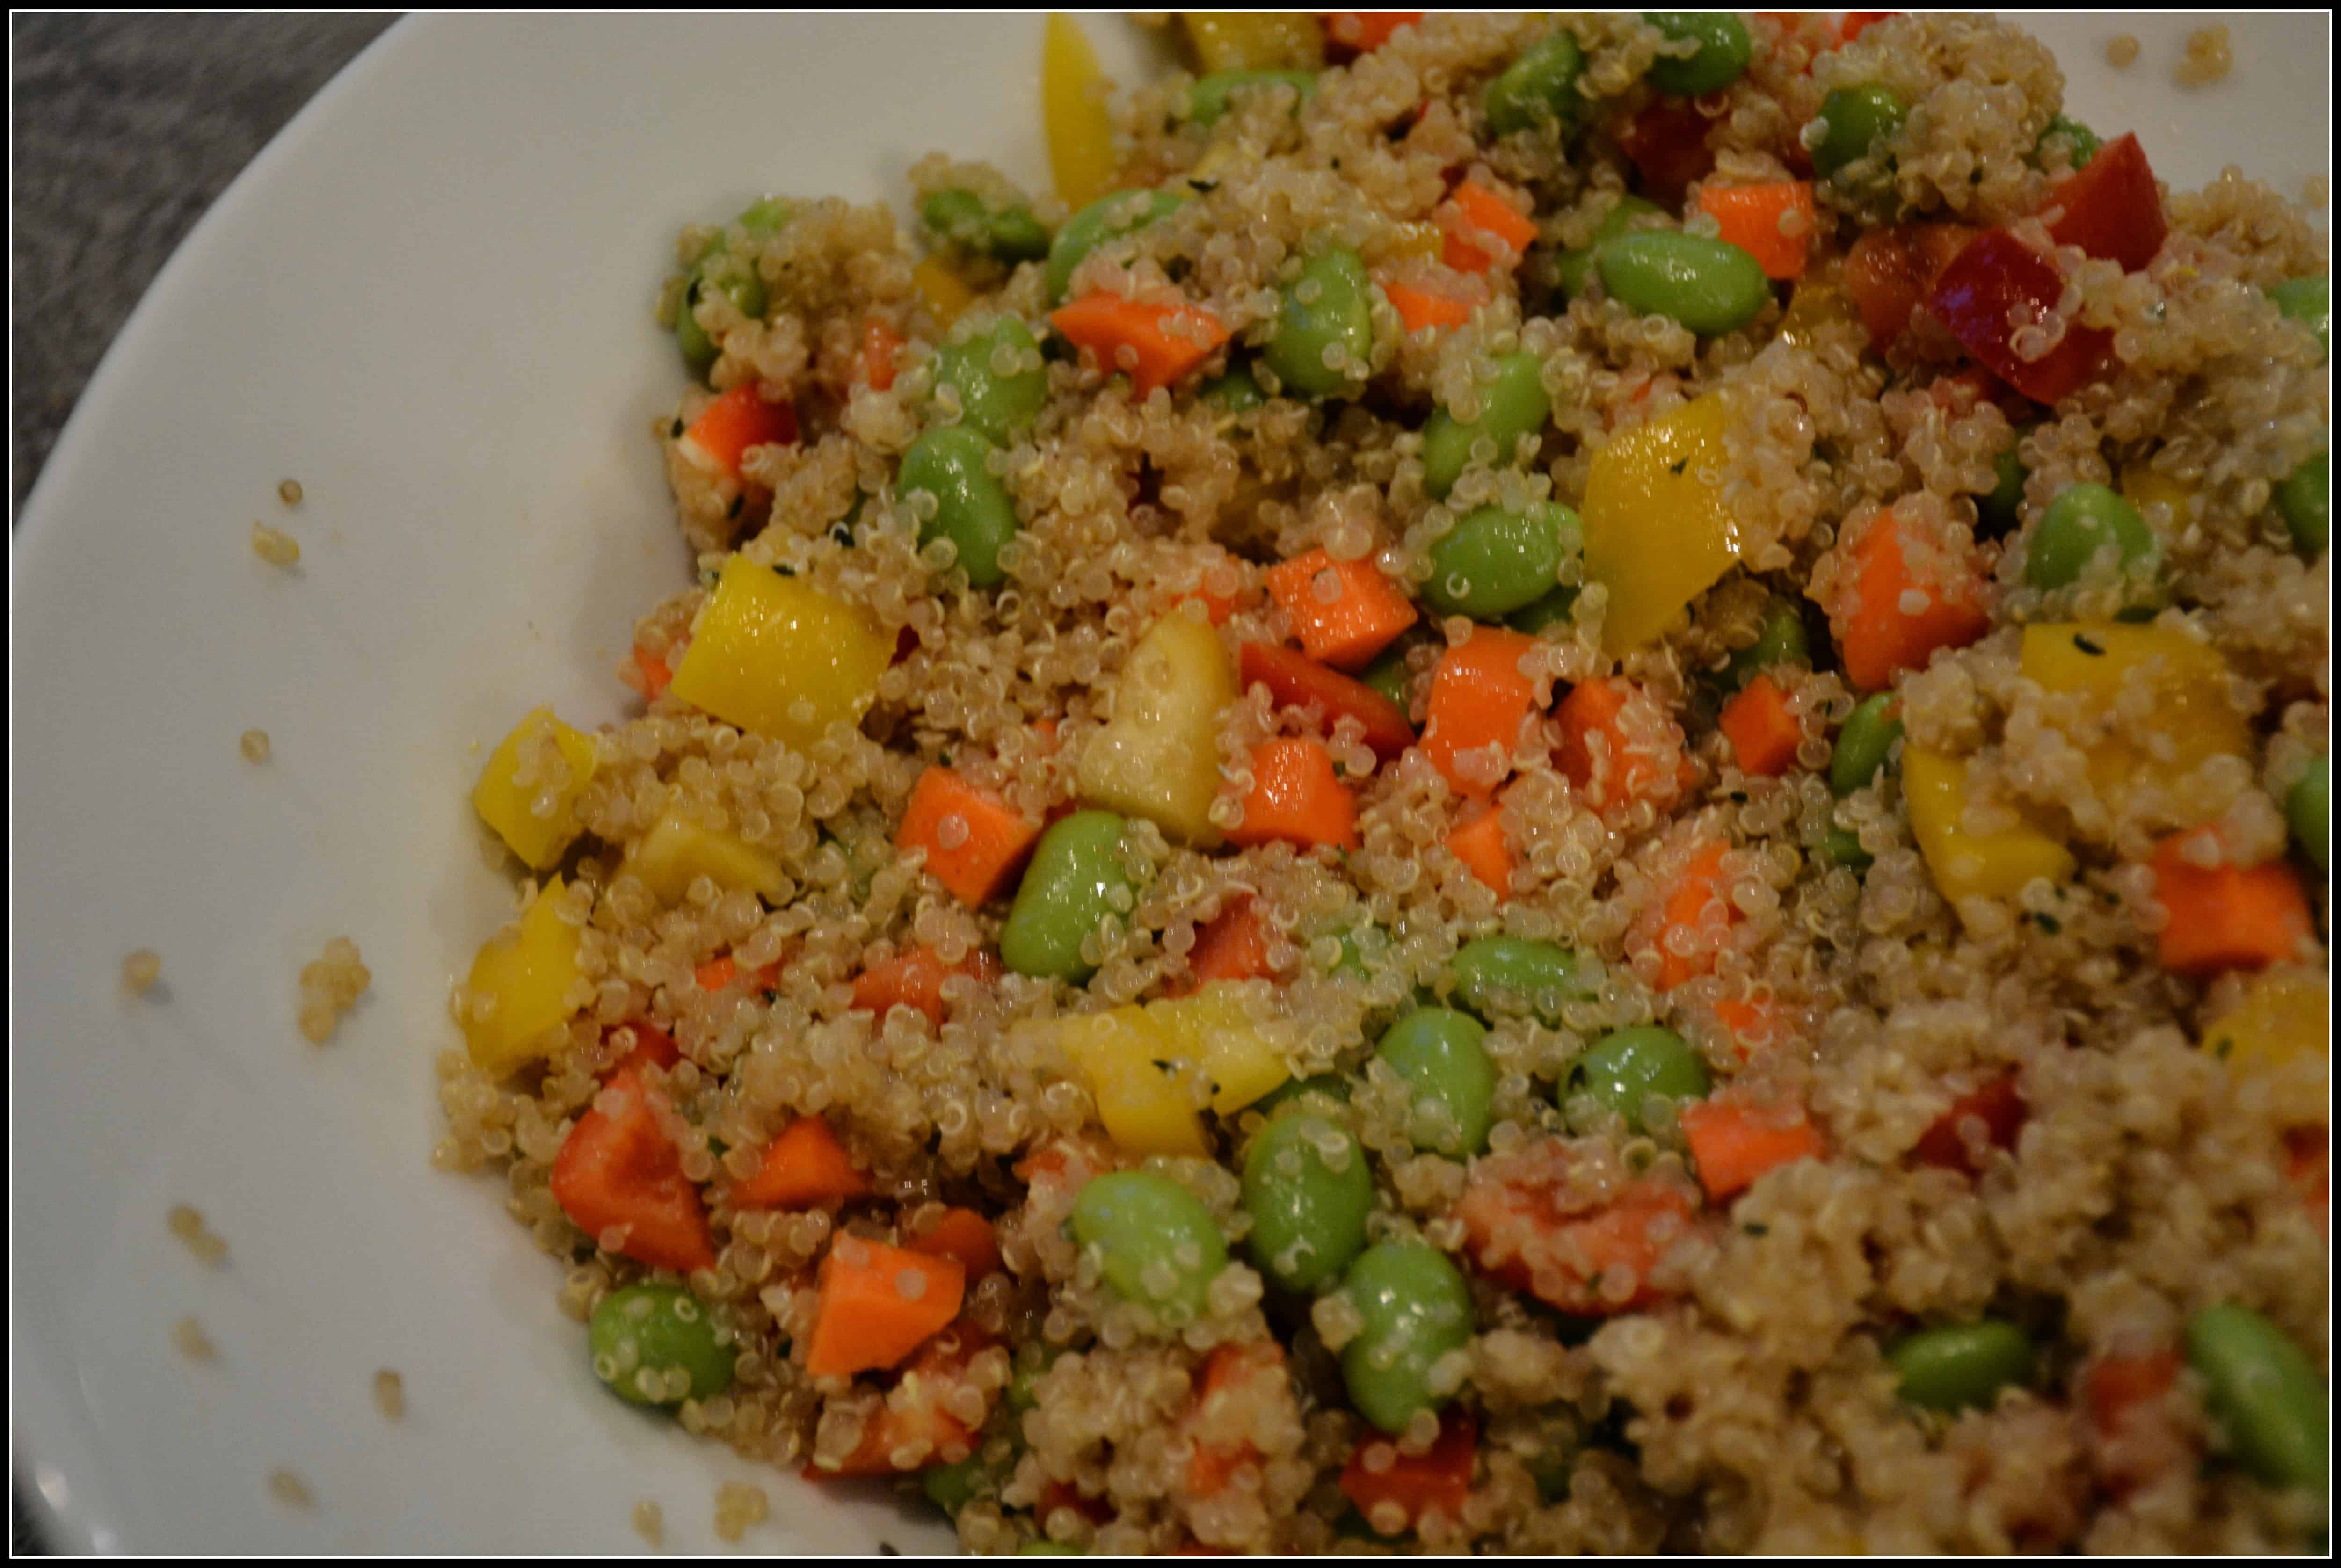
You can serve it cold or hot. Make it ahead and keep a bowl in the fridge for your next day lunch.

dsc_8773

It is very simple recipe and it only takes 30 minutes. You can alter the ingredients however you want.

Enjoy !!

If you like this recipe, you might also want to try this delicious Black Bean Quinoa Salad with Lime Dressing

Colourful Edamame Sesame Quinoa Salad

Prep Time 15 minutes
Cook Time 15 minutes
Total Time 30 minutes
Course Dinner, Lunch
Servings 8

Ingredients
  

  • 1 cup cup Quinoa, rinsed
  • 2 cups Water cups Water
  • 1/4 tsp Salt
  • 1 1/2 cups Edamame, cooked
  • 3 medium carrots, peeled and diced
  • 1/2 Yellow Pepper, diced
  • 1/2 Red Pepper, diced

Dressing

  • 2 tbsp Sesame Oil
  • 2 tbsp Rice Vinegar
  • 2 tsp Ginger Powder, ground (you can also use fresh grated ginger)
  • 1-2 tbsp Sesame Seeds or Hemp Seeds

Instructions
 

  • Place the quinoa, water, and salt in a covered pot. Heat on high until it boils, lower the heat to low, and cook for about 15 minutes or until the quinoa is soft and the water absorbed.
  • Pour the quinoa into a medium-sized bowl, and mix in the edamame, carrots, and peppers.
  • In a small bowl, make the dressing by mixing the sesame oil, rice vinegar , ginger powder, and sesame seeds.
  • Pour the dressing over the quinoa and veggies, and mix throughly.
  • Enjoy immediately, or store in a covered container for later.
6 Steps to Make a Smarter Smoothie

6 Steps to Make a Smarter Smoothie

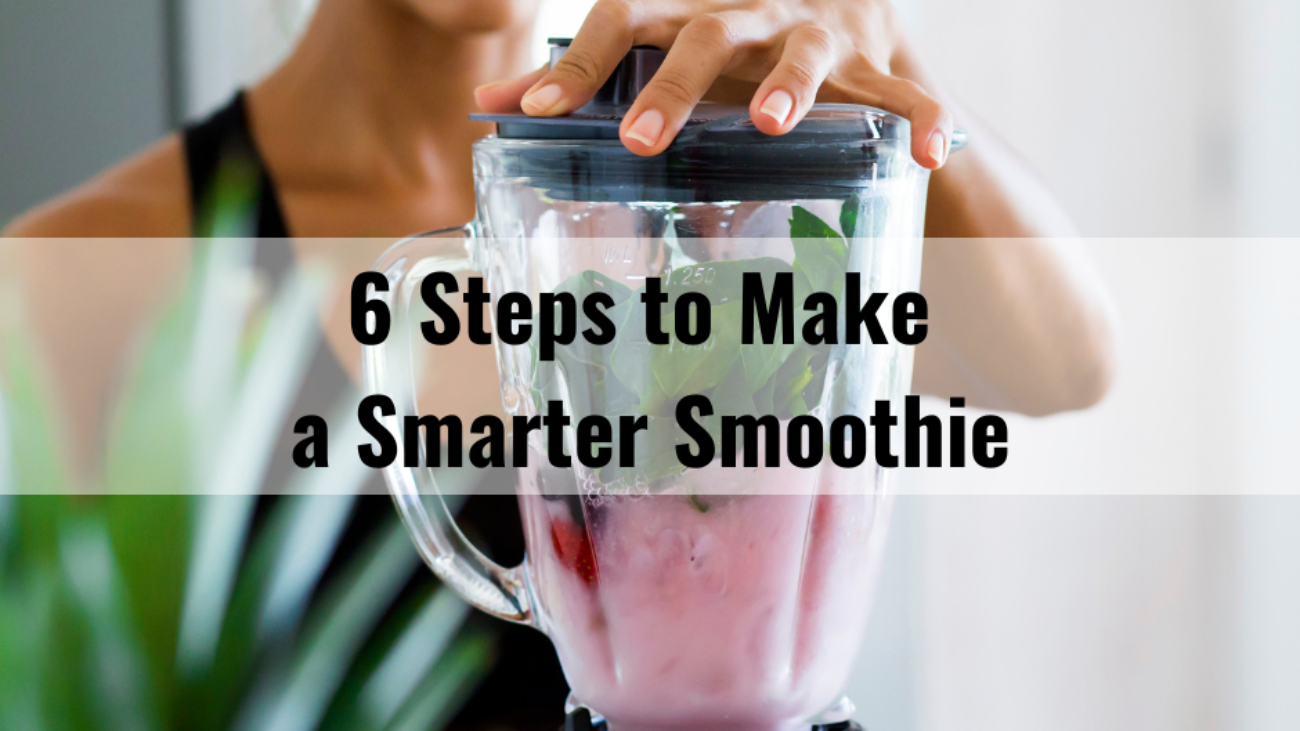
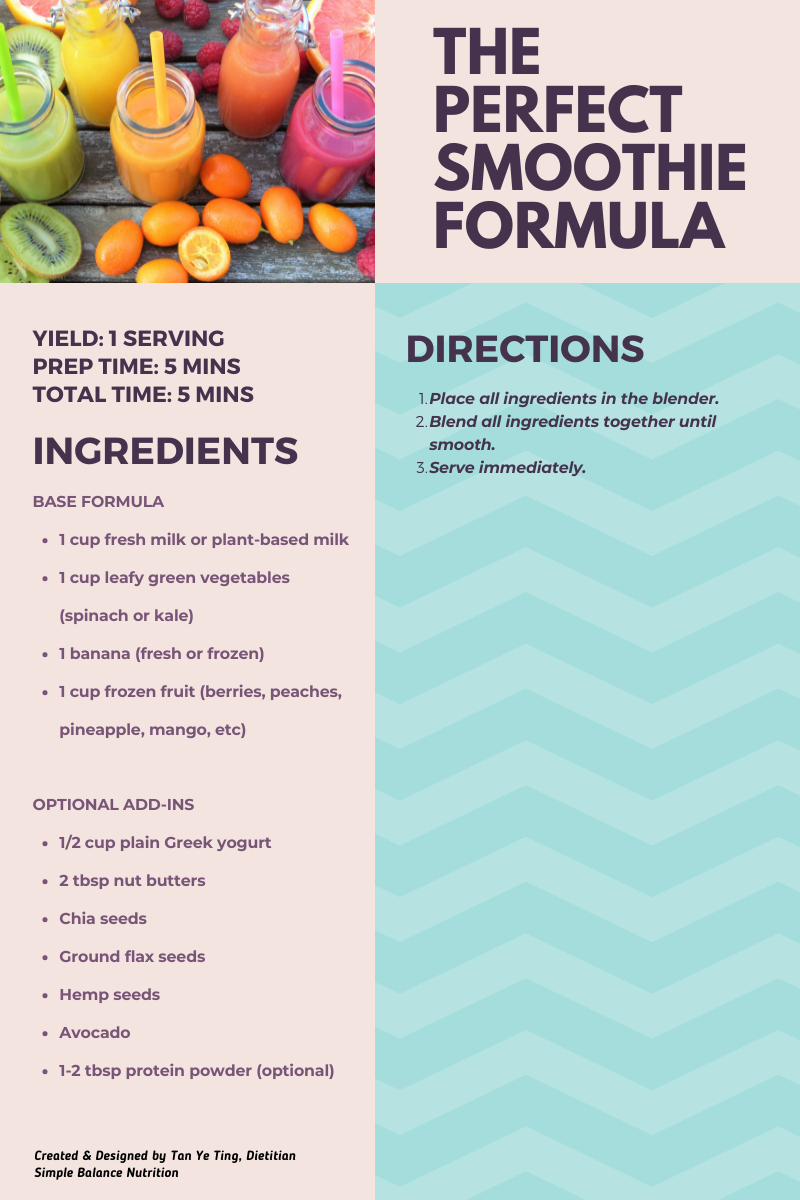
A vitamin-packed smoothie is a great way to start the day, or works as the perfect afternoon snack. As a dietitian, I know the secrets to a healthy and balanced smoothie. I am going to share some tips with you on how to make your smoothie or frozen treat high in Fibre + Protein + Delicious every time.

Smoothies are a GREAT way for you and your children to get the vitamins and minerals in.

STEP 1: LIQUID FIRST 

Start your smoothie with 1/2 – 1 cup of liquid base. The more liquid you add, the more watery or runnier your smoothie will be. If you prefer a thicker consistency, use slightly less liquid.

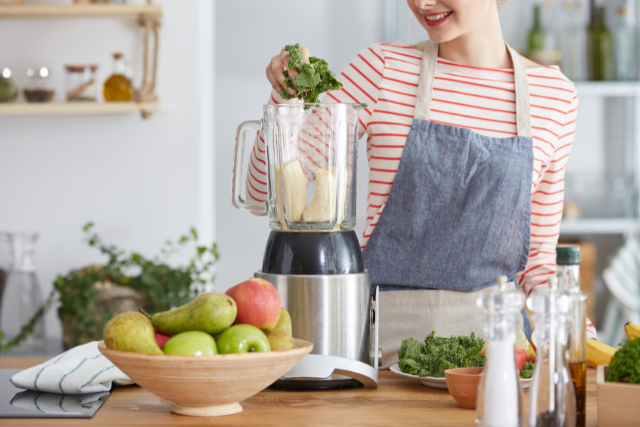
I prefer adding milk which not only gives you liquid, but also Vitamin D and Magnesium (important nutrients for bone health). It is important to add the liquid to your blender before adding the fruit as this will prevent the blade from getting damaged.

  • Cow milk, Kefir
  • Soy milk, almond milk, coconut milk, cashew milk, goat milk, oat milk
  • Coconut water
  • Fruit juice
  • Green tea
  • Coffee

Tips: You can consider to create flavoured ice cubes using coconut water, green tea, or coffee. Simply pour your liquid of choice into ice cube trays and freeze until solid. Using a flexible silicone tray with a lid, which helps prevent unwanted freezer scents and odors from being absorbed into the ice cubes.

STEP 2: FREEZE YOUR FRUIT 

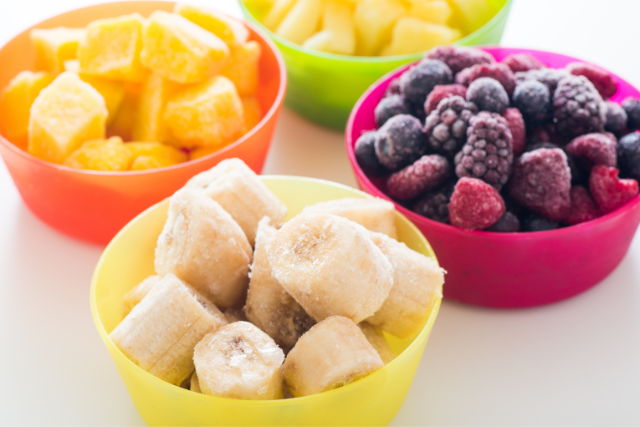
If you want to make smoothie regularly, it is a great idea to stash some fruit in the freezer. Not only will they retain their nutritional value and flavour, they will instantly chill your smoothie, so you do not have to add ice.

Most grocery stores now sell frozen fruits or smoothie packs, which are often great value and give you a good mixture of fruit.

  • Berries: Strawberries, blueberries, raspberries. When it comes to berries, frozen ones are great year-round. When in season, fresh is fabulous.
  • Bananas, apples, oranges, melon, kiwifruit.  All are easily available and flavorful, either on their own or in combination with other things.
  • Pineapple, papaya, or mango can add a fun and flavorful tropical twist.

Tips: Before your bananas turning “brown” in the fruit bowl, peel and slice them, then freeze on a sheet of baking tray until solid. You can then store in Ziplock bag and throw into your blender whenever you need them.

STEP 3: ADD THE GREEN 

If you haven’t tried a smoothie made from a mixture of fruit and vegetables before, you may be surprised by the flavour. The sweetness of fruit blends well with lots of vegetables and makes for a delicious and super-nutritious drink. If you’re not used to adding them, start slow with a smaller portion, and work your way up. A handful of green, such as spinach or kale. You can also experiment with what you’ve got. Sweet peppers, beets, carrots, or cucumbers pack a nutritious and flavourful punch.

  • Greens: kale, spinach.
  • Beets: Beets are naturally sweet, but raw ones have a stronger taste. Cooked beets are so mild and sweet, you can easily add a scoop to your smoothie. If you don’t mind the stronger flavor of raw beets, grate them directly into the smoothie before blending.
  • Sweet potato or pumpkin.

Tips: Chop the “hard” vegetables into smaller pieces before throwing them into your blender if you don’t have a high-powered blender.

STEP 4: PROTEIN BOOST 

Adding protein to your smoothie gives it staying power, meaning that you’re satisfied long after you’re done drinking. My favourite protein source is Greek Yogurt, which adds calcium. Other sources can be natural peanut butter or almond butter, which adds vitamins and fibre.

If you’re having a smoothie for breakfast or lunch, or after workout, make it a more balanced meal by adding some protein. A spoonful of peanut or nut butter, or some tofu will blend well with your smoothie and give you an essential protein boost.

  • Silken tofu
  • Plain Greek yogurt
  • Cottage cheese
  • Nuts (use either a handful of chopped nuts): Almond, pistachios, cashew, brazil nuts, pecans, pine nuts, chestnuts, macadamia nuts, peanuts, walnuts
  • Nut butter: Almond, peanut, walnut, cashew, hazelnut, pistachio, sunflower seeds
  • Seeds: Sesame, pumpkin, sunflower
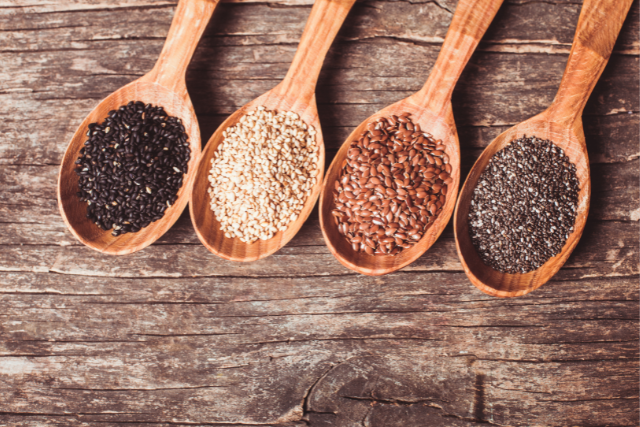
  • Flax seeds (ground), chia seeds, hemp seeds
  • Cooked beans (plain, unflavored): Mung beans, white navy beans, chickpeas

STEP 5: HEALTHY FATS 

Fats help your body absorb the critical nutrients that you’re packing into your smoothie, such as vitamin A, D, E and K. Using half an avocado or adding a couple of tablespoons of ground flax seed, hemp seeds or chia seeds will give you enough healthy fat to feel full.

STEP 6: INFUSE WITH FLAVOUR

Herbs, spices, and flavour extracts lend an interesting taste and help you avoid extra added sugar. Try mint or basil to make it cool and refreshing; cayenne and chili pepper for added heat. A squeeze of lemon or lime helps enhance other flavors in the smoothie. A few drops of almond or vanilla extract, cocoa powder, shredded coconut, or cinnamon and nutmeg make a smoothie more dessertlike.

Mint is great with fruits such as cantaloupe.

MONEY & TIME SAVING TIPS

  1. Pre-blend your smoothie ingredients, then pour into muffin tins and freeze. Once frozen, pop the “smoothie muffins” into a Ziplock bag and keep in the freezer until ready to use. To make a quick smoothie, just pop a couple of “smoothie muffins” and some milk, and ice in the blender and blend !!
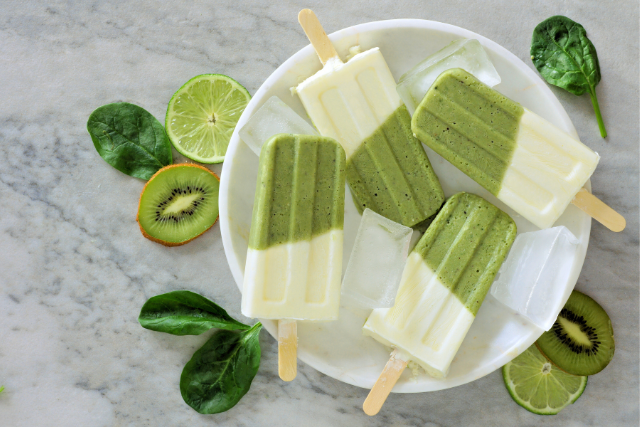
  2. Instead of making the pre-blend smoothie, I usually turn it into frozen treat – Smoothie popsicle.

WHAT NATURAL SWEETENERS DO YOU RECOMMEND? 

It is unnecessary to add any “sugars” in your smoothie. If you are looking for healthier sweetener, I would go with dates or prunes. Dried fruits help sweeten the smoothie, eliminating the need for more sweeteners. Plus, you get an extra helping of fiber!

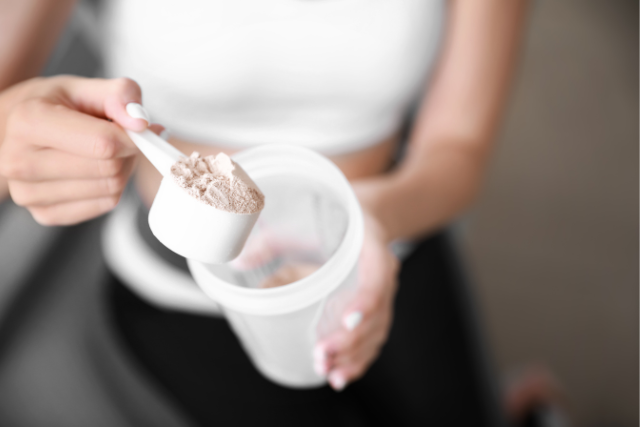
WHAT ABOUT PROTEIN SHAKE OR PROTEIN POWDER? 

I personally do not add protein powder to my smoothies because it isn’t really necessary (for a healthy individual). We already consume too much protein in a daily basis. The belief that we need to consume additional protein in the form of an ultra processed powder is absolutely ridiculous. Furthermore, these powders are often contaminated with potentially harmful substances including heavy metals – arsenic, lead, mercury, cadmium. Why use ultra-processed protein powder when you can add real whole food?

Protein powder can be higher in sugar. They are also often pricier.

Stop spending money and waiting in line for a smoothie. By following these simple guidelines, you’ll be able to control your own ingredients to make a flavourful and healthy smoothie in your own kitchen.

BOTTOM LINE 

Once you’ve mastered the basic, try adding different flavours to your basic recipe. Add a spoonful of cocoa powder, cinnamon, grated nutmeg or vanilla extract before blending, or sprinkle of flax seeds (ground), toasted chopped nuts, rolled oat or wheat germs. Not only will it taste great but it will keep you fuller for longer too.

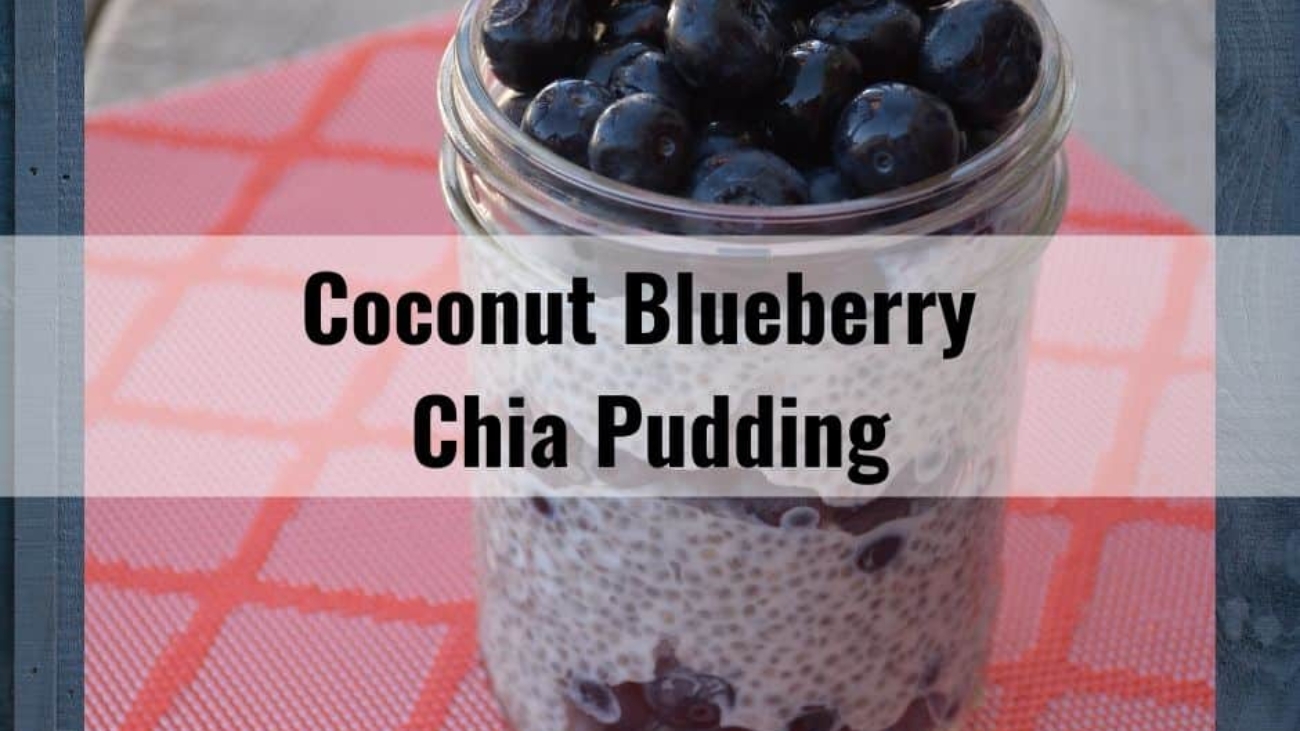
Coconut Blueberry Chia Pudding

Coconut Blueberry Chia Pudding

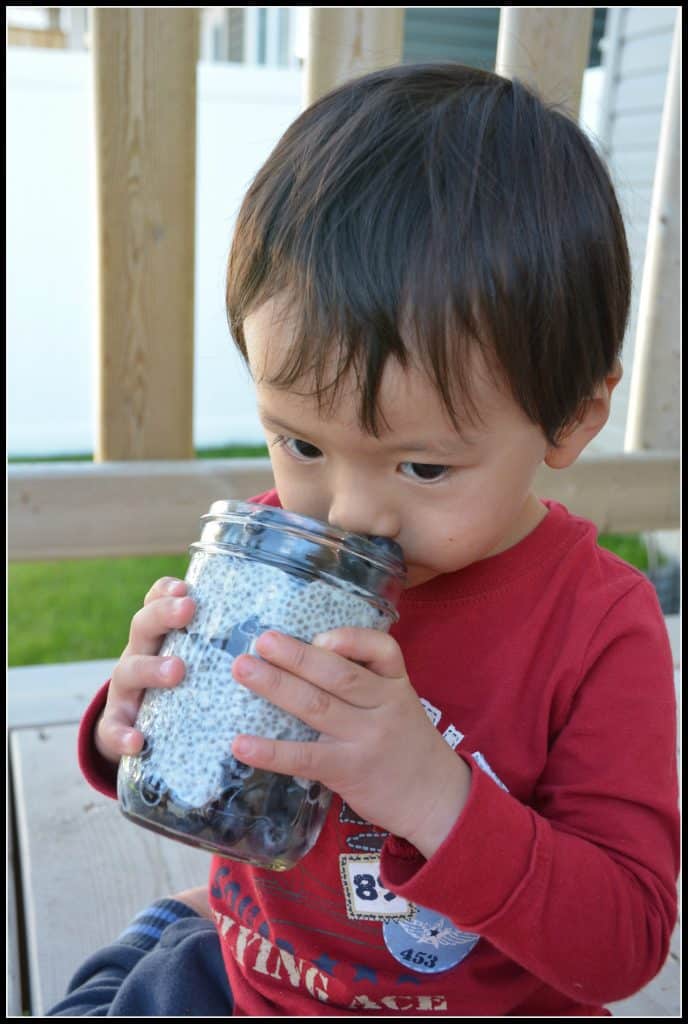
Chia seeds have become one of the most popular superfoods in the health community. Chia seeds are tiny little brown seeds that can be found at health food stores, grocery stores or online.They are super easy to prepare and are very versatile ingredient that add easily to many recipes.

What is Chia Seed? 

Chia seeds are from the desert plant Salvia hispanica, a member of the mint family. They have been around since 3500 BC and were a staple food used in the Aztec and Mayan diets. Chia means “strength” in the Mayan language. Despite their ancient history as a dietary staple, only recently did chia seeds become recognized as a modern day superfood.

Nutritional Profile of Chia Seeds 

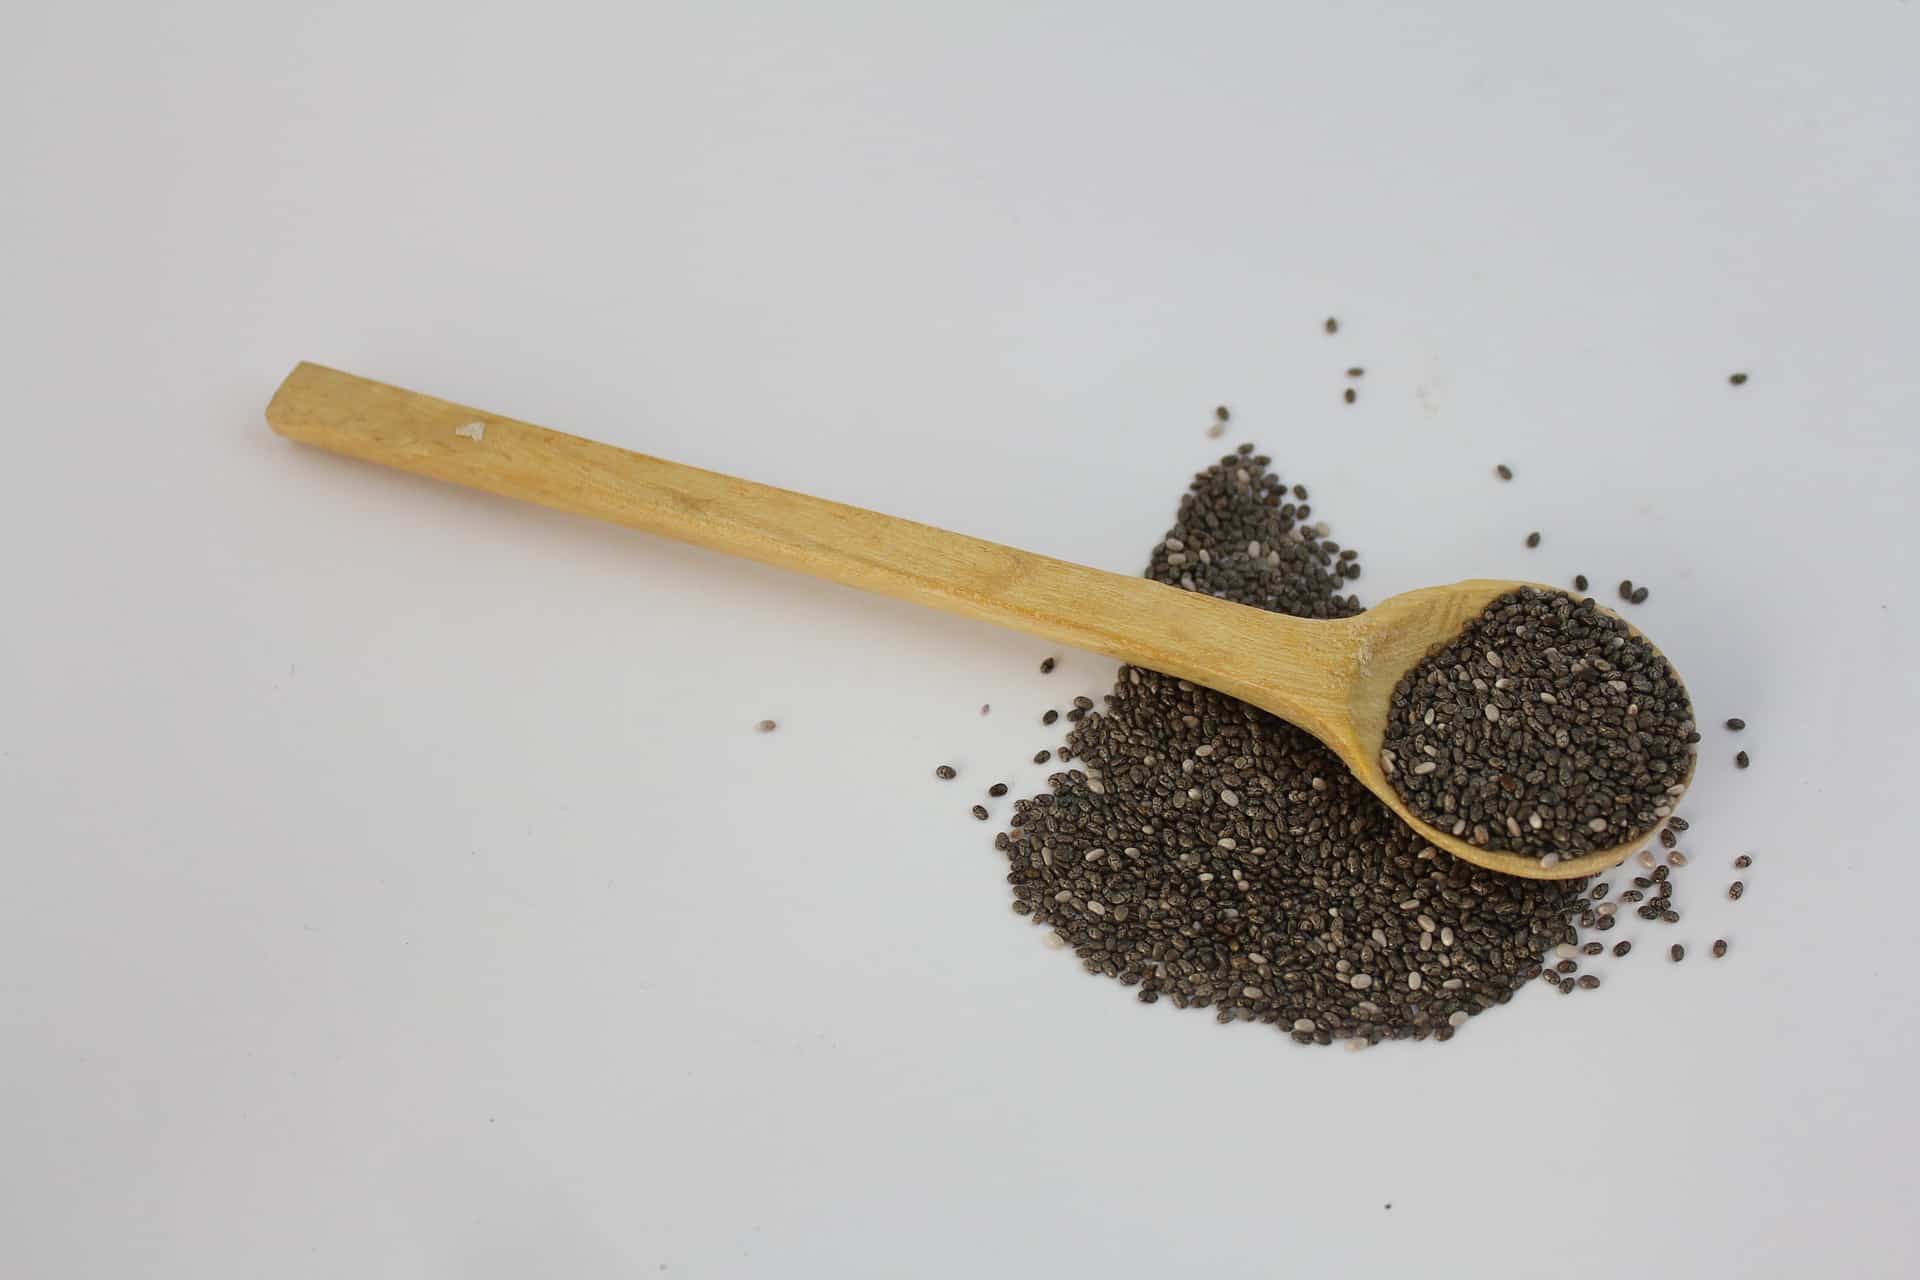
spoon-1112987_1920

Per Tablespoon

Chia Seed (12 g)

Calories (Kcal)

60

Omega -3 Fats (g)

2

Omega- 6 Fats

0.5

Protein (g)

3

Fibre (g)

5

Calcium (mg)

160

Health Benefits of Chia Seeds 

Those who sell the chia seeds products will definitely tell you about regularly eating chia seed can improve your health – keeping you fuller for longer and increased energy levels to help with weight loss and diabetic control. Does research back up claims of benefit?

There have been a few preliminary studies looking at these claims but unfortunately, at the moment, the small numbers of research participants involved and short duration of the trails mean none have been convincingly proven. More studies are needed before any strong claims about chia’s health benefits in weight loss, diabetic control or satiety can be made.

Don’t be disappointed !! There are some benefits of eating chia seeds. They contain ALA, the plant source of Omega-3 fatty acids, which are known to benefit heart and brain health. Normally, we get Omega-3’s fat from oily fish, however, eating chia seeds(ALA, plant source of Omega-3 fats) can help improve our ratio of Omega-3: Omega-6 fatty acids. We need both, but we tend to have higher intake of Omega-6 fatty acids. In a 2007 study, chia seeds were shown to reduce the risk of cardiovascular disease for individual with Type II Diabetes

Chia seeds are very high in fibre, particularly soluble fibre, which is great for keeping our gut healthy.

They also contain a variety of vitamins and minerals as well as reasonable amounts of calcium, manganese, phosphorus and protein per servings.

Chia seeds are naturally gluten free. So it can be used by people with celiac disease.

How to Use Chia Seeds 

Ground 

You can grind chia into a fine powder.

Whole

Unlike flaxseeds, you do not have to grind chia seeds to access their nutrition. You can eat them whole and still get their nutrients. You definitely can eat a spoonful straight.

Soaking 

When mixed with water, chia absorbs 12 times its weight, forming chia gel. When soaking, you “sprout” them and it releases the “enzyme inhibitors” that are used to protect the seed. This not only makes it much easier to digest, but also your body can access the dense nutrients inside the seeds. However, it won’t hurt to eat them straight !!

Egg Free Baking

If you are looking for recipes of egg free diet or vegan diet, chia seeds can be use as an egg substitute in your baking recipes.

To replace one egg, mix together:

  • 1 tbsp of chia seeds + 3 tbsp water
  • Let the mixture sit for 15 minutes

Chia has a mild nutty flavour. Chia seeds can be easily incorporated into our diet for extra boost of nutrition. Here are a few ideas to get you started:

  • Cold, ready-to-eat cereal
  • Oatmeal
  • Yogurt
  • Granola
  • Power ball
  • Smoothies
  • Muffin
  • Salad dressing

The Bottom Line 

A healthy diet isn’t defined by one food or nutrient alone.

We know chia seeds have many health benefits based on their nutritional profile, even though we don’t quite have solid research yet to prove that chia has significant positive effects on chronic disease, I think it is still a good idea to include them into your diet. Other thing to remember is to always incorporate more seeds (not just chia, but also flax, hemp, sunflower, pumpkin) in your diet.

Eating 1 to 2 tbsp a day is considered a healthy amount, provided it fits with your overall lifestyle balance.

dsc_8342

dsc_8361

Have you tried Chia Seeds?

Do you like them?

What is your favourite way to eat them?

Coconut Blueberry Chia Pudding

Coconut Blueberry Chia Pudding

Prep Time 30 minutes
Cook Time 10 minutes
Course Snack

Ingredients
  

  • 2 cups Milk (You can use cow milk or any other milk alternatives – coconut, soy, almond, cashew)
  • 1/2 cup Chia Seeds
  • 1/2 cup Greek Yogurt (I use plain greek yogurt, you can use vanilla or coconut greek yogurt)
  • 1/2 cup Unsweetened Coconut, shredded finely
  • 1/2 cup Honey
  • 1 tsp Vanilla Extract
  • Fruit – Berries, Bananas, Peaches, or Plums for topping.

Instructions
 

  • Pour milk and honey into a small saucepan and set over medium heat on the stove, stirring often until steaming (about 5 to 10 minutes)
  • Remove from heat and transfer to a glass bowl. Stir in chia seeds, shredded coconut and vanilla extract and whisk together. Let sit for about 15 minutes at room temperature.
  • Once cooled, cover with plastic wrap and put in the fridge to chill for at least 12 hours.
  • After 12 hours, remove from fridge, stir in greek yogurt and whisk until incorporated.
  • Serve in small dishes with your favourite fruits.
Whole Wheat Seedy Crackers

Whole Wheat Seedy Crackers

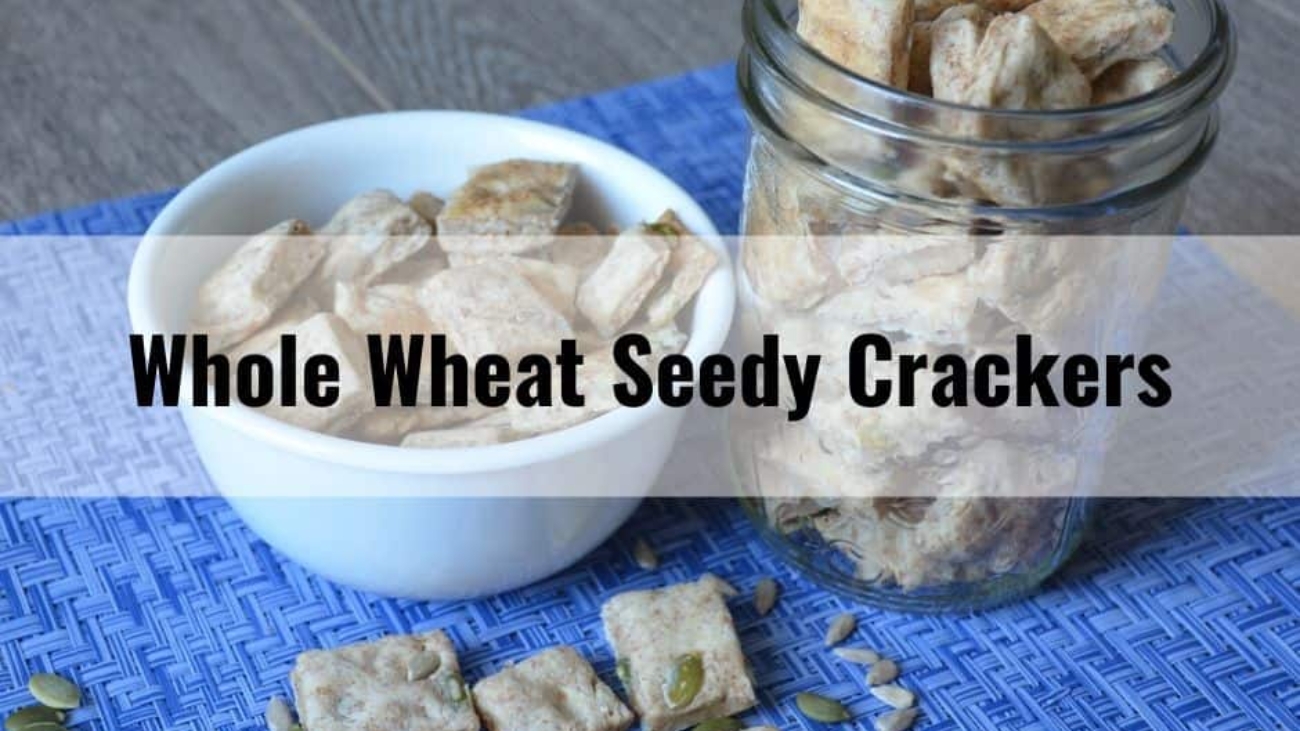
I’m often asked what is the best crackers in grocery store. This is a very tricky question as it is really difficult to provide one without tons of added salt or refined sugar.

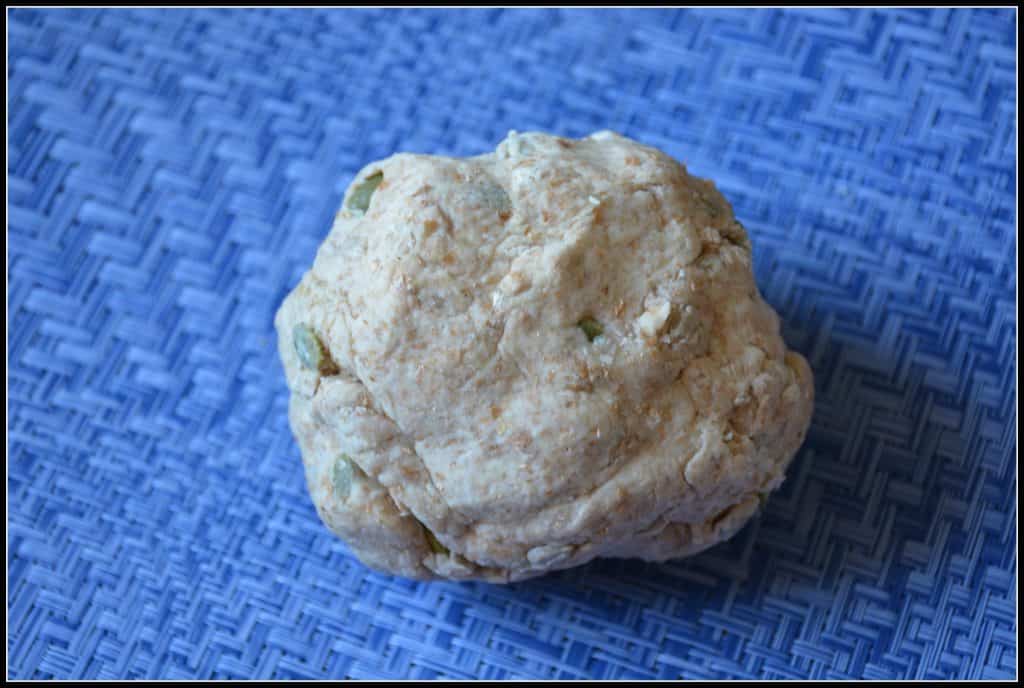
So, I decided to make it myself. This recipe is super simple and easy to put it together. I use 100% whole wheat flour and seeds (pumpkin seeds, sunflower seeds, and ground flax seeds).

DSC_8273

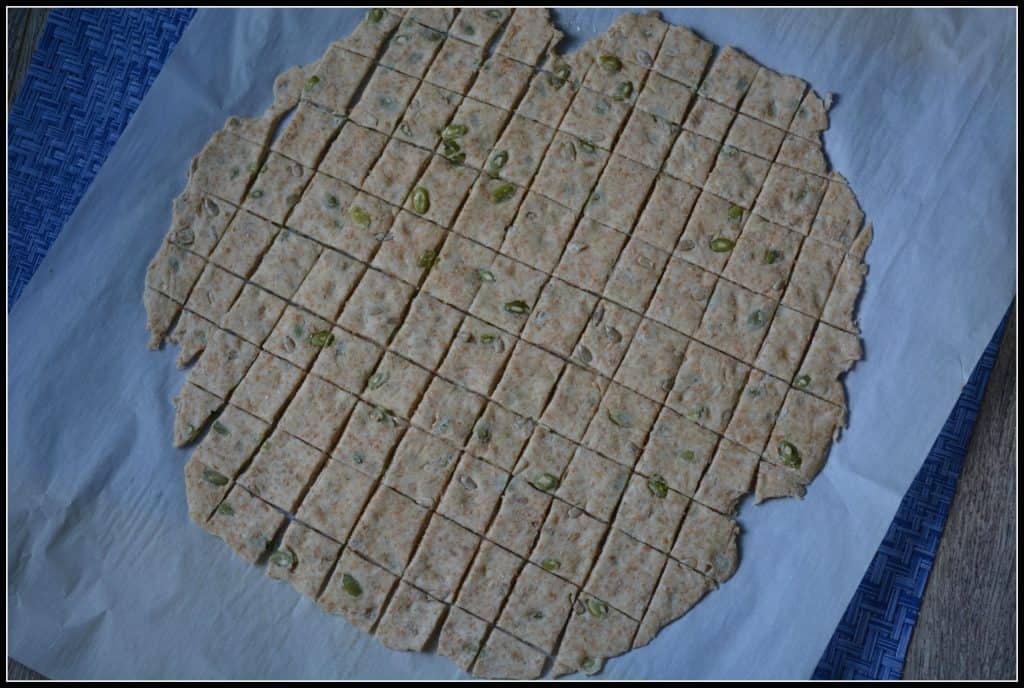
Cut the rolled out dough with knife or pizza cutter. Don’t worry about the size, you can cut into different shapes – square, triangle, love, etc (Have fun!!). Also, make sure they all have the same thickness in order to bake them evenly.

DSC_8279

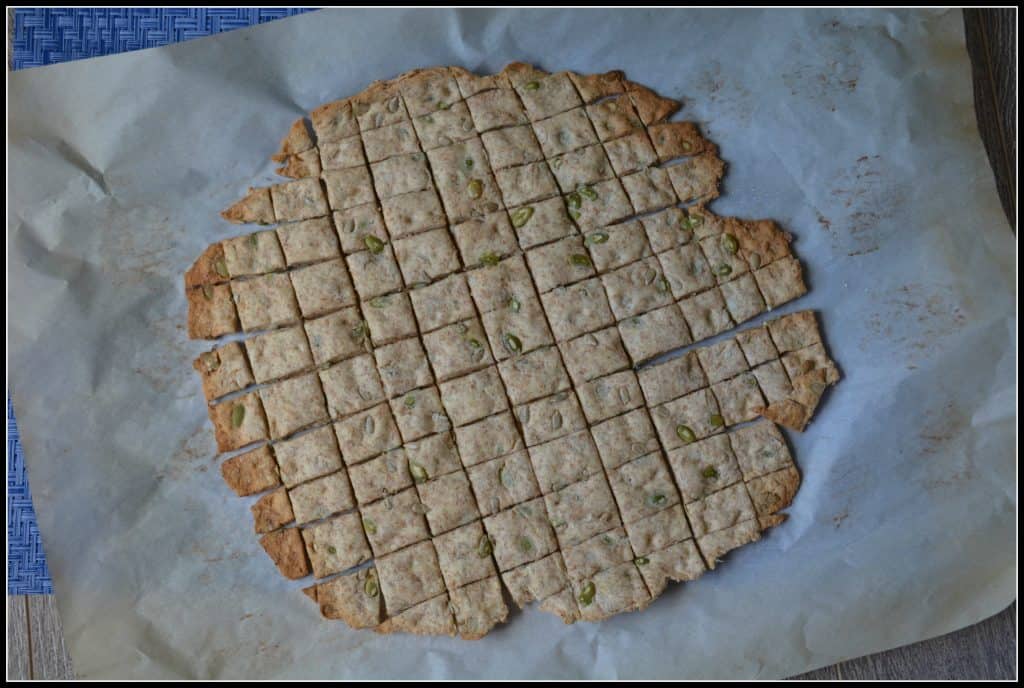
Here you go….freshly baked crackers!! You can serve these crackers with any snacks you like – cheese cube, hummus, guacamole. Yummy!!

DSC_8290

Enjoy!!

Recipe adapted from Elephantastic Vegan

Whole Wheat Seedy Crackers

Whole Wheat Seedy Crackers

Perfect for appetizer or snack, you can pair with guacamole, hummus, or cheese cubes.
Prep Time 5 minutes
Cook Time 20 minutes
Total Time 25 minutes
Course Snack
Servings 1.5 cups

Ingredients
  

  • 1 2/3 cup whole whear flour
  • 4 tbsp mixture of sunflower, pumpkin and flax seeds (you can see ground or whole)
  • 1.5 tsp baking powder
  • 3/4 tsp salt
  • 1 tbsp olive oil
  • 1/2 cup water

Instructions
 

  • Preheat the oven to 400F
  • In a medium bowl, mix whole wheat flour, baking powder, salt together. Then add olive oil, seeds and water.
  • On a floured baking sheet roll out the dough until thin and evenly.
  • Cut it with a pizza cutter or knife lengthwise and widthwise
  • Bake them in the oven for about 20 minutes (until they get crispy).
  • Serve with some homemade guacamole or hummus or cheese cubes.
20-strategies-to-raise-a-mindful-little-eater-photo

20 Strategies to Raise a Mindful Little Eater

After being a new-mom, I continue to research articles, support groups, books on breastfeeding, solid foods, baby led weaning, picky eaters, etc. After reading some paediatric dietitians’ blogs, I found my guru – Ellyn Satter. I don’t have to spend hours searching the web for the perfect healthy recipes that my son will actually eat. (Although I still cook yummy foods for him every single meal).

As a dietitian and a first-time mom, I am attempting to raise a confident, independent, healthy and mindful eater. I’ve discovered the challenges of picky eating (in my personal life and my practice), this sounds like every children can be a picky eater, at some point. However, the more articles or resources I’ve read, the more knowledgable and confident that I am now. Aiden is neither a good eater nor picky eater. He has good and bad days. Following the Division of Responsibility for Feeding, I have successfully made it through the first 2 years (fingers crossed !!).

WHAT IS DIVISION OF RESPONSIBILITY FOR FEEDING 

The “Feeding Relationship” is a concept developed by Ellyn Satter, a dietitian and social worker. There are separate roles in feeding for the parent and for the child, and if these roles are respected, then the child will be less likely to be picky and will grow up having a healthy relationship with food. Also, it can help to decrease the power struggles and stress around your family table by respecting this relationship.

Successful feeding is when your child willingly participate in family meals, enjoys herself and feel safe and confident enough to taste and eat foods of her choosing (that you’ve provided) in amounts that feel right to her. 

PARENT’S FEEDING RESPONSIBILITIES 

Three things that you can control as a parent:

What is served – Offer foods from each food group at every meal if you can – Vegetables or Fruit, a Grain Product, and a Meat & Meat Alternatives, and/or Milk & Milk Alternatives.

Example: 1/2 banana, a slice of whole grain bread with peanut butter, and 1/2 glass of milk.

When it is served – By 1 year, the child should be offered three regular meals and 2 or 3 snacks per day. Do not feed constantly throughout the day or the child will not build up an appetite for the next meal. Parent often try to get their child to eat more or increase in weight. However, it backfires, as research has shown grazers can eat up to 50% less than those with more regular meal and snack times.

Where it is served – The child should be eating at the table with the family, with no distraction like TV, IPad, IPhone, etc.

CHILD’S FEEDING RESPONSIBILITIES 

The child’s role is to choose whether or not to eat, what to eat from what’s provided, and how much to eat.

Whether If – You child may choose to eat nothing at all (Yay, sound very familiar). If they refuse a new food or a meal, that is ok. Offer a new food with a familiar food so they do have something to eat. Try new food again in a few days. It might take up to 15-20 tries before the baby or child will actually eat the food. Of course, you can be creative to present it in different ways – cooked, steamed, mashed, baked, fresh/raw, etc.

How Much – Allow the baby or child to take the lead role in eating, let them play with the food (it doesn’t matter you are using BLW or TW). If they are finished do not force them to eat more. Many parents are concerned their child is not eating enough, however, child are good at regulating their appetites and will not starve themselves. They may eat a lot one day and almost nothing the next and that is ok. This way you do not set up power struggles with eating.

It is absolutely not your job to make your child eat.

SIMPLE & EFFECTIVE STRATEGIES THAT YOU CAN TRY AT HOME

Here are some simple, yet so effective strategies that you can try at home.

Offer balanced, nutritious, appealing meals and snacks

These will cover your child’s nutrient requirements and allow him to see many different foods, which is part of readying him to try new foods. If you do your job at FEEDING, your child will do their job at EATING.

Don’t cater to your child’s preferences

Don’t narrow the menu to what your child will eat because you will get stuck doing this, perhaps for many years! Offer at least one “safe” food per meal. A safe food is a food like rice, vegetables, or fruit, which you know your child will likely be fine with eating if they are hungry.

Keep the food variety coming, even if your child rejects it

Studies show it takes children 6 to 15 food exposure before they will try to like a food. Don’t get disappointed. Eventually he may touch it, next time he may lick it, next time he may chew a bit and spit it out…. learning to eat can be a slow process.

Don’t be a sneaky chef

Hiding food in other foods can build mistrust in children. Be honest about what is in the food your child eats.

Keep a smile on your face and a positive attitude

Even when you are frustrated, overwhelmed or angry, your young child should not see you lose your temper, as this may change the situation and tempt your toddler to keep getting negative reactions out of you. It may take at least a few weeks to few months to practice the Feeding Relationship.

Don’t show your emotions

No anger, frustration, or annoyance! Your goal is to be steady and not react to any antics.

Be role model 

Parents are the greatest role models, so you should eat a variety. Children offered variety will eat a variety

Don’t give negative comment

It can be very harmful. We all have personal tastes (yes, I understand we have some foods that we dislike too). Personal tastes can be influenced (positively or negatively) by parent’s food preferences. So, stop making negative comment about meals at the table. I am sure kids will say “it’s gross or yucky” after hearing someone comment about the foods. Soon, they will refuse to eat it, despite whether they’d been eating it before the negative comment.

Stay on a meal and snack schedule

Staying on a schedule means your child will have plenty of opportunities to eat during the day, which takes the pressure off when he skips a meal. When your child choose to eat very little or not to eat at all at a scheduled opportunity to eat, allow him to be done and remind him when the next opportunity to eat is scheduled.

Don’t push your child to eat more

Pushing extra bites or sips often backfires, especially when children are picky. Nag him to try something new? The effect is the same as pushing for more eating. I personally discourage the “1, 2, or 3 bite” rule. It may work for some children, but for the majority (who are super taster and stubborn). If your child knows they are going to be forced to try a bite of a new food, they already dislike it before they try it. Making them try a bite will not likely get a “I like it” reaction, whether they truly do like it or not, as now it has become a battle field. We also want children to make healthy food choices when they are older and make these decisions on their own. If they were forced to eat certain foods when younger, they are more likely to develop a dislike for that food throughout life.

Try new foods

Eventually, your child will probably be excited about new and different foods, especially if he is conditioned to see a variety of unfamiliar foods early on. Offer food in another form. For example: boiled egg, scrambled egg, fried egg, etc. Be patient and give your child time to explore, touch and taste his food.

Don’t reward your child with dessert or other food

While this can be an effective tactic in getting your child to eat couple more bites or something you want him to, over time, research has shown it doesn’t help children like food. From my personal experience, the more random, the better. I try to stay neutral when it comes to treat foods.

Require your child stay at the table during meals

He doesn’t have to eat. While your child doesn’t have to eat, he does need to learn to politely stay at the table while others are finishing their meal. Children eat better when they stop and sit down to eat. By setting some appropriate mealtime rules with your kids, you can gain control over mealtimes (what’s where’s and when’s feeding) and allow your kids to take care of the rest (whether and how much they eat).

Don’t punish, discipline, shame him for not eating

Children can develop a negative association with eating and food when they are punished for not eating certain foods, or enough. This will not only create negative associations with food, but will also hurt his self-esteem, perhaps encourage long-term picky eating, binge eating or other forms of disordered eating.

Allow self-feeding, even if it is messy

 This is the control your child wants. Trust him. The goal is to raise a healthy confident eater. We want our kids to feel capable at the table – grow to be independent eaters, able to choose from the foods provided and how much of each to eat. Also, we want them to develop the fine-motor skill necessary to eat independently.

No force-feeding

This takes all control away from your child, and most children do not respond well to force-feeding or parents taking control of feeding, especially as they get older. If we spoon/force-feeding them, they will not feel capable, nor develop the skills to feed themselves at the appropriate pace.

Invite your child in the selection and preparation of the food

Some kids feel like they have no enough say. Kid might feel bored or no control over what they’re fed, or perhaps they don’t like the way that their foods are placed on their plate or lunch box. I know it is important to set mealtime boundaries and meet your responsibility of – what, where and when, but it is ok to let your kids be part of the “what’s”. I realize that involving kids in meal planning (structure choices), preparing(washing), and cooking (mix ingredients) can make the process longer and maybe a bit more frustrating (kitchen is messy!!). But the benefits are huge and it’s worth it.

Don’t offer large portions 

Serve smaller amounts of food. Large amounts can be overwhelming.

Reassure your child

If your child decides not to eat, let him know when the next meal or snack is scheduled.

Don’t label your child “Picky”

Children live up to expectations. If you label your child picky, he will be more likely to live up to it. There are no “good” or “bad” eaters. A good eater eats when they’re hungry, and does not finish his plate for praise, we would like them to continue practicing this mindful eating as long as possible.

REMEMBER

It is absolutely not your job to make your child eat.

For more information:

visit Ellyn Satter Institute or read one of Ellyn’s books:

  • Secrets to Feeding a Healthy Family: How to Eat, How to Raise Good Eaters, How to Cook
  • Child of Mine: Feeding with Love and Good Sense
  • Your Child’s Weight: Helping Without Harming

Please comment below and let me know if you have any questions about picky eating and which strategies work best for you and your family?

Honeyberry Muffins

Honeyberry Muffins

I always love to plan to go to UPick Farm in the Summer at least couple times. Because I know how much we love fruits, especially it is organic. We went to a UPick Farm last month, we picked the honeyberries and strawberries.

DSC_7505

This was my first time to try honeyberries. It has a very unique flavour, you can compare it’s taste to blueberries, raspberries, blackberries, and saskatoons. The flavour seems to vary with varieties. There are most often compared with blueberries, but without the seeds. The seeds are similar to that of kiwis, so you don’t even notice them.

13690939_954974936738_5134069452278519103_o

Going to a local farmer market and a field trip like this – UPick Farm, Corn Maze, Pumpkin Patch will help your kids  or even picky eaters to learn different variety of vegetables and fruits. This may encourage them to try new vegetables or fruit.

DSC_7494

With a very thin skin, the zesty berries melt in your mouth. Aiden just can’t stop picking and eating them.

DSC_7480

This is the Strawberry farm. The strawberries are super sweet and juicy.

DSC_7508

These healthy berries can be eaten fresh off the bush, or used fresh to frozen in some blueberry recipe.

DSC_8172


Honey Berry Muffins

Honeyberry Muffins

Prep Time 10 minutes
Cook Time 25 minutes
Total Time 35 minutes
Servings 12

Ingredients
  

  • 3 tbsp Acovado Oil, or more for the pan
  • 2 cups whole wheate flour
  • 1/2 cup brown sugar
  • 1.2 tsp salt
  • 1.5 tsp baking powder
  • 1 tsp ground cinnamon
  • 1 egg
  • 1 cup milk or more if needed
  • 1/2 tsp grated lemon zest
  • 1 cup honeyberries (blueberries, or raspberries)

Instructions
 

  • Heat the oven to 375F. Grease the muffin tins with a little oil or line it with paper or foil muffin cups.
  • Mix together the flour, sugar, salt, baking powder, and cinnamon in a medium bowl.
  • Beat together the egg, milk, and oil in a large bowl.
  • Add the dry ingredients to the wet ingredients and stir just enough to combine everything. If the batter is very dry and does not come together easily, add another 1 to 2 tbsp milk.
  • Gently fold the honeyberries into the batter.
  • Distribute the batter among the muffin cups, filling them about 2/3 full.
  • Bake for 12-13 minutes (mini) and 20-25 minutes (large), until the muffins are browned on top and a tooth-pick inserted in the centre of a muffin comes out clean.
  • Remove the pan from the oven and let rest for 5 minutes before removing the muffins. Serve warm or at room temperature (or cover tightly and keep at room temperature for up to a couple days).
  • Yield 6 muffins (large) and 24 mini muffins.
solve-biggest-problem-pregnancy-weight-gain-photo

How to Solve the Biggest Problem During Pregnancy: Weight Gain

Weight gain during pregnancy is a hot topic and commonly discussed in parenting or women’s health magazines. Most women who are planning to conceive or pregnant are unsure as to how much weight they should safely gain during this period. Today, I am going to give you some nutrition tips and guidance to reduce your stress.

Weight gain is an important part of pregnancy. The recommended amount of weight gain during pregnancy depends on your Body Mass Index (BMI) before pregnancy. Knowing the range of weight gain that’s right for you will help you gain enough weight without gaining too much.

You can find out your pre-pregnancy BMI by:

  • Using an online calculator
  • Using the following formula: BMI = weight (kg) / height (m2)
  • Talking to your healthcare provider or Dietitian

The table below will help you find out how much weight gain will be healthy for you and your baby.

If you were overweight, you need to gain less weight. If you were underweight or you are having twins or triplets, you need to gain more weight. Talk to your doctor, dietitian or nurse about the right weight gain for you.

WHERE IS THE WEIGHT GOING? 

Most women need to gain about 11.5 – 16 kg in pregnancy. It’s common to gain very little weight in the first trimester. In second and third trimesters a gradual increase of about 0.5 kg a week is normal since the baby and supporting tissues continue to grow.

IF YOU GAIN TOO MUCH WEIGHT 

Women who gain too much weight tend to have:

  • More difficulty giving birth
  • Babies who are born large for their age or who have a high birth weight (more than 4.1 kg)
  • Babies who have problems with being overweight or obese later in childhood
  • More troubles losing weight after pregnancy
  • Increased risk of high blood sugar and high blood pressure during pregnancy

IF YOU GAIN TOO LITTLE WEIGHT 

Women who don’t gain enough weight tend to have:

  • Babies who are born early
  • Babies who are born small for their age or who have a low birth weight (less than 2.5 kg)

HEALTHY EATING TIPS DURING PREGNANCY

Consuming a well balanced and varied diet will help ensure you consume food sources of folic acid, iron and calcium, which are especially important nutrient during pregnancy.

Eat “twice as healthy”, not “twice as much”

  • Eating every 2-4 hours while awake gives your growing baby a steady supply of nutrients. It may also help you feel better if you’re having trouble with nausea.
  • Avoid skipping meal. Skipping meals makes it hard for you and your baby to get all of the nutrients you both need.
  • Take a prenatal multivitamin every day.
  • Avoid foods which may be contaminated by bacteria.
  • Aim for 3 meals a day with healthy snacks in between.
  • First trimester: No extra calories. Normal healthy eating.
  • Second trimester: About 350 extra calories per day.
  • Third trimester: About 450 extra calories per day.
  • Breastfeeding: 350-400 extra calories per day.

Here are some examples of snacks that contain about 350 kcal:

  • Yogurt parfait – 3/4 cup yogurt, 1/2 cup berries, 1/2 cup granola


Here are some example of snacks that contain about 450 kcal:

  • 1 slice of whole wheat toast with 1 tbsp of natural peanut butter,  1 banana and 1 cup of milk

It is not recommended to lose weight or follow a weight loss diet during pregnancy.

BOTTOM LINE

Eating a healthy diet and staying active when pregnant ensures you and your baby receive the nutrients you need while maintaining healthy weight gain. If you look and feel healthy, just give yourself a break. One of the joys of pregnancy is be able to unbeaten those jeans and glory in the elastic waistband. There is no point in sucking in your stomach, or squeezing into a cocktail dress, or trying to look good in a bathing suit. You’ve got a bump, and that’s just how it is.

So, You’re having a baby? Contact Me, I can help you meet the nutrition needs of both you and your growing baby.