A vitamin-packed smoothie is a great way to start the day, or makes the perfect nourishing afternoon snack. As a dietitian, I understand how to create a smoothie that’s not only delicious but also balanced in fibre, protein, and healthy fats. In this post, I’ll share my best tips for building a nutrient-dense smoothie or frozen treat that you and your little one will both enjoy.
Smoothies are a great way to help children (and adults!) get more vitamins, minerals, and fibre into their daily diet especially when you’re short on time.
Smoothies are a GREAT way for you and your children to get the vitamins and minerals in.
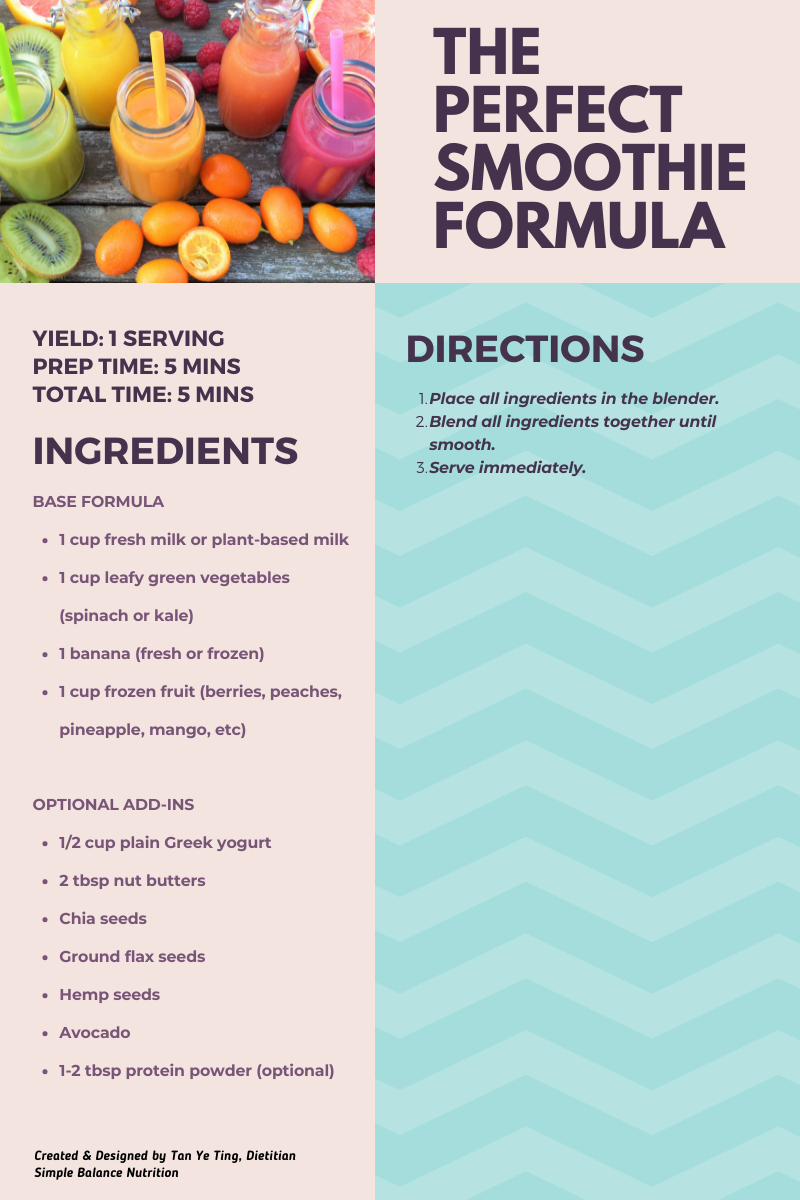
STEP 1: START WITH LIQUID BASE
Start your smoothie with 1/2 to 1 cup of liquid. The more liquid you add, the thinner the smoothie will be. If you prefer a thicker consistency (or want to serve it as a smoothie bowl), reduce the amount slightly.
I prefer adding milk which provides both fluid and key nutrients like Vitamin D and Magnesium, important for bone health. Always pour the liquid into your blender first—this protects the blades and helps everything blend more smoothly.
Liquid options to consider:
- Cow’s milk
- Kefir
- Fortified plant-based milk: soy, almond, coconut, cashew, oat
- Coconut water
- 100% fruit juice
- Green tea or coffee (for adults only)
Tips: You can consider to create flavoured ice cubes using coconut water, green tea, or coffee. Simply pour your liquid of choice into ice cube trays and freeze until solid. Use trays with lids to prevent freezer odors.
STEP 2: FREEZE YOUR FRUIT
Keeping a stash of frozen fruit makes smoothie prep quicker and eliminates the need for ice. Frozen fruits maintain their nutritional value and add creaminess and chill to your smoothie.
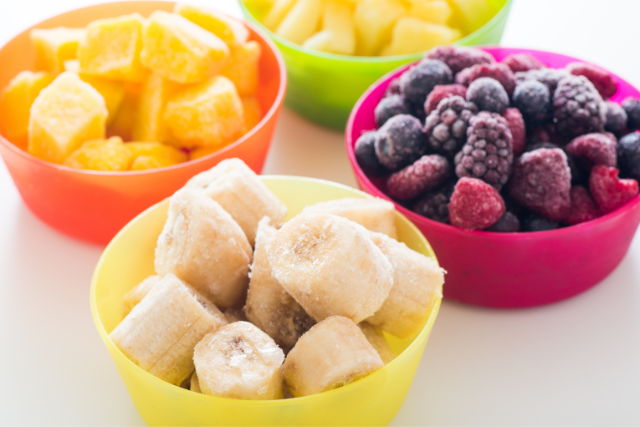
Most grocery stores now sell frozen fruits or smoothie packs, which are often great value and give you a good mixture of fruit.
- Berries: Strawberries, blueberries, raspberries. Use fresh or frozen.
- Bananas: peel, slice, and freeze when overripe.
- Apples, oranges, melon, kiwifruit: Use fresh or freeze in chunks.
- Pineapple, papaya, mango, dragon fruits: Add brightness and sweetness.
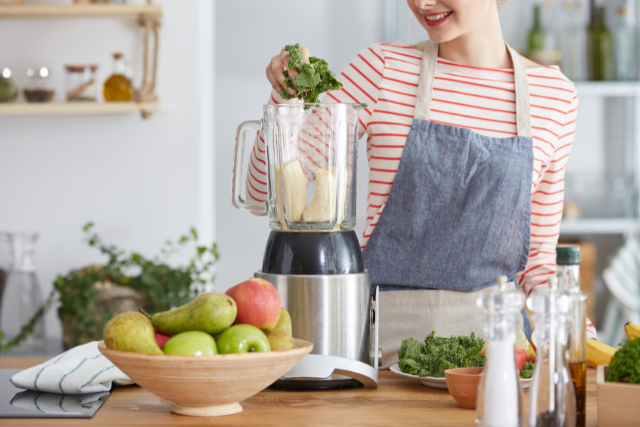
STEP 3: ADD THE GREEN
Don’t be afraid to blend vegetables into your smoothie, many pair wonderfully with fruit and add nutrients and fibre. If you’re new to veggie smoothies, start with small amounts and increase as your taste adjusts.
If you haven’t tried a smoothie made from a mixture of fruit and vegetables before, you may be surprised by the flavour. The sweetness of fruit blends well with lots of vegetables and makes for a delicious and super-nutritious drink. If you’re not used to adding them, start slow with a smaller portion, and work your way up. A handful of green, such as spinach or kale. You can also experiment with what you’ve got. Sweet peppers, beets, carrots, or cucumbers pack a nutritious and flavourful punch.
- Kale or spinach: Mild in flavor, especially when fresh or lightly steamed
- Beets: Beets are naturally sweet, but raw ones have a stronger taste. Cooked beets are mild and sweet. You can easily add a scoop to your smoothie. If you don’t mind the stronger flavor of raw beets, grate them directly into the smoothie before blending.
- Sweet potato or pumpkin: Cooked and pureed adds creaminess and subtle sweetness.
- Sweet peppers, carrots, or cucumbers: Add freshness and hydration
Tips: If you don’t have a high-powered blender, chop firmer vegetables into smaller pieces before blending.
STEP 4: ADD PROTEIN BOOST
Protein keeps you (and your child) full and satisfied. Including it in smoothies helps turn them into balanced meals or snacks.
Protein-rich ingredients:
- Silken tofu
- Plain Greek yogurt
- Cottage cheese
- Nut butter: Almond, peanut, walnut, cashew, hazelnut, pistachio, sunflower seeds
- Nuts: Almond, pistachios, cashew, brazil nuts, pecans, pine nuts, chestnuts, macadamia nuts, peanuts, walnuts,
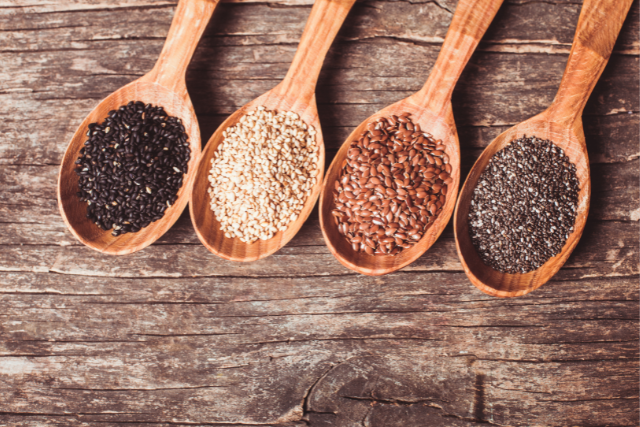
- Seeds: Sesame, pumpkin, sunflower, chia seeds, ground flax seeds, hemp seeds
- Cooked beans (plain, unflavored): Mung beans, white navy beans, chickpeas
STEP 5: HEALTHY FATS
Fat is essential for brain development and helps the body absorb fat-soluble vitamins like A, D, E, and K. Plus, it adds creaminess and keeps babies full longer.
Great fat sources:
- ½ ripe avocado
- 1–2 tablespoons of ground flaxseed, hemp seeds, or chia seeds
- Nut butters or a small handful of nuts (finely ground or blended)
STEP 6: INFUSE WITH FLAVOR
Skip the added sugar and get creative with herbs, spices, and flavor extracts to bring out interesting flavors.
Ideas to Try:
- Fresh mint or basil (great with melon or citrus)
- Ground cinnamon or nutmeg
- Cocoa powder or shredded coconut
- A splash of lemon or lime juice
- A few drops of vanilla or almond extract
- A pinch of cayenne or chili (for adults or adventurous eaters)
MONEY & TIME SAVING TIPS
- Pre-freeze smoothies: Blend your ingredients and pour into muffin tins or silicone trays. Once frozen, transfer to a Ziplock bag. To make a smoothie, just toss a few frozen “smoothie muffins” into the blender with your liquid of choice.
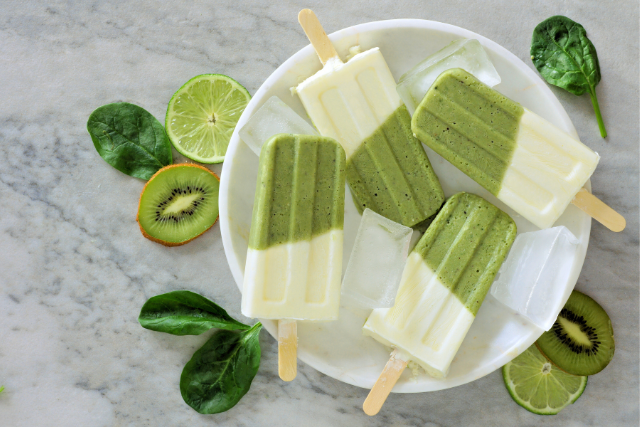
- Make smoothie popsicles: Pour smoothie mixtures into baby-safe molds to create frozen treats—perfect for teething babies or hot days.
WHAT NATURAL SWEETENERS DO YOU RECOMMEND?
In most cases, you don’t need to add any sugar to your smoothie—especially when using naturally sweet fruits like bananas, mangoes, or berries. However, if you’re looking for a natural way to enhance sweetness, dried fruits like dates or prunes are excellent options. They not only add a rich, caramel-like sweetness but also provide extra fiber, potassium, and antioxidants. Just be sure to remove pits and soak them briefly in warm water if needed, so they blend smoothly.
WHAT ABOUT PROTEIN SHAKE OR PROTEIN POWDER?
For most healthy individuals including adults, protein powders are usually unnecessary. In fact, many of us already get more than enough protein through our regular meals. The idea that we need extra protein from ultra-processed powders is largely driven by marketing, not science.
As a dietitian, I prefer to use real, whole food sources of protein like Greek yogurt, tofu, nut butters, or seeds. These not only provide protein but also offer fiber, healthy fats, and other essential nutrients.
Additionally, some protein powders—especially those not third-party tested—may contain unwanted contaminants like heavy metals (arsenic, lead, mercury, and cadmium). Many are also high in added sugars or artificial sweeteners, and can be expensive without offering better nutritional value.
Protein powder can be higher in sugar. They are also often pricier.
Instead of spending money on store-bought protein smoothies, why not make your own at home? By choosing whole food ingredients, you can control what goes in, reduce cost, and still enjoy a smoothie that’s balanced, nourishing, and delicious.
BOTTOM LINE
Smoothies are a simple, customizable way to boost your family’s nutrition—especially for little ones starting solids or doing baby-led weaning. When made with whole, nutrient-dense ingredients, they can support growth, introduce new flavors, and complement your baby’s journey with textures and finger foods. Whether you’re making breakfast, a snack, or a frozen treat, a well-balanced smoothie can be a delicious and practical addition to your routine.