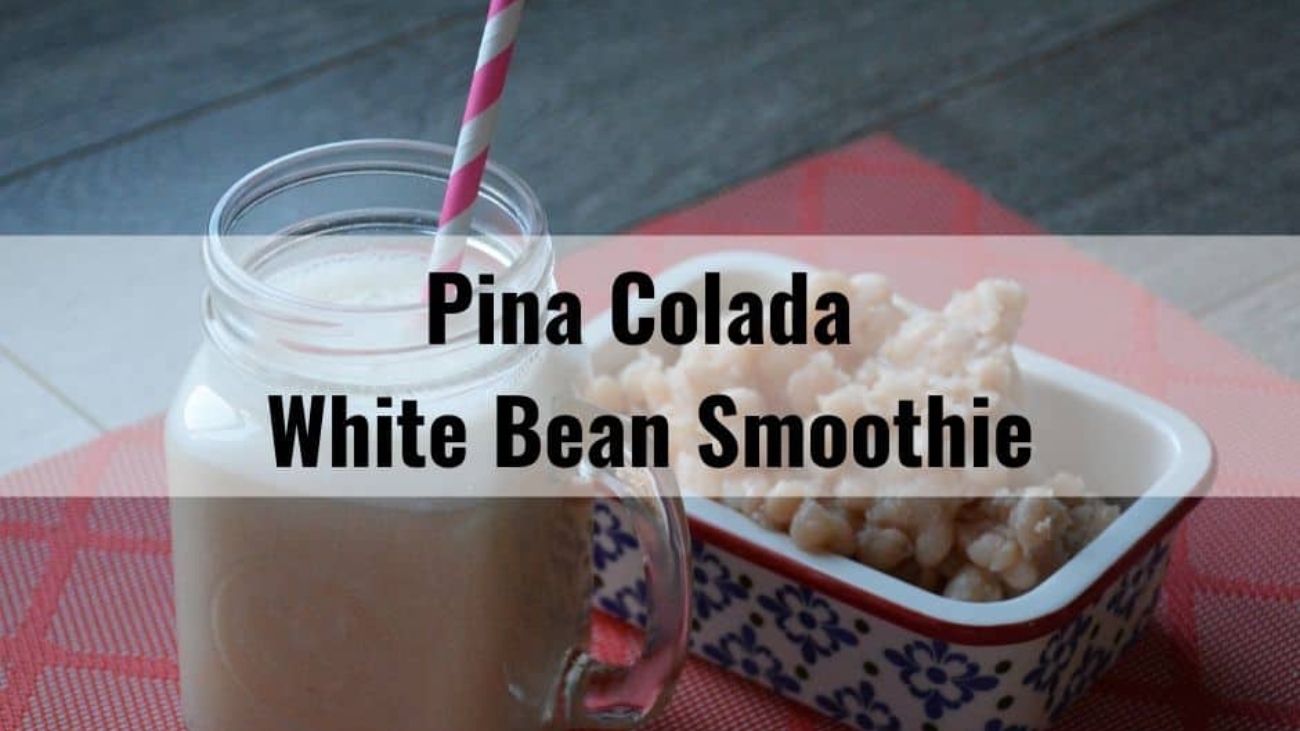
Are you looking for non-alcoholic drink for your whole family? You can re-create a healthier version of a piña colada Smoothie, using all-natural ingredients, including White Beans. It is so creamy and refreshing that you will actually think you are on vacation – a beautiful tropical island.
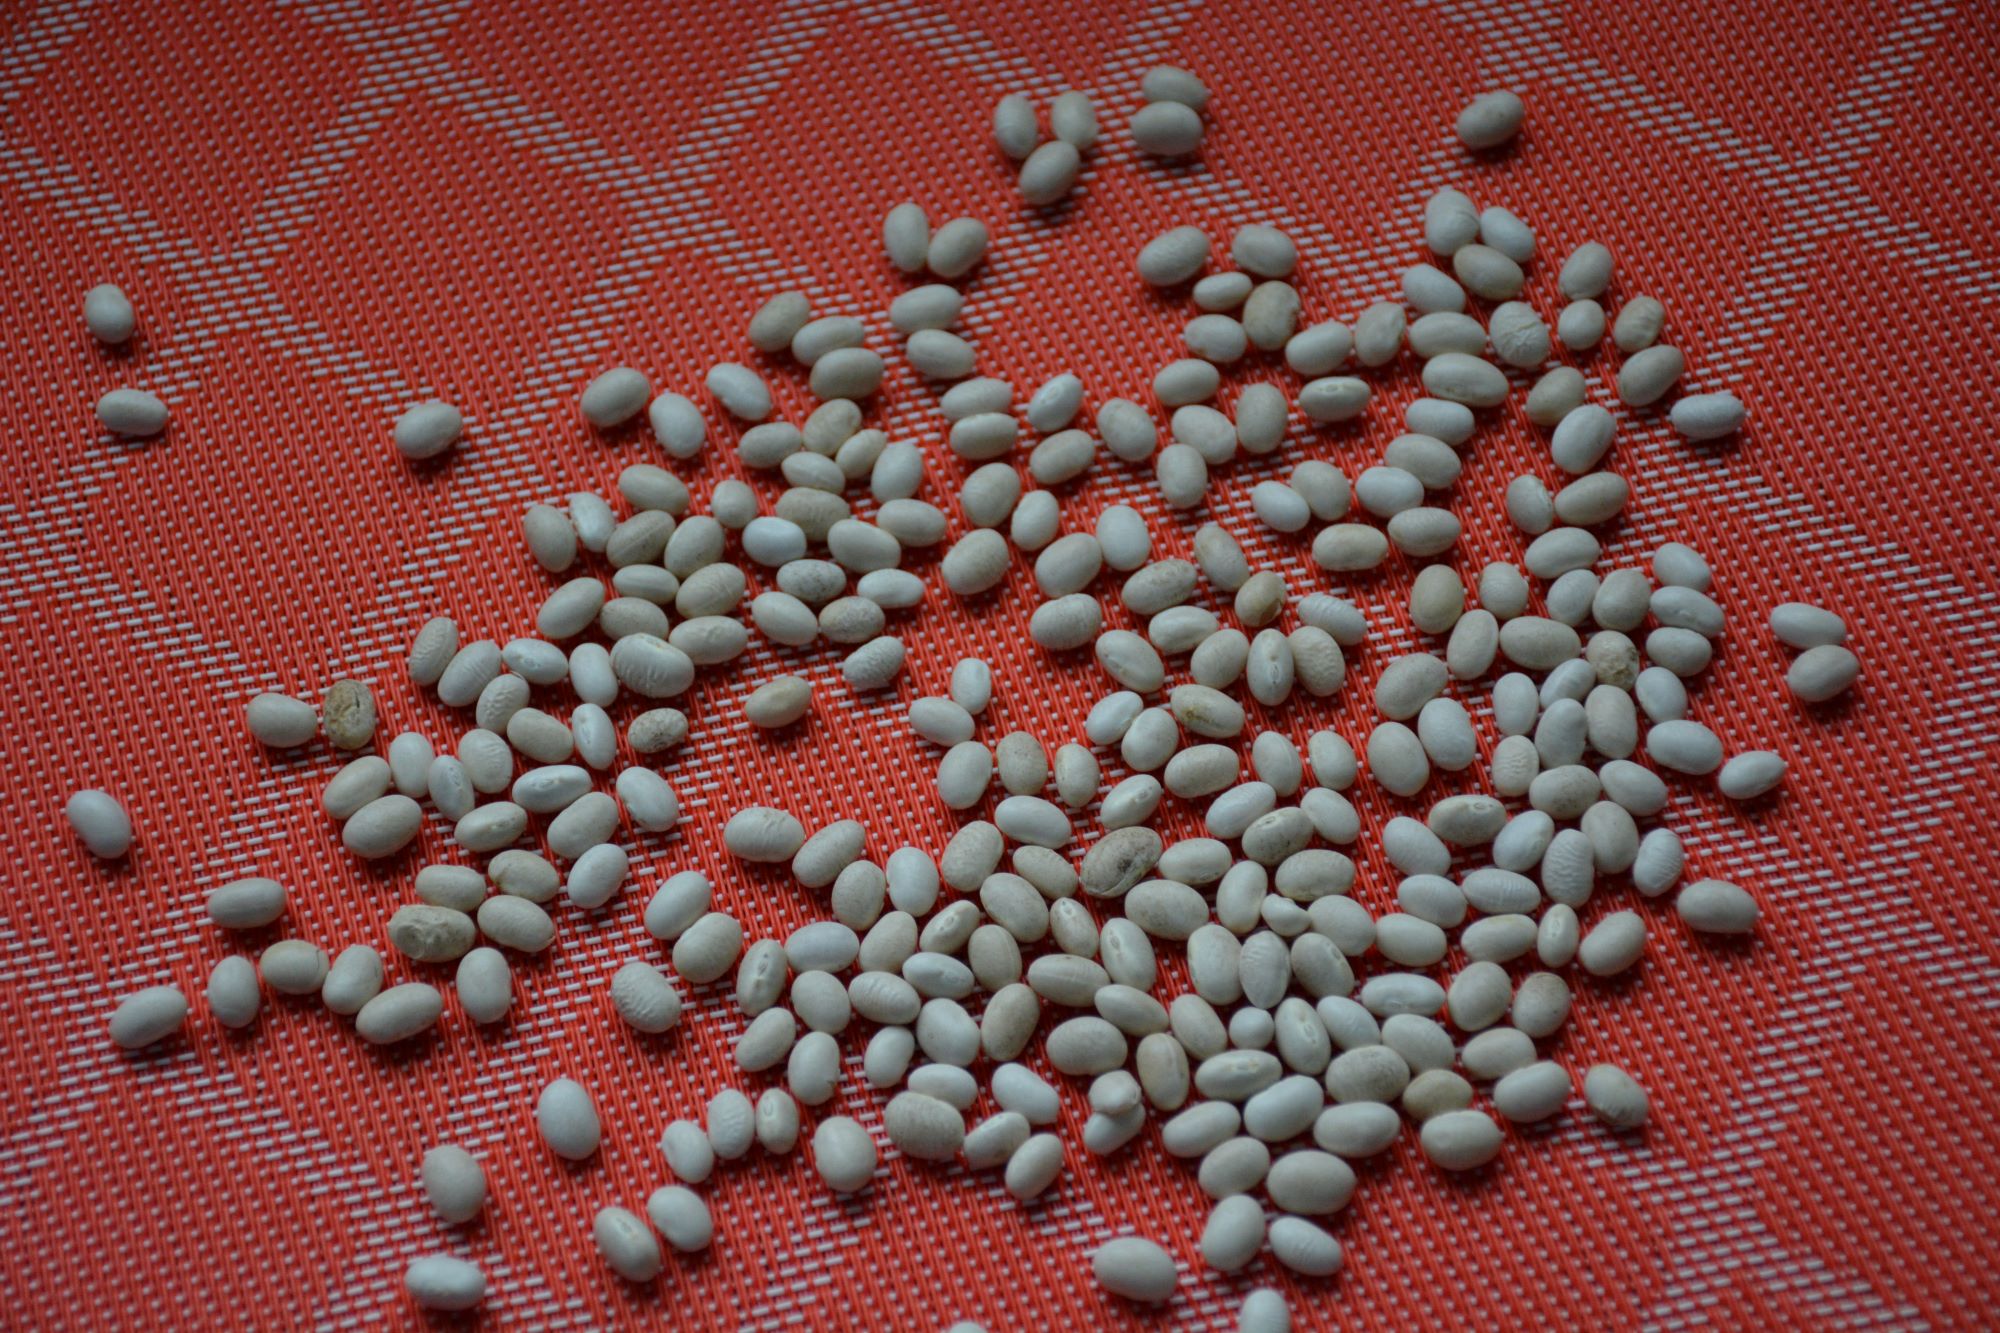
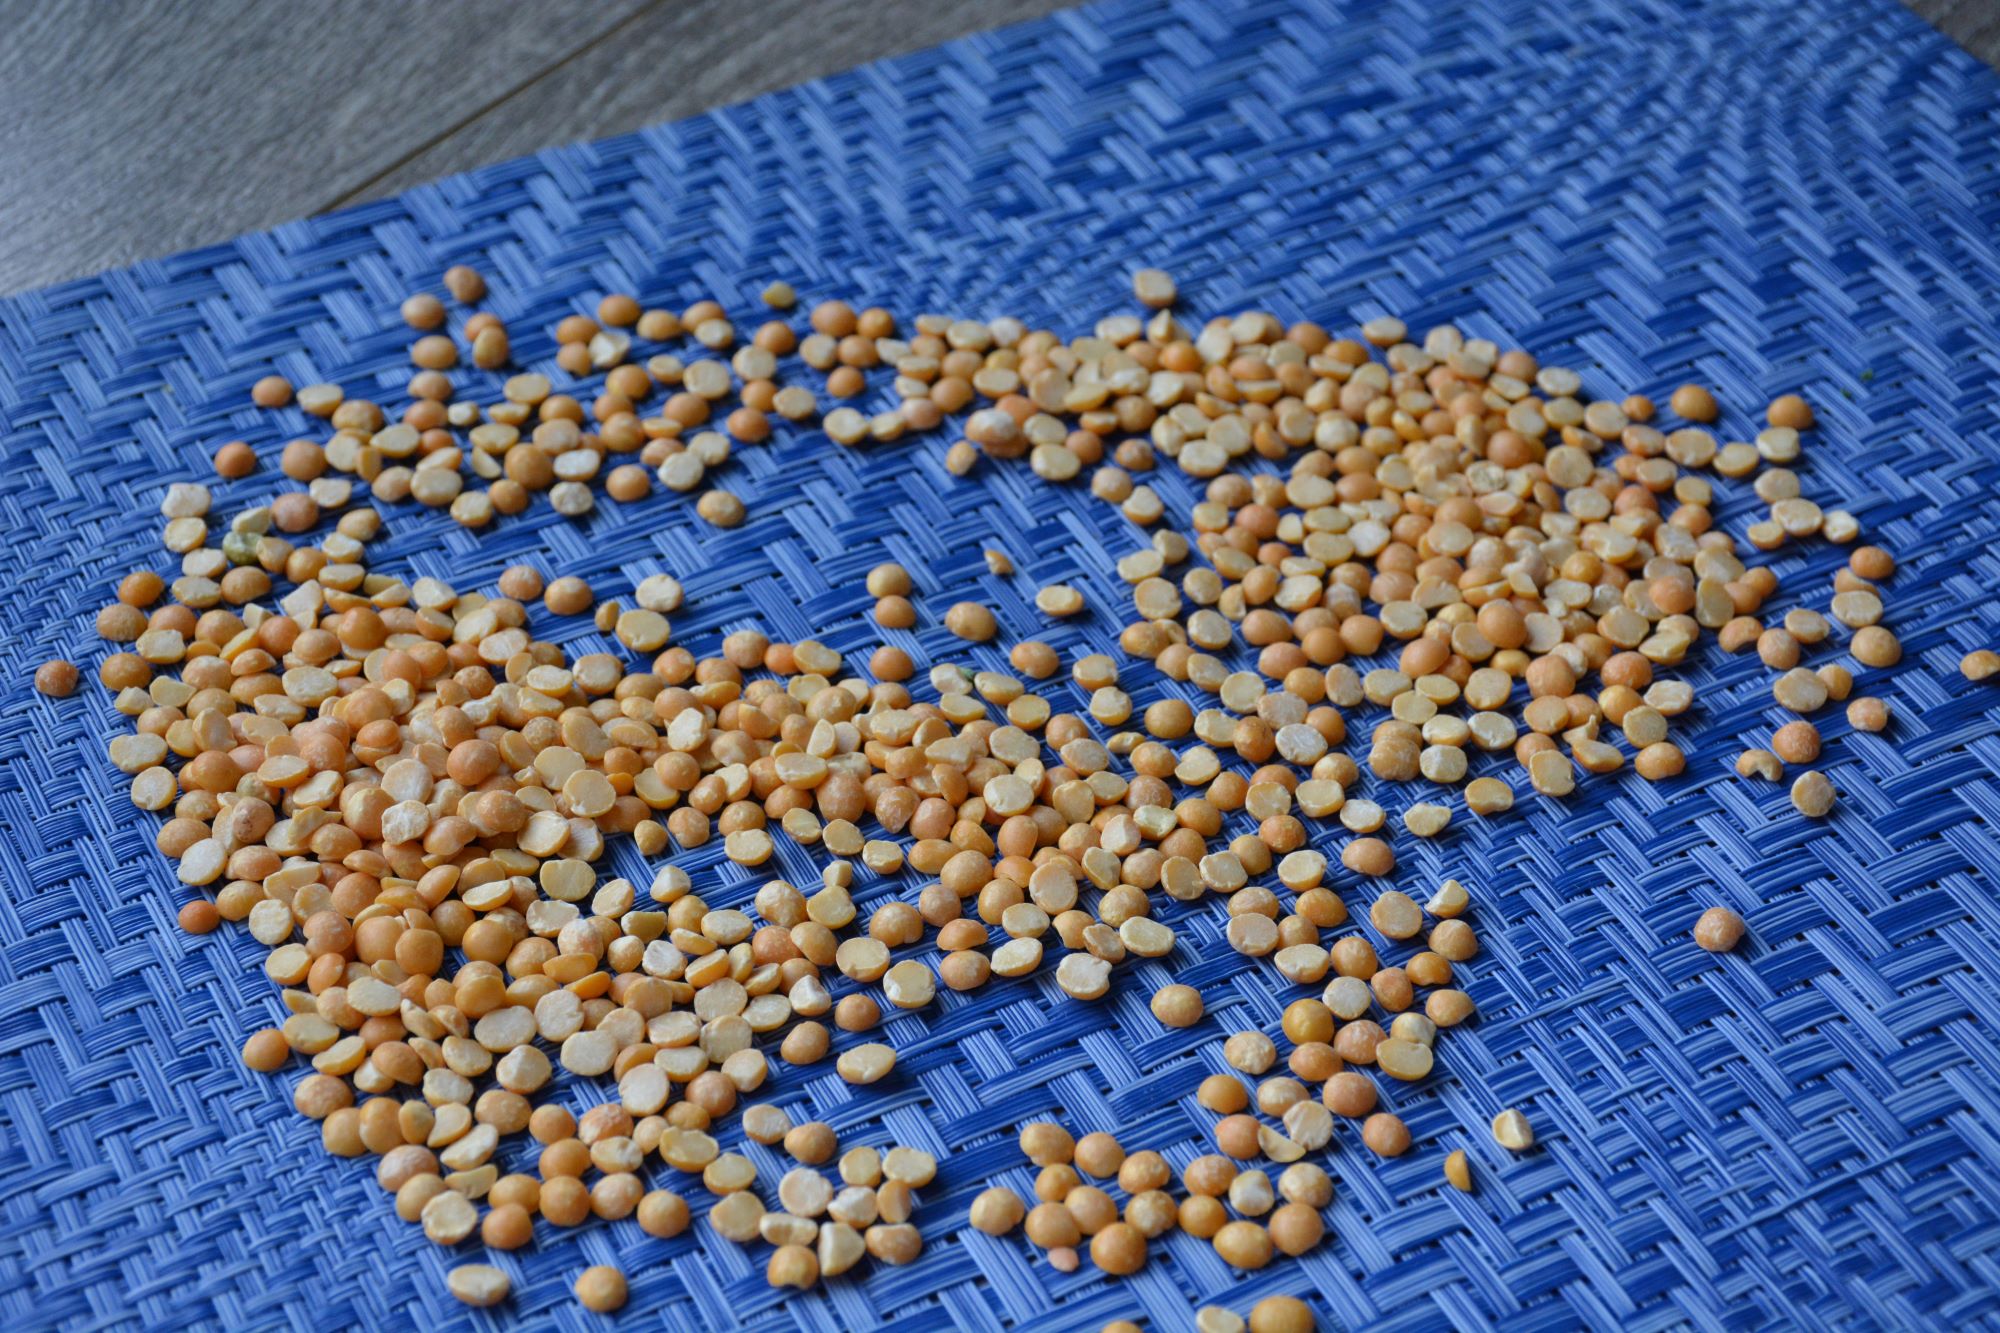
Soak the white beans for 24 hours in refrigerator.

Then cook the beans for 2 hours until soft.

Then I add unsweetened coconut milk. You can use coconut milk from a carton or canned coconut milk, depending on preference. A banana adds creaminess and natural sweetness. There’s a fine balance of making sure to not add too much banana because it can overpower the smoothie. Start with 1/2 banana and you can always add more.
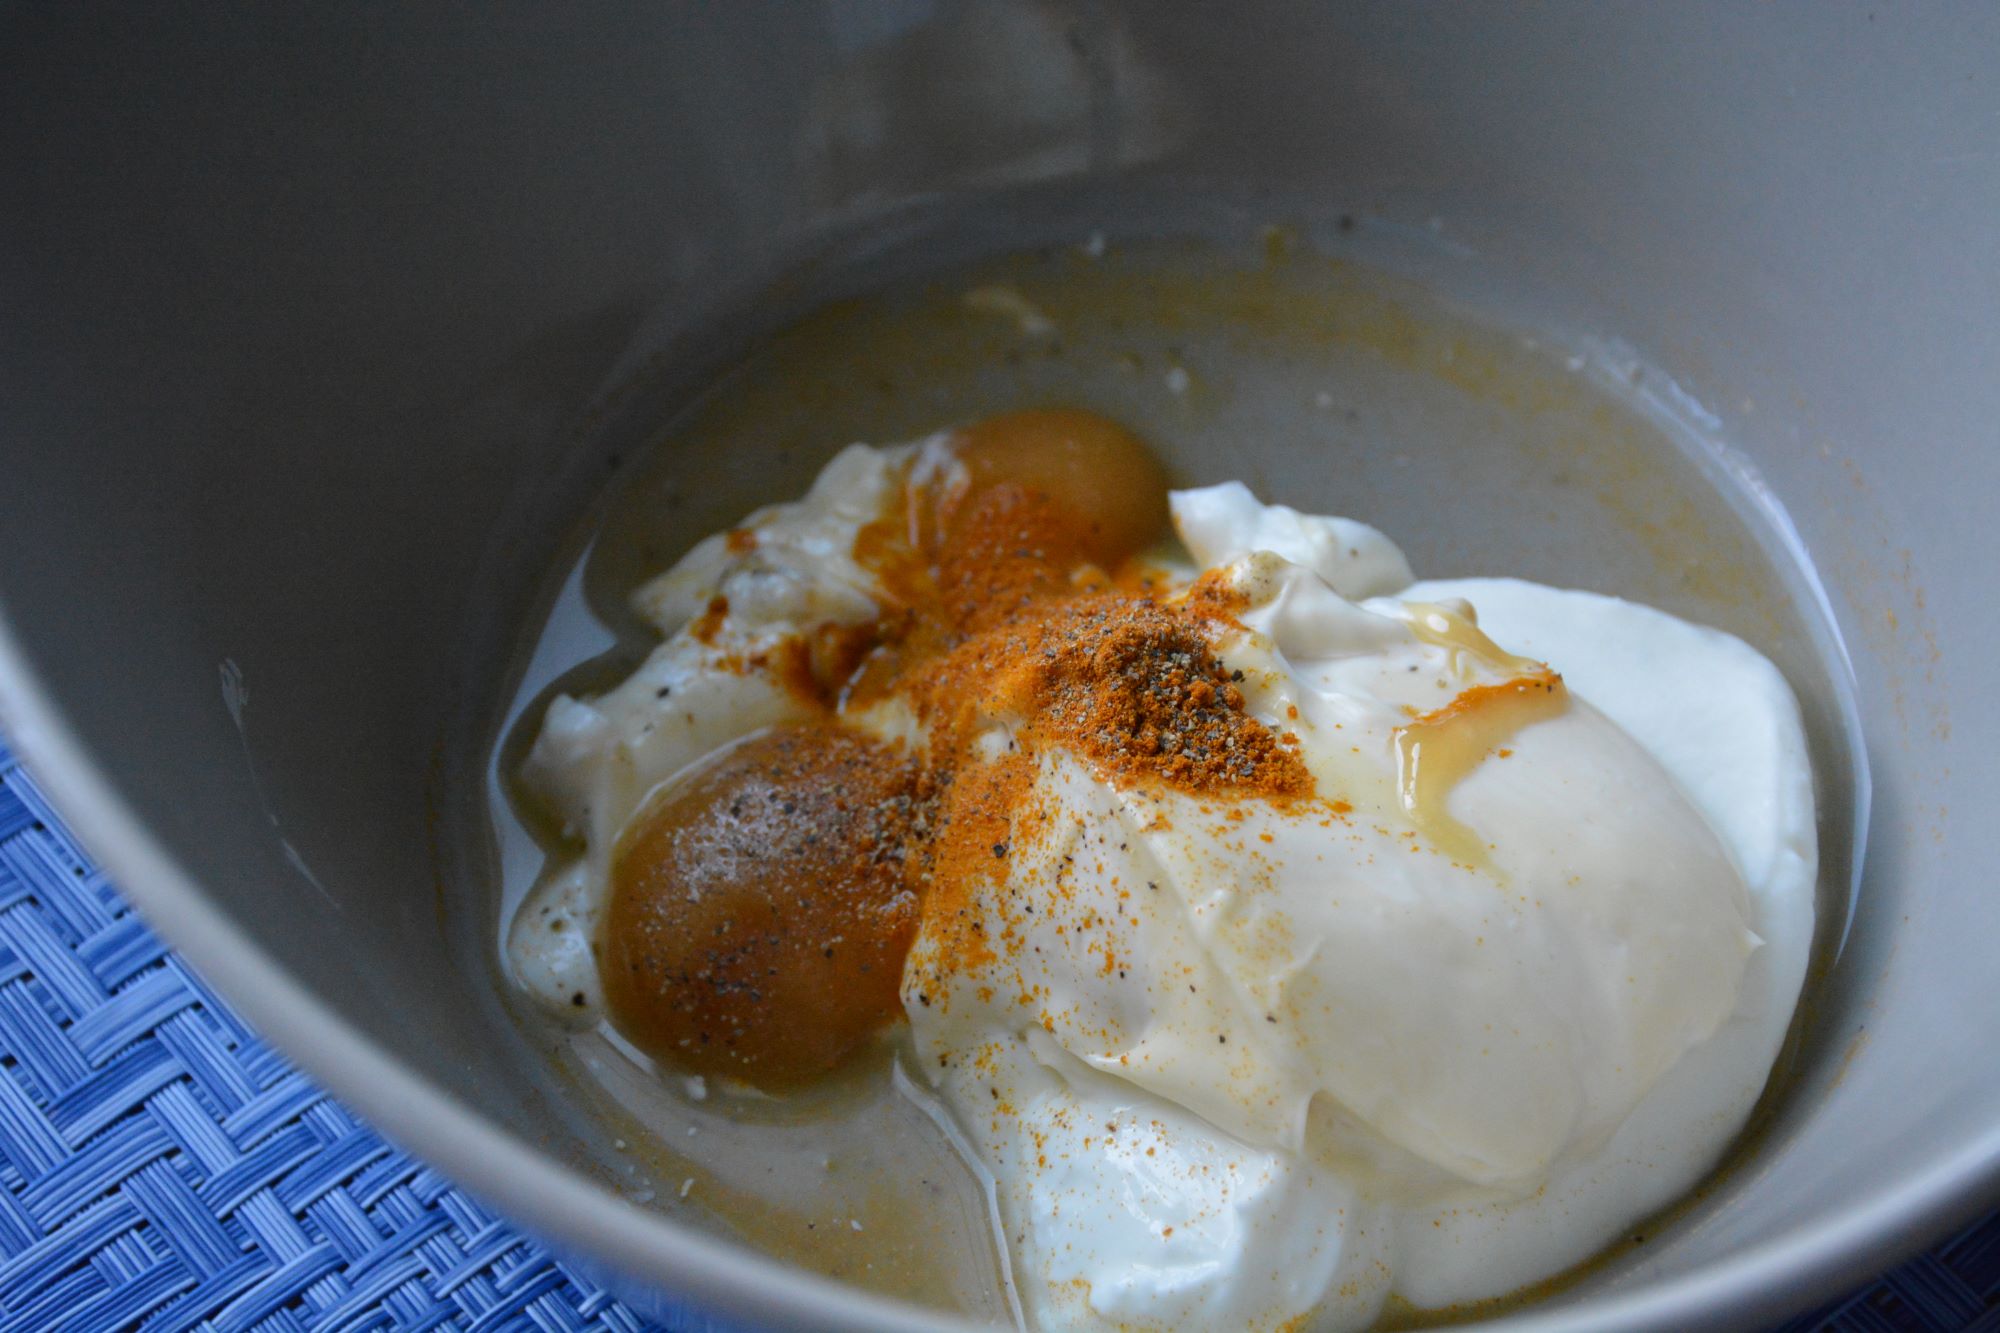
To give it extra creaminess, add coconut yogurt. If you want to make a dairy-free piña colada smoothie, you can omit the coconut yogurt. If so, use 1 whole banana instead to make it creamy. A touch of honey is always good to offset the acidity of the pineapple.
Enjoy ! This smoothie is so refreshing and a great source of protein and fibre!
Recipe adapted from Alberta PULSE.
For quick and easy recipes as well as nutrition tips for families, check out my Facebook Page where I post daily.

Pina Colada White Bean Smoothie
Ingredients
- 2 cups pineapple juice
- 1 cup coconut milk (unsweetened) or can
- 1/2 cup mashed ripe banana
- 1 1/2 cup crushed ice
- 1/2 cup coconut yogurt
- 2 tbsp honey (optional)
- 1 tbsp lemon juice or lime juice
- 1 cup cooked with beans rinsed, rinsed well
Instructions
- Soak the white beans for 24 hours in refrigerator.
- Cook the white beans for 1-2 hours until soft.
- Place all ingredients into a blender and puree until smooth.
- Add 1/2 cup – 1 cup of ice depending on whether you use fresh or frozen fruits.
- Blend until creamy.
- Pour into glass and serve immediately.
Notes
- Add more honey if you would like it to be sweeter.
- Coconut Milk can be from a can such as Thai Kitchen or from a carton, such as Silk or SO Delicious. You can use sweetened or unsweetened, depending on preference.