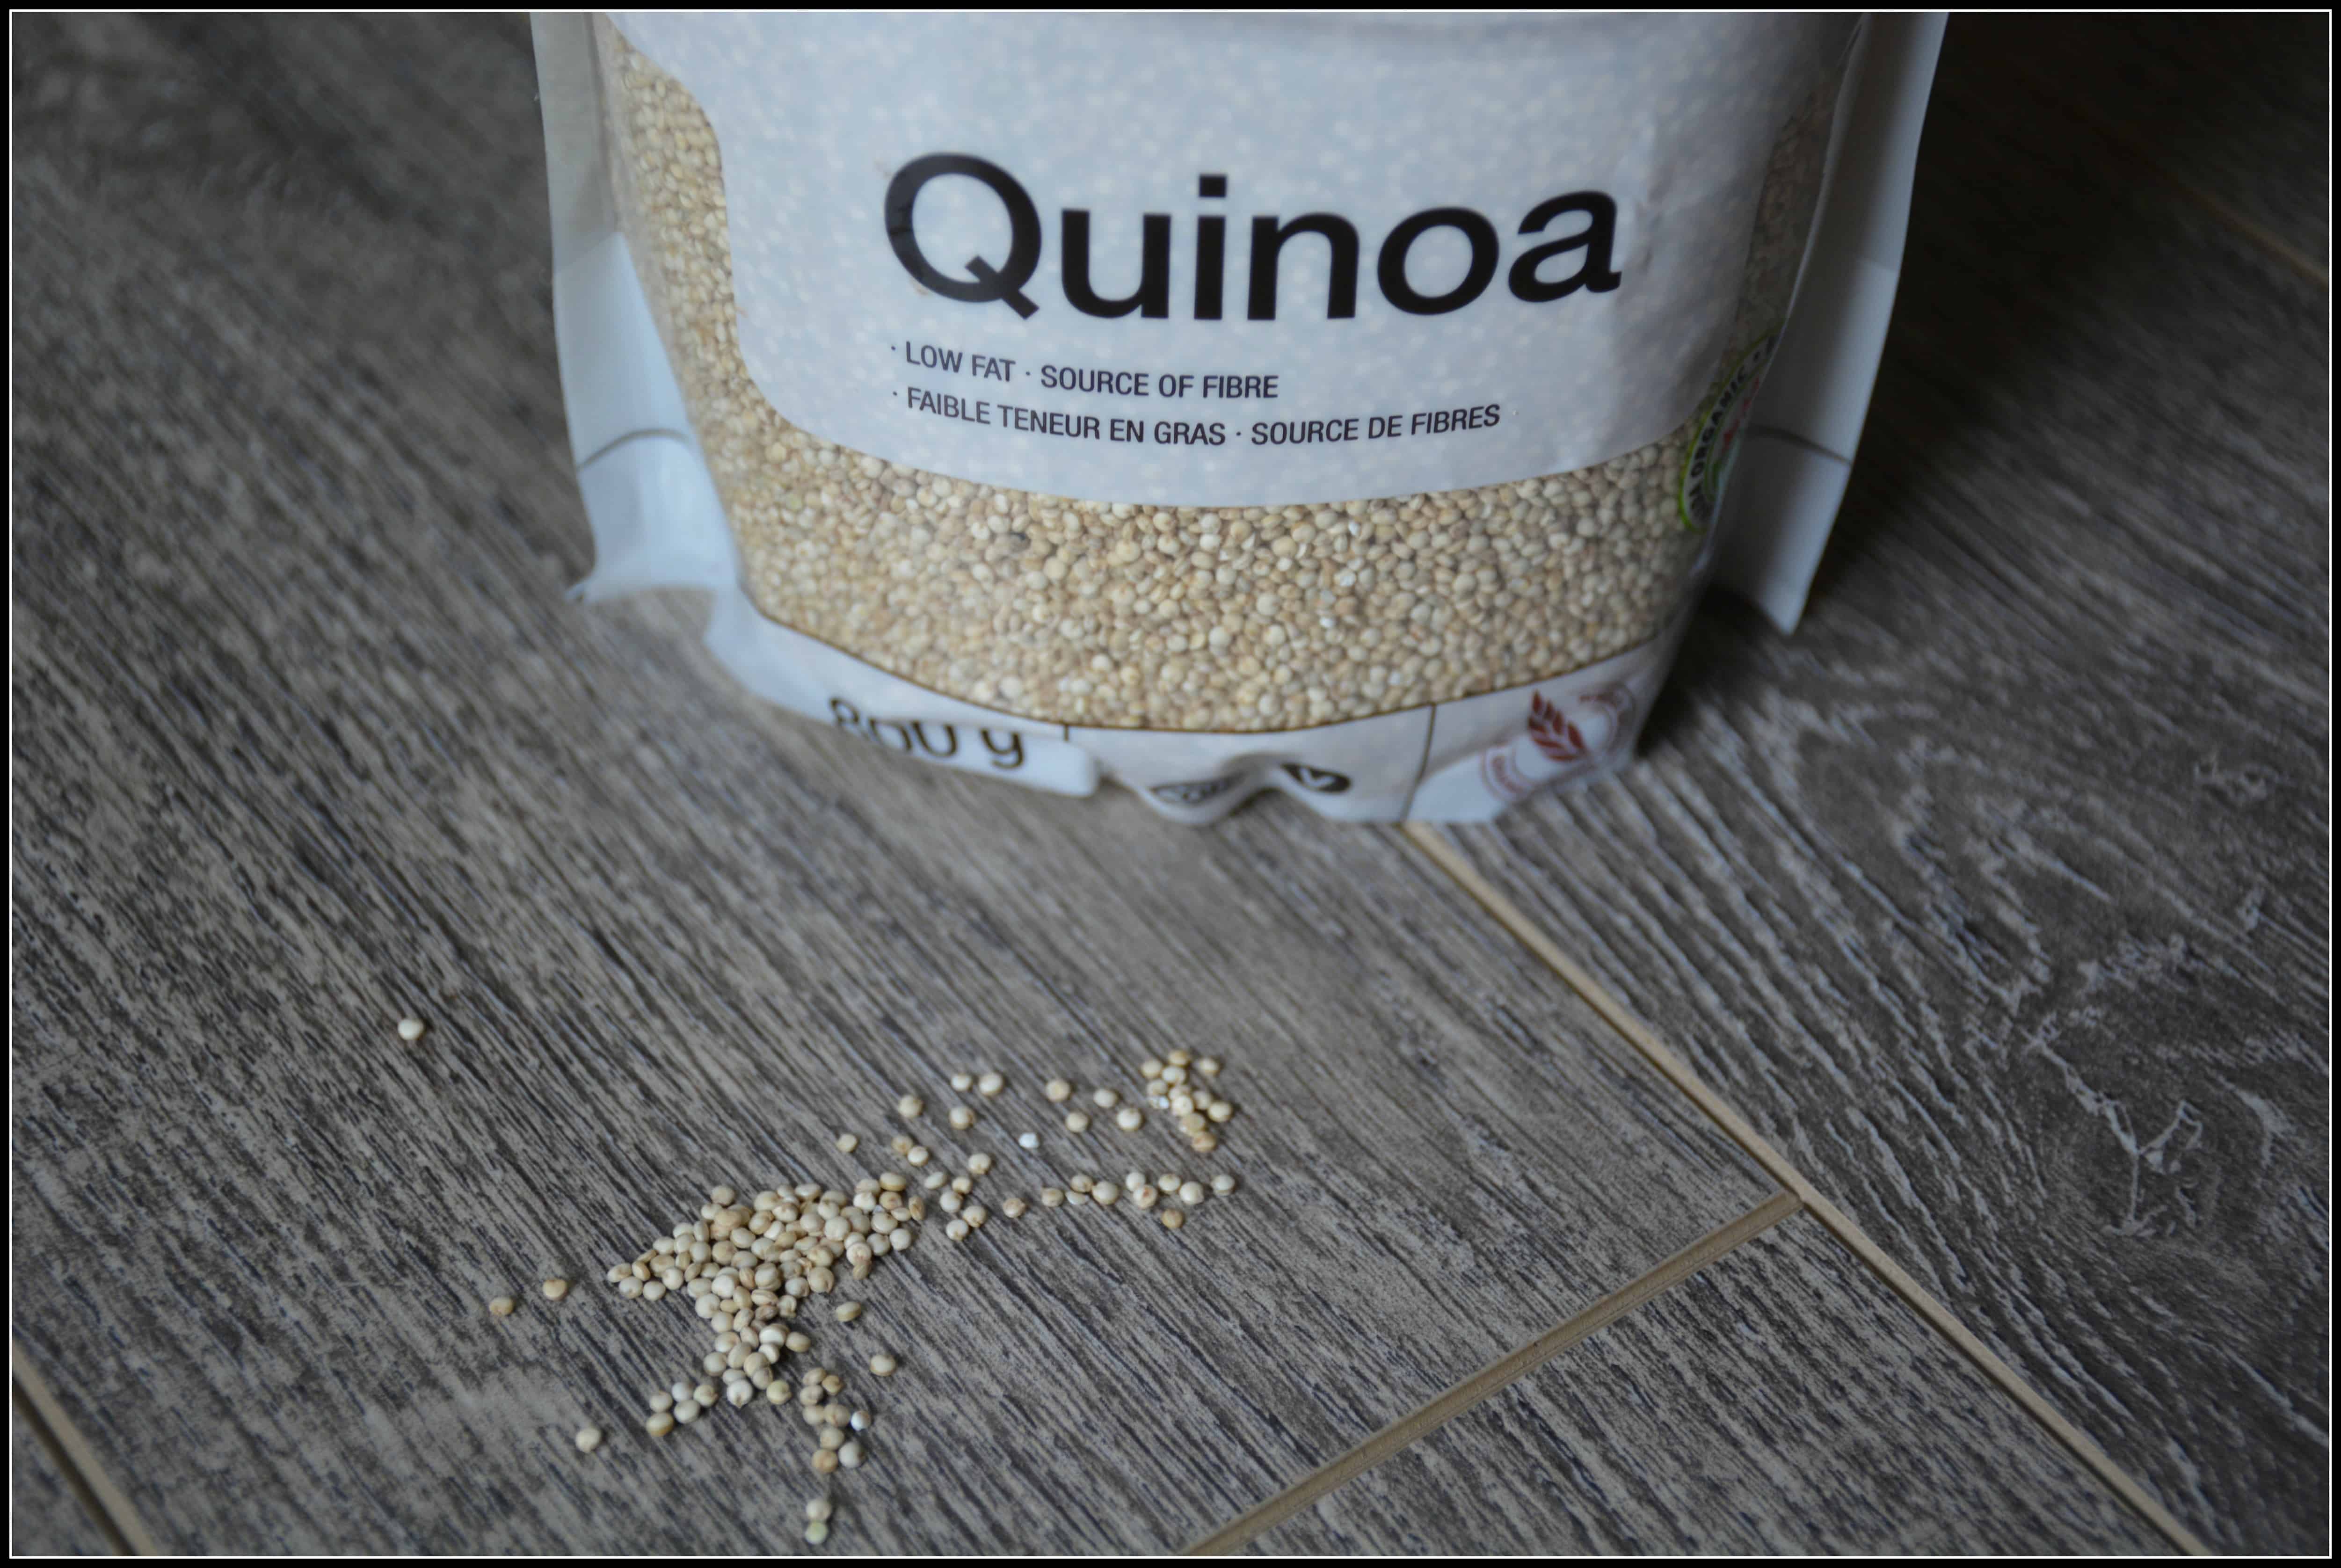
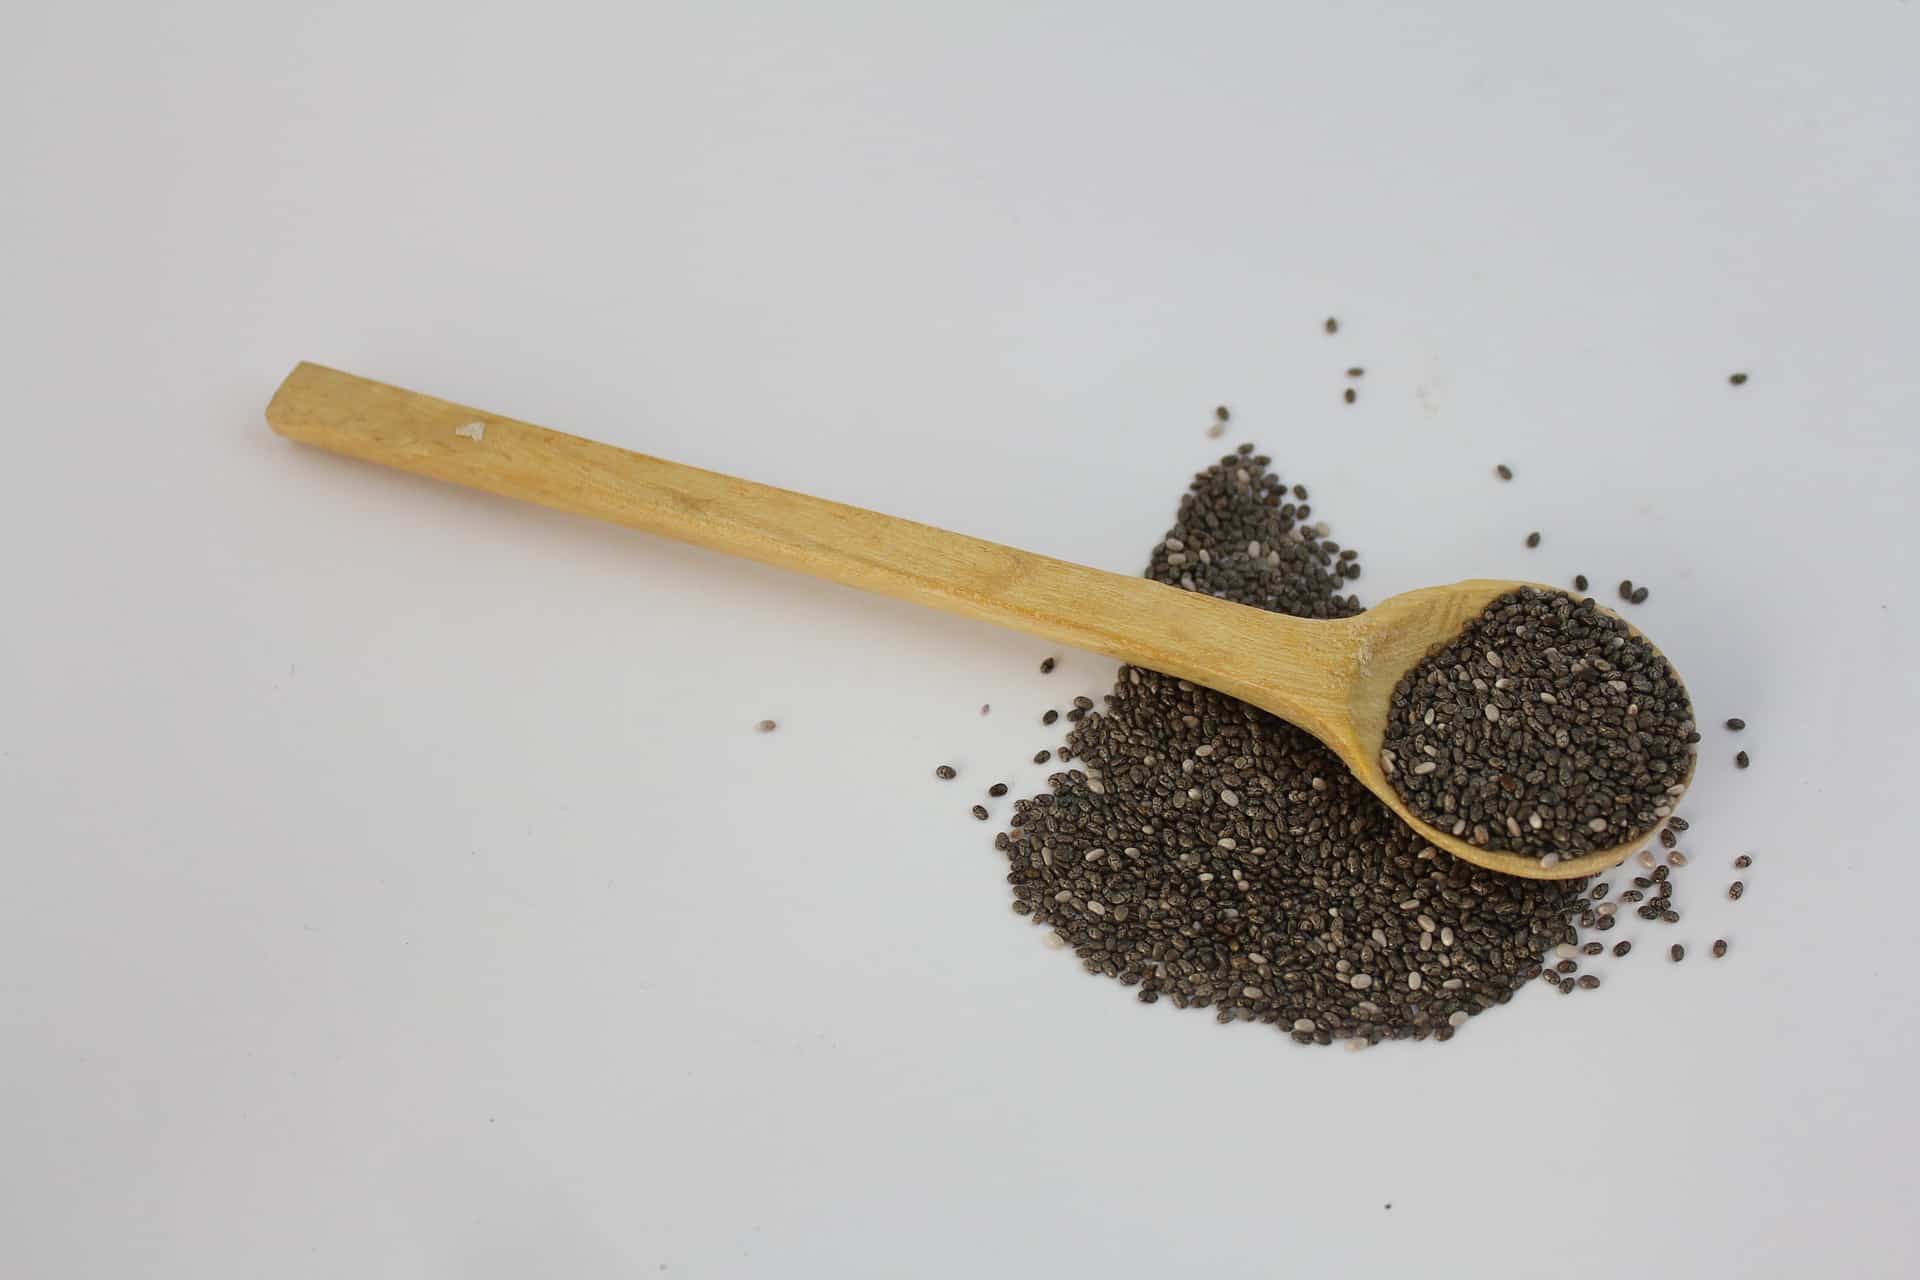
Chia seeds have become one of the most popular superfoods in the health community. Chia seeds are tiny little brown seeds that can be found at health food stores, grocery stores or online.They are super easy to prepare and are very versatile ingredient that add easily to many recipes.
What is Chia Seed?
Chia seeds are from the desert plant Salvia hispanica, a member of the mint family. They have been around since 3500 BC and were a staple food used in the Aztec and Mayan diets. Chia means “strength” in the Mayan language. Despite their ancient history as a dietary staple, only recently did chia seeds become recognized as a modern day superfood.
Nutritional Profile of Chia Seeds
|
Per Tablespoon
|
Chia Seed (12 g)
|
| Calories (Kcal) |
60
|
| Omega -3 Fats (g) |
2
|
| Omega- 6 Fats |
0.5
|
| Protein (g) |
3
|
| Fibre (g) |
5
|
| Calcium (mg) |
160
|
Health Benefits of Chia Seeds
Those who sell the chia seeds products will definitely tell you about regularly eating chia seed can improve your health – keeping you fuller for longer and increased energy levels to help with weight loss and diabetic control. Does research back up claims of benefit?
There have been a few preliminary studies looking at these claims but unfortunately, at the moment, the small numbers of research participants involved and short duration of the trails mean none have been convincingly proven. More studies are needed before any strong claims about chia’s health benefits in weight loss, diabetic control or satiety can be made.
Don’t be disappointed !! There are some benefits of eating chia seeds. They contain ALA, the plant source of Omega-3 fatty acids, which are known to benefit heart and brain health. Normally, we get Omega-3’s fat from oily fish, however, eating chia seeds(ALA, plant source of Omega-3 fats) can help improve our ratio of Omega-3: Omega-6 fatty acids. We need both, but we tend to have higher intake of Omega-6 fatty acids. In a 2007 study, chia seeds were shown to reduce the risk of cardiovascular disease for individual with Type II Diabetes
Chia seeds are very high in fibre, particularly soluble fibre, which is great for keeping our gut healthy.
They also contain a variety of vitamins and minerals as well as reasonable amounts of calcium, manganese, phosphorus and protein per servings.
Chia seeds are naturally gluten free. So it can be used by people with celiac disease.
How to Use Chia Seeds
Ground
You can grind chia into a fine powder.
Whole
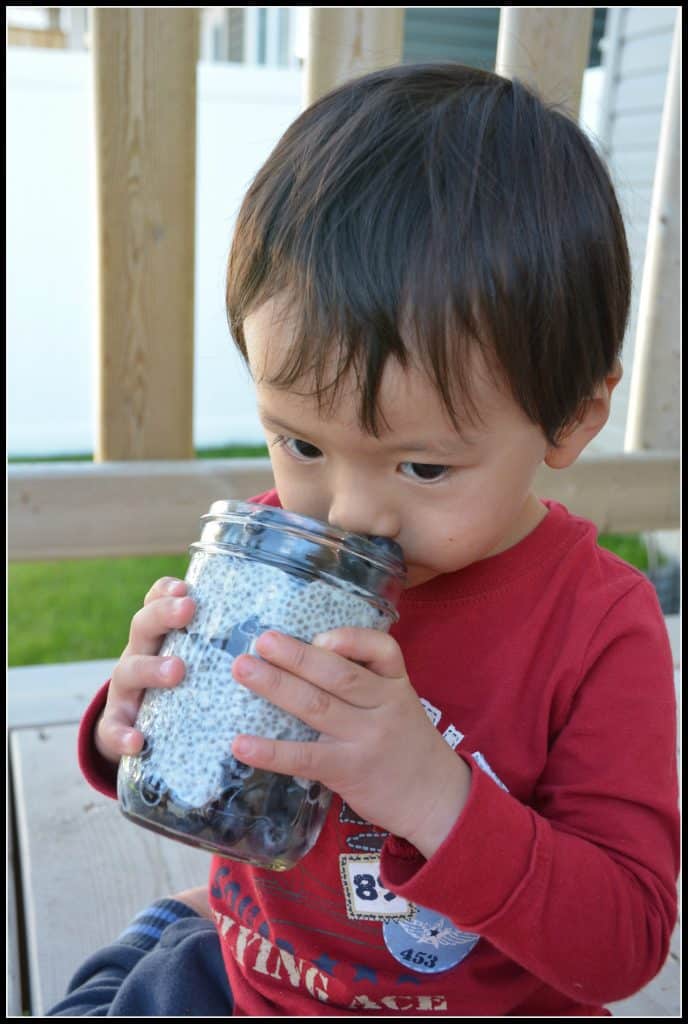
Unlike flaxseeds, you do not have to grind chia seeds to access their nutrition. You can eat them whole and still get their nutrients. You definitely can eat a spoonful straight.
Soaking
When mixed with water, chia absorbs 12 times its weight, forming chia gel. When soaking, you “sprout” them and it releases the “enzyme inhibitors” that are used to protect the seed. This not only makes it much easier to digest, but also your body can access the dense nutrients inside the seeds. However, it won’t hurt to eat them straight !!
Egg Free Baking
If you are looking for recipes of egg free diet or vegan diet, chia seeds can be use as an egg substitute in your baking recipes.
To replace one egg, mix together:
- 1 tbsp of chia seeds + 3 tbsp water
- Let the mixture sit for 15 minutes
Chia has a mild nutty flavour. Chia seeds can be easily incorporated into our diet for extra boost of nutrition. Here are a few ideas to get you started:
- Cold, ready-to-eat cereal
- Oatmeal
- Yogurt
- Granola
- Power ball
- Smoothies
- Muffin
- Salad dressing
The Bottom Line
A healthy diet isn’t defined by one food or nutrient alone.
We know chia seeds have many health benefits based on their nutritional profile, even though we don’t quite have solid research yet to prove that chia has significant positive effects on chronic disease, I think it is still a good idea to include them into your diet. Other thing to remember is to always incorporate more seeds (not just chia, but also flax, hemp, sunflower, pumpkin) in your diet.
Eating 1 to 2 tbsp a day is considered a healthy amount, provided it fits with your overall lifestyle balance.

Have you tried Chia Seeds?
Do you like them?
What is your favourite way to eat them?
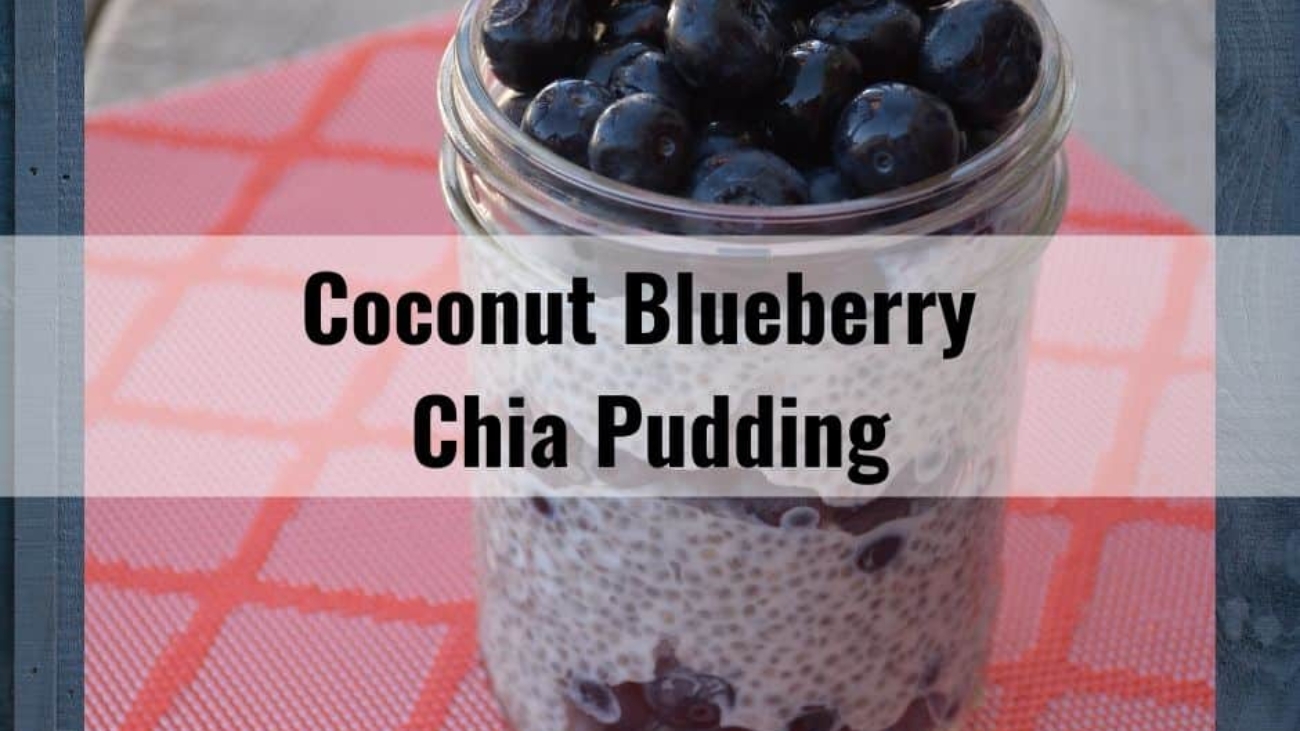
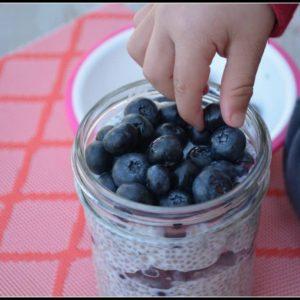
Coconut Blueberry Chia Pudding
Prep Time 30 minutes mins
Cook Time 10 minutes mins
- 2 cups Milk (You can use cow milk or any other milk alternatives – coconut, soy, almond, cashew)
- 1/2 cup Chia Seeds
- 1/2 cup Greek Yogurt (I use plain greek yogurt, you can use vanilla or coconut greek yogurt)
- 1/2 cup Unsweetened Coconut, shredded finely
- 1/2 cup Honey
- 1 tsp Vanilla Extract
- Fruit – Berries, Bananas, Peaches, or Plums for topping.
Pour milk and honey into a small saucepan and set over medium heat on the stove, stirring often until steaming (about 5 to 10 minutes)
Remove from heat and transfer to a glass bowl. Stir in chia seeds, shredded coconut and vanilla extract and whisk together. Let sit for about 15 minutes at room temperature.
Once cooled, cover with plastic wrap and put in the fridge to chill for at least 12 hours.
After 12 hours, remove from fridge, stir in greek yogurt and whisk until incorporated.
Serve in small dishes with your favourite fruits.